Smart Animated Tooltip Plugin For jQuery - autoTooltip
| File Size: | Unknown |
|---|---|
| Views Total: | 1179 |
| Last Update: | |
| Publish Date: | |
| Official Website: | Go to website |
| License: | MIT |
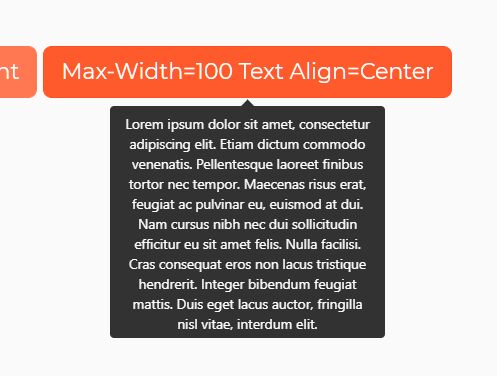
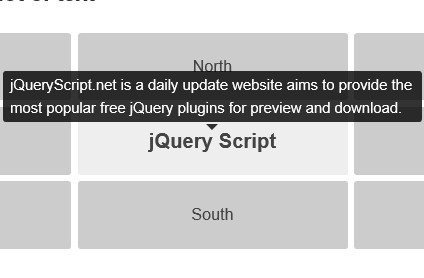
autoTooltip is a lightweight, smart, animated jQuery tooltip plugin that automatically sets the placement direction according to the position of the element. Can be triggered by 'Click' and/or 'hover' events.
How to use it:
1. Include the JavaScript file autoTooltip.plugin.jQuery.min.js after jQuery library.
<script src="//code.jquery.com/jquery-3.1.1.min.js"></script>
<script src="autoTooltip.plugin.jQuery.min.js"></script>
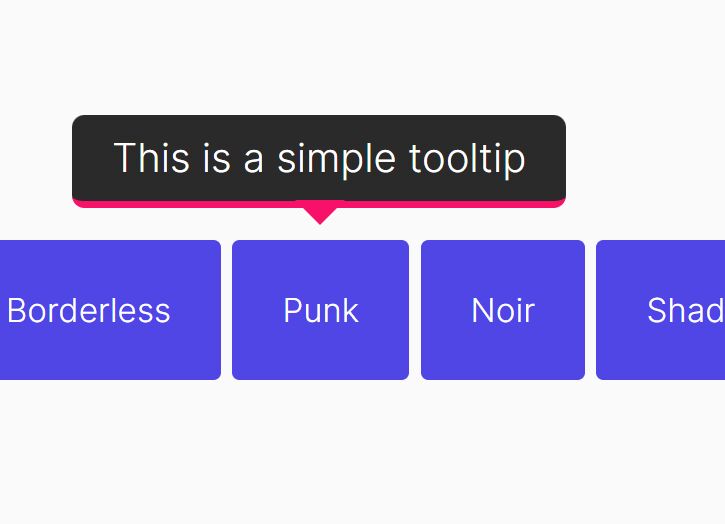
2. Include the main style sheet style.css that will provide the basic styles and CSS3 animations for the tooltips.
<link href="style.css" rel="stylesheet">
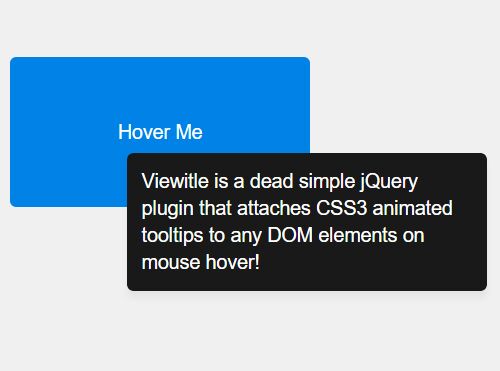
3. Add your custom text into the tooltip using data-tooltip-text attribute:
<button class="tooltip-trigger"
        data-tooltip-text="Tooltip text here" >
        Hover me
</button>
4. Initialize the tooltip plugin and done.
$(".tooltip-trigger").tooltip();
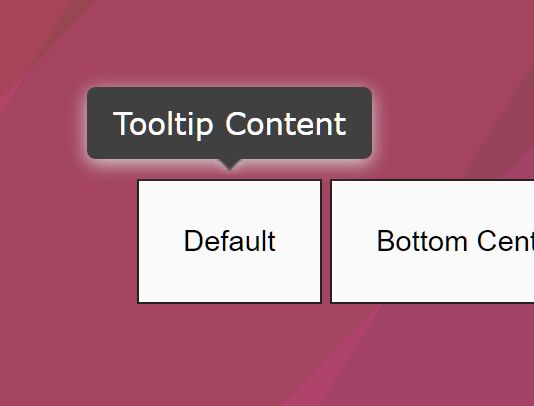
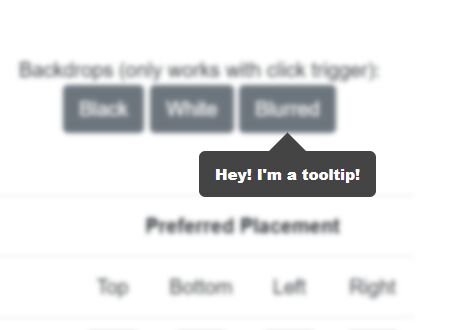
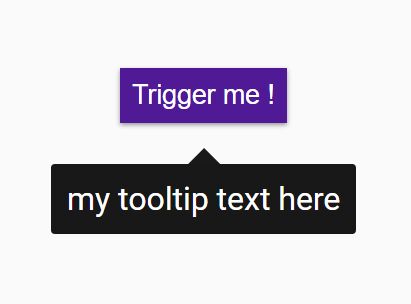
5. Set the placement direction of your tooltip manually.
<button class="tooltip-trigger"
        data-tooltip-text="Tooltip text here"
        data-tooltip-position="bottom">
        Hover me
</button>
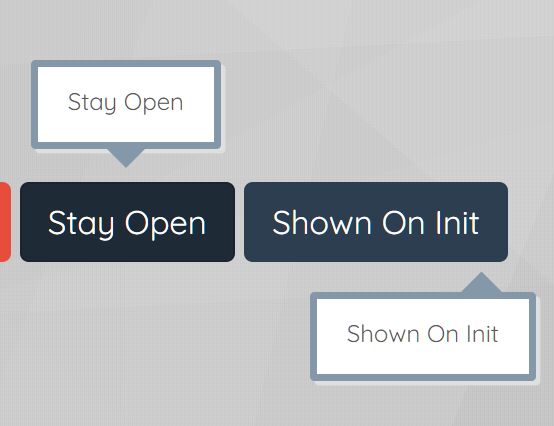
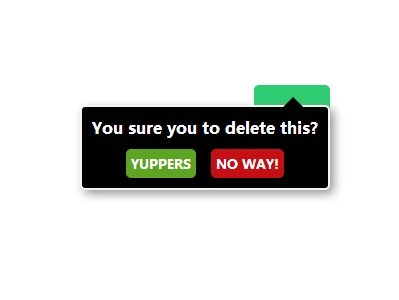
6. If you want to trigger the tooltip by 'Click' event instead.
$(".tooltip-trigger").tooltip({
  event: 'click'
});
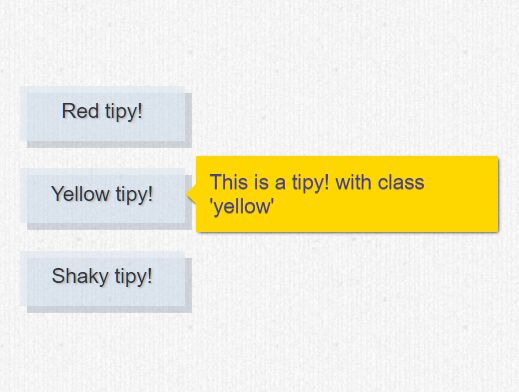
7. Change the default animation.
$(".tooltip-trigger").tooltip({

  // "scale", "fade", "slide"
  animation: 'scale'

});
8. Set the space between trigger element and your tooltip.
$(".tooltip-trigger").tooltip({

  space: 20

});
9. Override the default tooltip styles.
.tooltip {
  background: rgba(80,80,80,.9);
  color: #fff;
  z-index: 999999;
  position: absolute;
  padding: 8px;
  max-width: 250px;
  border-radius: 2px;
}
This awesome jQuery plugin is developed by CarlosKam. For more Advanced Usages, please check the demo page or visit the official website.