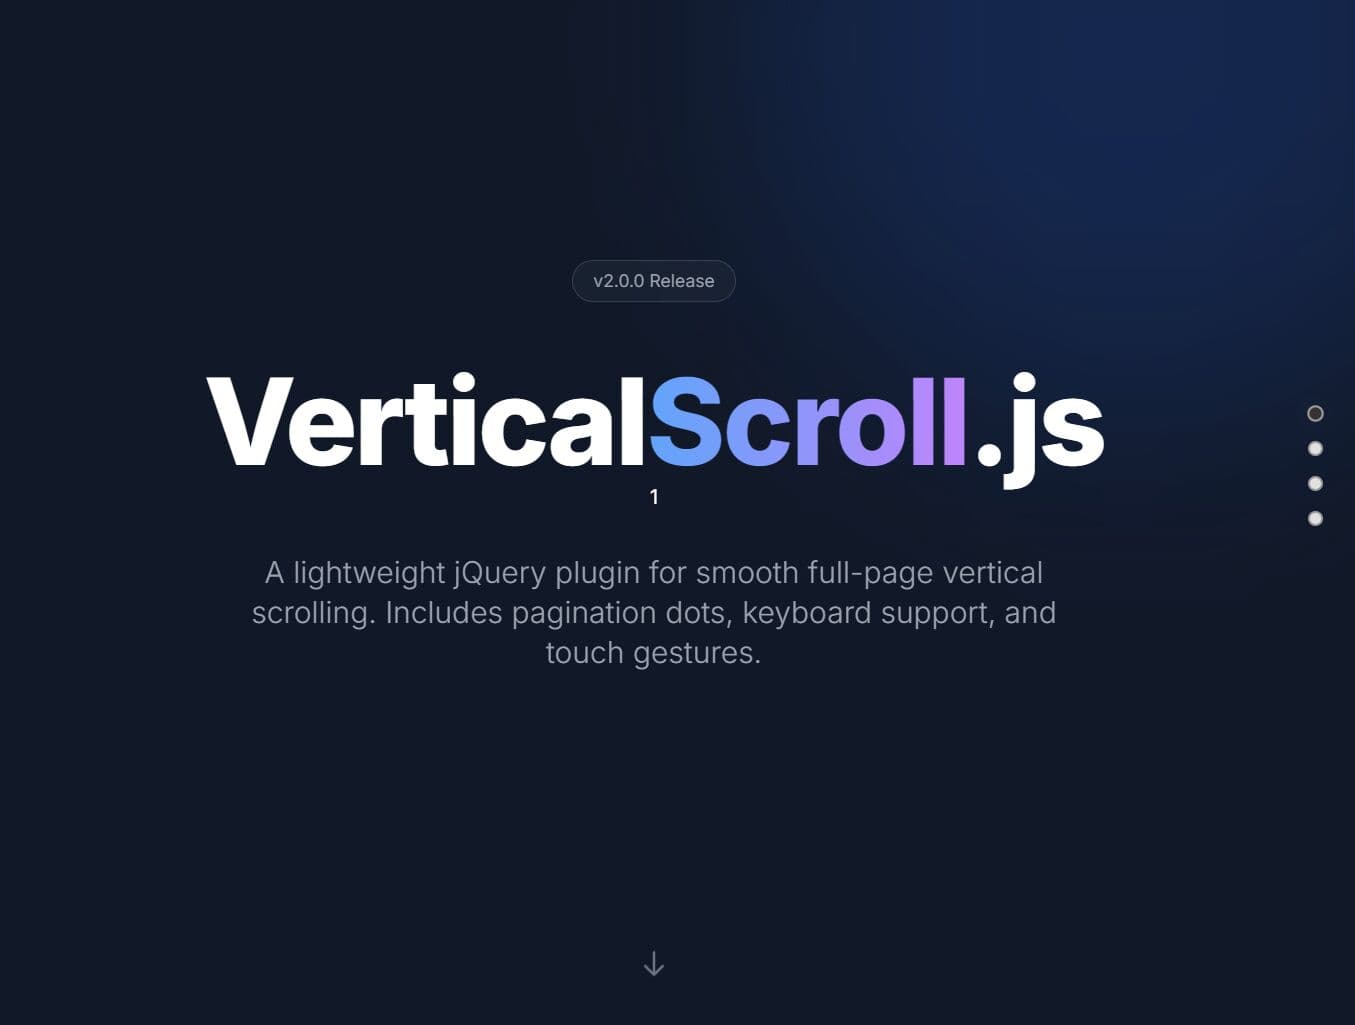
Fullpage Parallax Scrolling with Side Navigation Using jQuery
| File Size: | 3.65 KB |
|---|---|
| Views Total: | 16785 |
| Last Update: | |
| Publish Date: | |
| Official Website: | Go to website |
| License: | MIT |
A jQuery & CSS3 powered fullpage parallax scrolling effect that comes with a side dots navigation that indicates which content section you're viewing on and allows you to scroll the webpage to specific point.
How to use it:
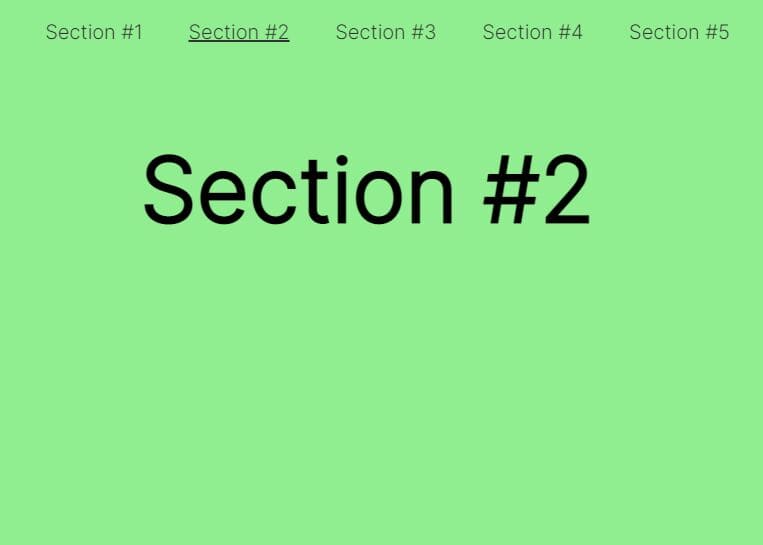
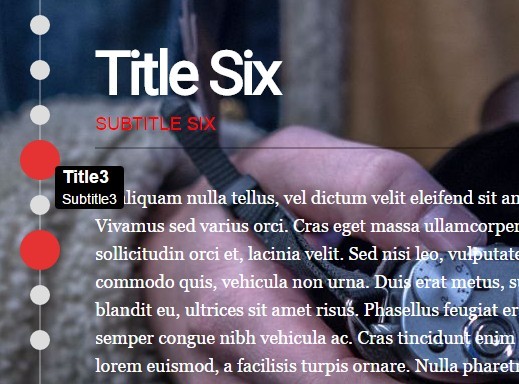
1. Create a list of navigation dots with anchor tags that point to different content sections within the document.
<div class="nav">
  <ul class="dot-nav">
    <li>
      <a href="#one" class="active" scroll-data="one"></a>
      <span><b>Section One</b>
      Test Heading here</span>
    </li>
    <li>
      <a href="#two" scroll-data="two"></a>
      <span><b>Section Two</b>
      Subtitle</span>
    </li>
    <li>
      <a href="#three" scroll-data="three"></a>
      <span><b>Section Three</b>
      Subtitle2</span>
    </li>
    ...
  </ul>
</div>
2. Create content sections with corresponding IDs.
<div class="main">
  <section id="one" data-anchor="one" class="page-block">
    <div class="content">
      <h1>Section One</h1>
      <h3>Title One</h3>
      <p>Content One</p>
    </div>
  </section>
  <section id="two" data-anchor="two" class="page-block">
    <div class="content">
      <h1>Section Two</h1>
      <h3>Subtitle Two</h3>
      <p>Content Two</p>
    </div>
  </section>
  <section id="three" data-anchor="three" class="page-block">
    <div class="content">
      <h1>Section Three</h1>
      <h3>Subtitle Three</h3>
      <p>Content Three</p>
    </div>
  </section>
  ...
</div>
3. The CSS for the dots navigation.
@media (min-width: 800px) {

.nav {
  display: none;
  position: fixed;
  top: 0;
  bottom: 0;
  left: 0;
  height: 100%;
  list-style: none;
  z-index: 997;
}

@media (min-width: 500px) and (min-height: 375px) {
  .nav {
    display: block;
  }
}

.nav:before {
  border-left: 2px solid rgba(255, 255, 255, 0.3);
  content: "";
  position: absolute;
  top: 0;
  bottom: 0;
  height: 100%;
  left: 49px;
}

.dot-nav {
  list-style: none;
  position: relative;
  z-index: 5;
}

.dot-nav a {
  display: inline-block;
  background: #ddd;
  width: 20px;
  height: 20px;
  border-radius: 100%;
  vertical-align: middle;
}

.dot-nav a:hover {
  -webkit-transition: all 0.15s ease-in-out;
  transition: all 0.15s ease-in-out;
  background-color: #e53333;
  -webkit-transform: scale(2);
  -ms-transform: scale(2);
  transform: scale(2);
}

.dot-nav a.active {
  background-color: #e53333;
  -webkit-transform: scale(2);
  -ms-transform: scale(2);
  transform: scale(2);
}

.dot-nav li {
  margin: 25px 0;
}

.dot-nav li span {
  opacity: 0;
  position: fixed;
  vertical-align: middle;
  color: #fff;
  background: #000;
  padding: 2px 7px;
  margin-top: -4px;
  margin-left: 25px;
  border-radius: 4px;
  -webkit-transition: opacity 0.3s ease-in-out;
  transition: opacity 0.3s ease-in-out;
  font-size: 14px;
}

.dot-nav li span b {
  display: block;
  font-size: 18px;
  line-height: 1;
  margin-bottom: 5px;
}

.dot-nav li a:hover + span {
  opacity: 1;
}
4. The CSS styles for the main content.
.main {
  height: 100%;
  position: relative;
}

.page-block {
  background-size: cover;
}

.content {
  width: 70%;
  margin: 0 auto;
  padding: 3em 0;
  color: #fff;
}
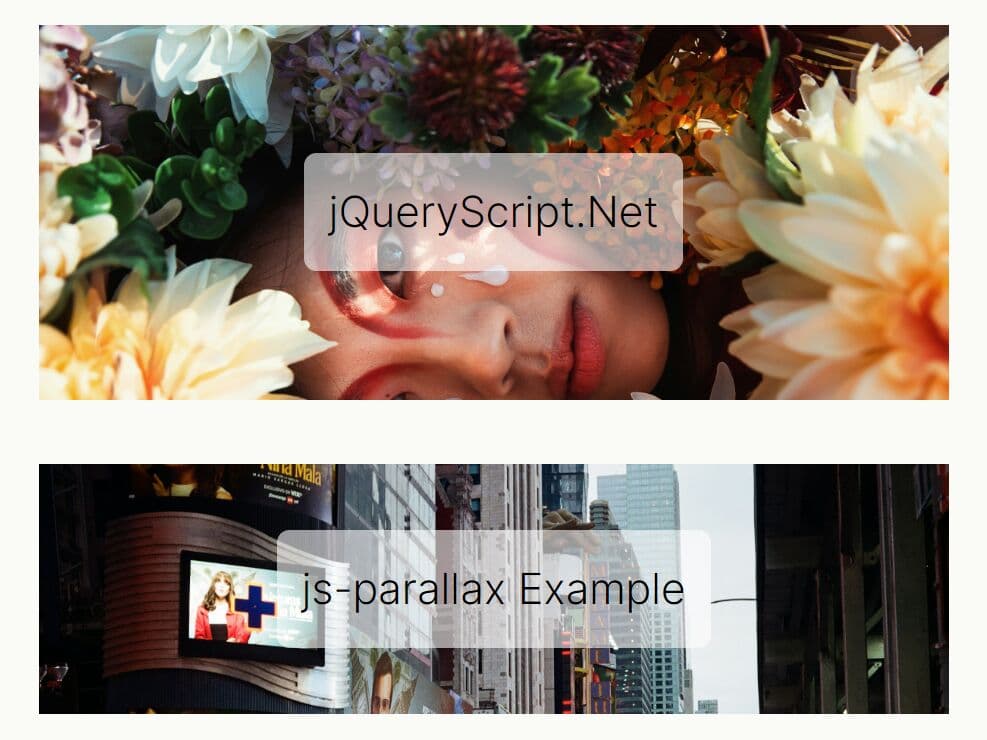
5. Add background images into the content sections.
#one {
  background: url(1.jpg) no-repeat center center fixed;
}

#two {
  background: url(2.jpg) no-repeat center center fixed;
}

#three {
  background: url(3.jpg) no-repeat center center fixed;
}
6. The jQuery script to enable the dots navigation & parallax scrolling effect.
$('.dot-nav a').on('click', function() {

  var scrollAnchor = $(this).attr('data-scroll'),
      scrollPoint = $('section[data-anchor="' + scrollAnchor + '"]').offset().top - 28;

  $('.main').animate({
    scrollTop: scrollPoint
  }, 500);

  return false;

})


$(window).scroll(function() {
  var windscroll = $(window).scrollTop();
  if (windscroll >= 100) {
      $('.dot-nav').addClass('fixed');
      $('.main section').each(function(i) {
        if ($(this).position().top <= windscroll) {
          $('.dot-nav a.active').removeClass('active');
          $('.dot-nav a').eq(i).addClass('active');
        }
      });

  } else {

    $('dot-nav').removeClass('fixed');
    $('dot-nav a.active').removeClass('active');
    $('dot-nav a:first').addClass('active');
  }

}).scroll();
This awesome jQuery plugin is developed by verdana. For more Advanced Usages, please check the demo page or visit the official website.