Easy, Responsive, Automatic Carousel Slider With jQuery
| File Size: | 5.68 KB |
|---|---|
| Views Total: | 8409 |
| Last Update: | |
| Publish Date: | |
| Official Website: | Go to website |
| License: | MIT |

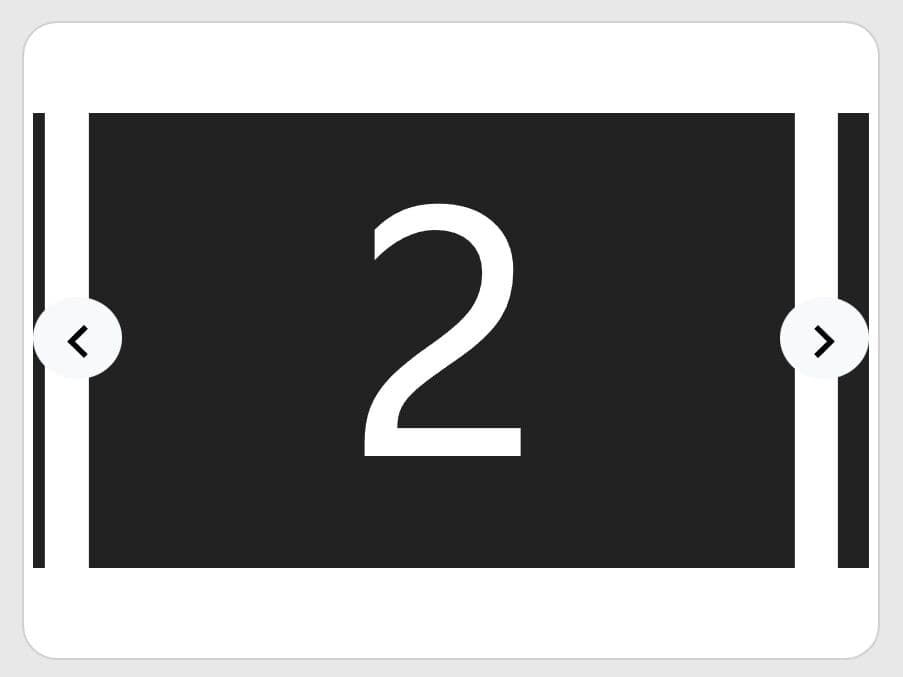
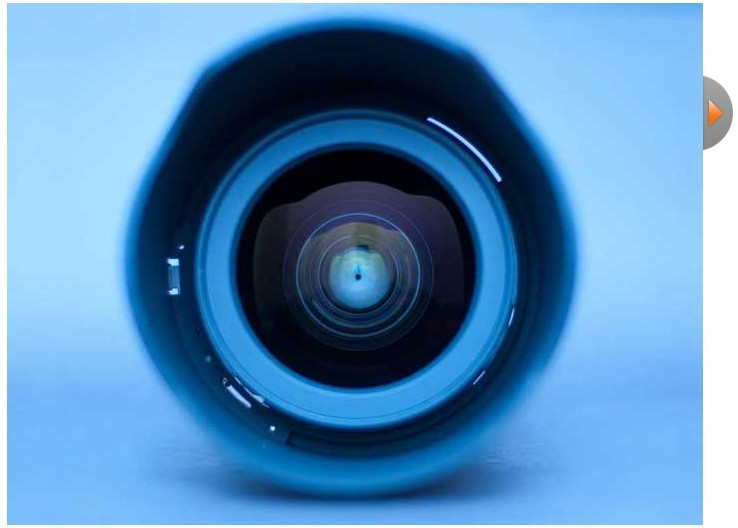
Yet another jQuery plugin that provides an easy way to showcase your images in a responsive, auto-rotating carousel interface with pagination and navigation controls.
How to use it:
1. Create a list of images and then insert them together with the pagination dots and navigation arrows into the 'carousel' container.
<div class="carousel">
  <ul class="ct clearfix">
    <li><a href="#"><img src="1.jpg"></a></li>
    <li><a href="#"><img src="2.jpg"></a></li>
    <li><a href="#"><img src="3.jpg"></a></li>
    <li><a href="#"><img src="4.jpg"></a></li>
  </ul>
  <a href="#" class="arrow pre"><</a>
  <a href="#" class="arrow next">></a>
  <ul class="bullet">
    <li class="active"></li>
    <li></li>
    <li></li>
    <li></li>
  </ul>
</div>
2. The primary CSS styles for the carousel. Add the following CSS snippets into your document and modify the CSS rules as per your need.
.carousel {
  max-width: 980px;
  height: 400px;
  margin: 0 auto;
  overflow: hidden;
  position: relative;
}

.ct { position: relative; }

.ct img {
  height: 400px;
  width: 980px;
}

.ct li { float: left; }

.bullet {
  position: absolute;
  left: 50%;
  transform: translateX(-50%);
  bottom: 10px;
}

.bullet li {
  height: 5px;
  width: 30px;
  border-radius: 5px;
  background-color: #fff;
  display: inline-block;
  margin-right: 10px;
  cursor: pointer;
}

.active { opacity: 0.5; }

.arrow {
  color: rgba(0,0,0,0.3);
  font-size: 80px;
  position: absolute;
  top: 40%;
}

.arrow:hover { color: rgba(0,0,0,0.9); }

.pre { left: 0; }

.next { right: 0; }

.clearfix:after {
  content: "";
  display: block;
  clear: both;
}
3. Load both jQuery library and the carousel.js script at the end of the document.
<script src="//code.jquery.com/jquery.min.js"></script>
<script src="carousel.js"></script>
This awesome jQuery plugin is developed by LeeCL. For more Advanced Usages, please check the demo page or visit the official website.