Basic Autoplay Content Slider with jQuery and CSS3
| File Size: | 54.3 KB |
|---|---|
| Views Total: | 42618 |
| Last Update: | |
| Publish Date: | |
| Official Website: | Go to website |
| License: | MIT |

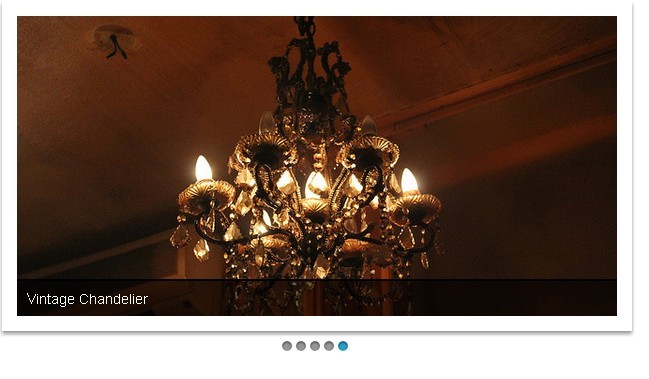
A very simple jQuery based content slider which enables you to loop through a list of Html content with CSS3 transitions.
Basic Usage:
1. Create a list of Html content and wrap it together with the prev/next controls into a container element.
<div id="slider">
<a href="#" class="control_next">></a>
<a href="#" class="control_prev"><</a>
<ul>
<li><img src="1.jpg"></li>
<li><img src="2.jpg"></li>
<li><img src="3.jpg"></li>
<li><img src="4.jpg"></li>
<li><img src="5.jpg"></li>
...
</ul>
</div>
2. Create a checkbox to toggle the autoplay mode.
<div class="slider_option">
  <input type="checkbox" id="checkbox">
  <label for="checkbox">Autoplay Slider</label>
</div>
3. The Basic styles for the content slider.
#slider {
  position: relative;
  overflow: hidden;
  margin: 20px auto 0 auto;
  border-radius: 4px;
}

#slider ul {
  position: relative;
  margin: 0;
  padding: 0;
  height: 200px;
  list-style: none;
}
4. Style the prev/next controls.
a.control_prev, a.control_next {
  position: absolute;
  top: 40%;
  z-index: 999;
  display: block;
  padding: 4% 3%;
  width: auto;
  height: auto;
  background: #2a2a2a;
  color: #fff;
  text-decoration: none;
  font-weight: 600;
  font-size: 18px;
  opacity: 0.8;
  cursor: pointer;
}

a.control_prev:hover, a.control_next:hover {
  opacity: 1;
  -webkit-transition: all 0.2s ease;
}

a.control_prev {
  border-radius: 0 2px 2px 0;
}

a.control_next {
  right: 0;
  border-radius: 2px 0 0 2px;
}
5. Load the needed jQuery library at the bottom of your web page.
<script src="//ajax.googleapis.com/ajax/libs/jquery/1.11.2/jquery.min.js"></script>
6. The core JavaScript to enable the content slider.
var slideCount = $('#slider ul li').length;
var slideWidth = $('#slider ul li').width();
var slideHeight = $('#slider ul li').height();
var sliderUlWidth = slideCount * slideWidth;

$('#slider').css({ width: slideWidth, height: slideHeight });

$('#slider ul').css({ width: sliderUlWidth, marginLeft: - slideWidth });

$('#slider ul li:last-child').prependTo('#slider ul');

function moveLeft() {
  $('#slider ul').animate({
    left: + slideWidth
  }, 200, function () {
    $('#slider ul li:last-child').prependTo('#slider ul');
    $('#slider ul').css('left', '');
  });
};

function moveRight() {
  $('#slider ul').animate({
    left: - slideWidth
  }, 200, function () {
    $('#slider ul li:first-child').appendTo('#slider ul');
    $('#slider ul').css('left', '');
  });
};

$('a.control_prev').click(function () {
  moveLeft();
});

$('a.control_next').click(function () {
  moveRight();
});
6. The JavaScript to active the autoplay mode.
$('#checkbox').change(function(){
  setInterval(function () {
    moveRight();
  }, 3000);
});
This awesome jQuery plugin is developed by bonifasiuskhris. For more Advanced Usages, please check the demo page or visit the official website.