Simple Multi-purpose jQuery Slideshow Plugin - NOSlideShow
| File Size: | 15.4 KB |
|---|---|
| Views Total: | 1949 |
| Last Update: | |
| Publish Date: | |
| Official Website: | Go to website |
| License: | MIT |

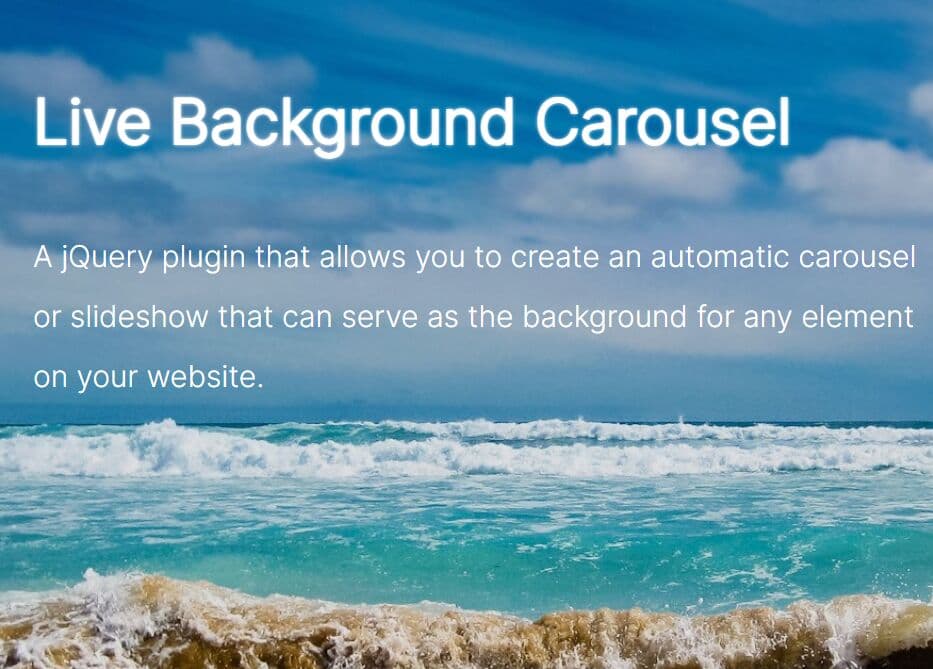
A simple, responsive, multifunctional jQuery slideshow / carousel plugin for fading through a series of image & text content in a specific container and even the whole webpage. Also features auto image cropping to make your slideshow fit within any screen/container size.
How to use it:
1. The basic HTML structure for the slideshow.
<div class="crop-img cover-img__b"></div>
<div class="crop-img cover-img__a"></div>
2. Add titles and image descriptions to the slideshow.
<div class="cover-body">
  <div class="cover-body-inner">

    <div class="cover-title">
      I'm a slideshow
    </div>
    <div class="cover-description">
      <p><strong>Stuff by <a href="#">@someone</a></strong></p>
      <p class="cover-subtitle"></p>
    </div>
    <div class="cover-actions">
    </div>

  </div>
</div>
3. Place jQuery library and the jQuery NOSlideShow plugin at the end of the document so the page loads faster.
<script src="jquery.min.js"></script>
<script src="js/NOSlideShow.js"></script>
4. Set slides.
var mySlideShow = new SlideShow('projectSlides');
    mySlideShow.container.label = $(".cover-subtitle");
    mySlideShow.container.image = $(".crop-img.cover-img__a");
    mySlideShow.container.background = $(".crop-img.cover-img__b");

mySlideShow.setSlides([
  {name: 'Image 1', image: '1.jpg'},
  {name: 'Image 2', image: '2.jpg'},
  {name: 'Image 3', image: '3.jpg'},
  {name: 'Image 4', image: '4.jpg'},
  {name: 'Image 5', image: '5.jpg'}
]);
5. Display first slide.
mySlideShow.displaySlide();
6. Loop through slides automatically.
var showInterval = setInterval("mySlideShow.advanceSlide()", 3000);
This awesome jQuery plugin is developed by nonoesp. For more Advanced Usages, please check the demo page or visit the official website.