Elegant Banner Slider/Carousel Plugin With jQuery - kaiBanner
| File Size: | 8.73 KB |
|---|---|
| Views Total: | 8919 |
| Last Update: | |
| Publish Date: | |
| Official Website: | Go to website |
| License: | MIT |
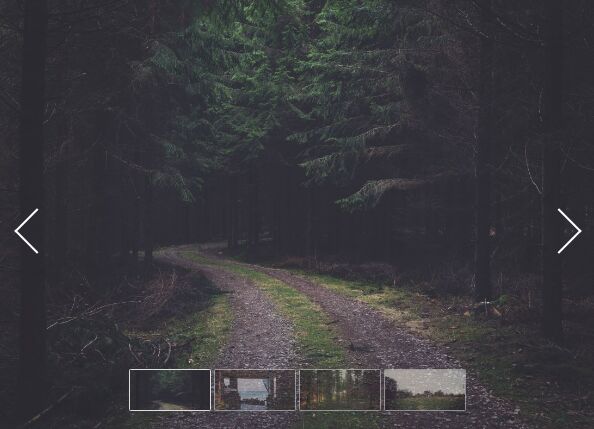
A small, elegant and responsive banner slider plugin with jQuery that slides through a group of images just like a carousel. Not only images, you're also allowed to present any elements (e.g. videos, text, etc) in the banner slider.
How to use it:
1. Add background images together with the navigation buttons and thumbnails to the slider.
<div class="kai_banner_container clearfix">
  <div class="kai_banner_body clearfix">
    <a href=""><img src="img/banner_01.jpg"></a>
    <a href=""><img src="img/banner_02.jpg"></a>
    <a href=""><img src="img/banner_03.jpg"></a>
    <a href=""><img src="img/banner_04.jpg"></a>
    <a href=""><img src="img/banner_05.jpg"></a>
  </div>
  <div class="kai_banner_bottombtns">
    <span class="highlight" style='background-image:url(img/banner_01.jpg)'></span>
    <span style='background-image:url(img/banner_02.jpg)'></span>
    <span style='background-image:url(img/banner_03.jpg)'></span>
    <span style='background-image:url(img/banner_04.jpg)'></span>
    <span style='background-image:url(img/banner_05.jpg)'></span>
  </div>
  <div class="kai_banner_prevbtn side_btn"></div>
  <div class="kai_banner_nextbtn side_btn"></div>
</div>
2. Code the CSS for the banner slider. Feel free to override the CSS styles as displayed below and then insert them into your webpage.
.kai_banner_container {
  width: 100%;
  height: 700px;
  position: relative;
  overflow: hidden;
}

.kai_banner_container .kai_banner_body {
  white-space: nowrap;
  word-space: -4px;
  letter-spacing: -6px;
  position: relative;
}

.kai_banner_container .kai_banner_body a {
  display: inline-block;
  width: 100%;
  background-position: center;
}

.kai_banner_container .kai_banner_body img { width: 100%; }

.kai_banner_container .kai_banner_bottombtns {
  position: absolute;
  bottom: 30px;
  z-index: 200;
  text-align: center;
  width: 100%;
}

.kai_banner_container .kai_banner_bottombtns span {
  background-size: cover;
  display: inline-block;
  width: 120px;
  height: 60px;
  border: 1px solid #ddd;
  border-radius: 2px;
  opacity: 0.5
}

.kai_banner_container .side_btn {
  width: 45px;
  height: 45px;
  border-top: 4px solid #fff;
  border-right: 4px solid #fff;
  position: absolute;
  top: 50%;
  cursor: pointer;
  z-index: 200;
  margin: 50px;
  visibility: hidden;
}

.kai_banner_container:hover .side_btn { visibility: visible; }

.kai_banner_container .side_btn:hover {
  border-color: rgba(0,0,0,0.2);
  border-width: 6px;
}

.kai_banner_container .kai_banner_prevbtn {
  left: 2.5%;
  transform: translateY(-100%) rotate(225deg);
}

.kai_banner_container .kai_banner_nextbtn {
  right: 2.5%;
  transform: translateY(-100%) rotate(45deg);
}
3. Put jQuery library and the jQuery kaiBanner plugin's script at the bottom of the webpage.
<script src="//code.jquery.com/jquery.min.js"></script>
<script src="js/jquery.kaibanner.js"></script>
4. Call the plugin on the top container and done.
$('.kai_banner_container').kaiBanner();
5. Set your prefered options to customize the banner slider.
$('.kai_banner_container').kaiBanner({
  speed:1000,
  fixedWidth:false,
  minWidth:0,
  intervalTime:3000,
  throtteDelayTime:50,
  throtteMaxTime:1000,
  highlightClass:''
});
Change log:
2017-04-16
- bugfix
This awesome jQuery plugin is developed by poezhang. For more Advanced Usages, please check the demo page or visit the official website.