Tiny Carousel With A Wipe Fill Effect - jQuery wipeSlider
| File Size: | 10.9 KB |
|---|---|
| Views Total: | 2321 |
| Last Update: | |
| Publish Date: | |
| Official Website: | Go to website |
| License: | MIT |

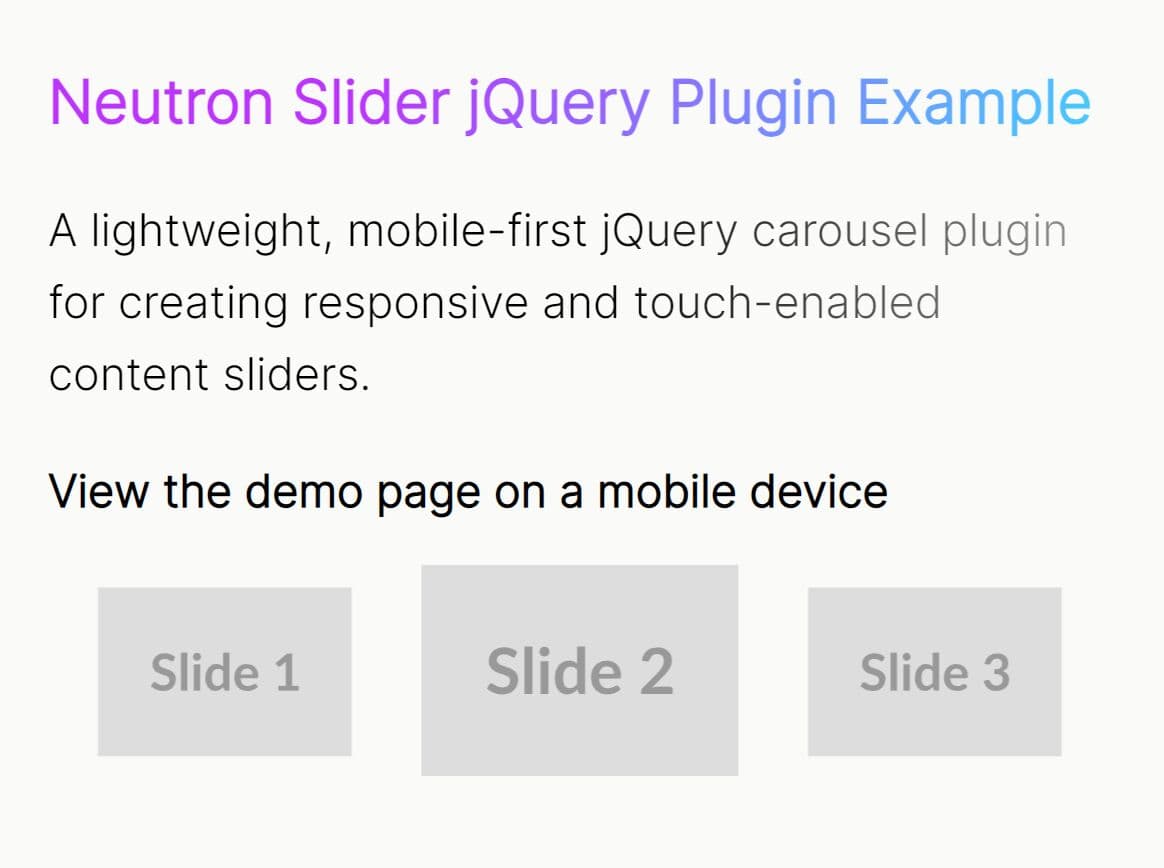
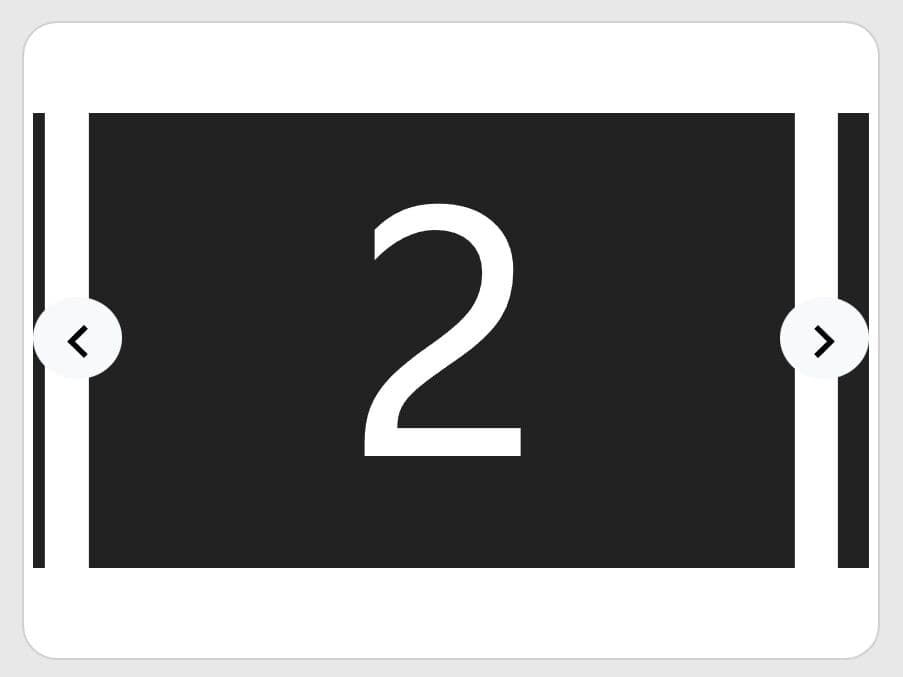
A tiny, elegant, configurable, responsive carousel slider plugin that transitions between slides with a horizontal or vertical 'Swipe Fill' effect.
More Features:
- Autoplay
- Pagination bullets.
- Navigation arrows.
- Custom transition effect.
- Supports any slide content: images, text, etc.
How to use it:
1. Load the jQuery wipeSlider plugin and other required resources in the document.
<link rel="stylesheet" href="/path/to/css/wipeSlider.css">
<script src="/path/to/cdn/jquery.min.js"></script>
<script src="/path/to/script/jquery.wipeSlider.js"></script>
2. Add your HTML content as slides to the carousel.
<div class="slidesWrap js_wiper">
  <ul class="slides">
    <li class="slide">
      <img src="1.jpg" alt="">
      <div class="m_innerBox">
       <p>Descript 1</p>
      </div>
    </li>
    <li class="slide">
      <img src="2.jpg" alt="">
      <div class="m_innerBox">
       <p>Descript 2</p>
      </div>
    </li>
    <li class="slide">
      <img src="3.jpg" alt="">
    </li>
    <li class="slide">
      <img src="4.jpg" alt="">
    </li>
  </ul>
</div>
3. Initialize the plugin to create a basic carousel.
$('.js_wiper').wipeSlider();
4. Customize the transition speed. Default: 500.
$('.js_wiper').wipeSlider({
  transition : 500
});
6. Enable the autoplay functionality. Default: false.
$('.js_wiper').wipeSlider({
  auto : true,
  duration : 4000
});
7. Determine the direction of the animation. Default: 'horizontal'.
// vertical
$('.js_wiper').wipeSlider({
  direction : 'vertical'
});
// random
$('.js_wiper').wipeSlider({
  direction : 'four'
});
// use data attribute to determine the direction for each slide
$('.js_wiper').wipeSlider({
  direction : 'custom'
});
<li class="slide" data-dir="toLeft">
  <img src="1.jpg" alt="">
</li>

<li class="slide" data-dir="toRight">
  <img src="2.jpg" alt="">
</li>

<li class="slide" data-dir="toTop">
  <img src="3.jpg" alt="">
</li>

<li class="slide" data-dir="toBottom">
  <img src="4.jpg" alt="">
</li>
8. Customize the pagination and navigation controls.
// default: true
$('.js_wiper').wipeSlider({
  pager : true,
  controls : true,
});
.slidesWrap .controlls button,
.slidesWrap .pager button {
  -webkit-appearance: none;
  box-shadow: none;
  border: none;
  background: none;
  padding: 0;
  margin: 0;
}

.slidesWrap .pager ul {
  list-style-type: none;
}

.slidesWrap .controlls {
  position: absolute;
  top: 0;
  bottom: 0;
  left: 0;
  width: 100%;
  z-index: 3;
  display: flex;
  align-items: center;
  pointer-events: none
}

.slidesWrap button {
  cursor: pointer;
  outline: none;
}

.slidesWrap .controlls button {
  pointer-events: auto;
  text-indent: -9999px;
  width: 50px;
  height: 100%;
  position: relative;
}

.slidesWrap .controlls button:after {
  content: '';
  display: block;
  width: 20px;
  height: 20px;
  box-sizing: border-box;
  border-top: 2px solid #fff;
  border-right: 2px solid #fff;
  position: absolute;
  top: 0;
  bottom: 0;
  left: 0;
  right: 0;
  margin: auto;
}

.slidesWrap .controlls .prevBtn:after {
  transform: rotate(-135deg);
}

.slidesWrap .controlls .nextBtn {
  margin-left: auto;
}

.slidesWrap .controlls .nextBtn:after {
  transform: rotate(45deg);
}

.slidesWrap .pager {
  display: flex;
  justify-content: center;
  align-items: center;
  z-index: 3;
  margin: 10px 0 0;
}

.slidesWrap .pager li+li {
  margin-left: 10px;
}

.slidesWrap .pager li button {
  display: block;
  text-indent: -9999px;
  width: 15px;
  height: 15px;
  border-radius: 50%;
  background: #fff;
  border: 1px solid #000;
  box-sizing: border-box;
}

.slidesWrap .pager li button.current {
  background: #000;
}
9. Apply a easing function to the transition effect. Default: 'linear'.
// needs a 3rd easing library for more easing function
$('.js_wiper').wipeSlider({
  easing : 'linear'
});
10. Apply a easing function to the transition effect. Default: 'linear'.
// needs a 3rd easing library for more easing function
$('.js_wiper').wipeSlider({
  easing : 'linear'
});
11. Callback functions.
// needs a 3rd easing library for more easing function
$('.js_wiper').wipeSlider({
  slideBefore : function(slideNum,slideLength){
    console.log('before');
  },
  slideAfter : function(slideNum,slideLength){
    console.log('after');
  }
});
12. Override the default transition effect.
.slides{
  position: relative;
}

.slides .slide{
  width: 300px;
  height: 300px;
  position: absolute;
  top: 0;
  left: 0;
}

.slides .slide.active{
  animation:display 1s both;
  z-index: 1;
}

@keyframes display{
  0%{
    transform:scale(0.8);
      opacity:0;
  }
  100%{
    transform:scale(1);
    opacity:1;
  }
}
This awesome jQuery plugin is developed by Kackie. For more Advanced Usages, please check the demo page or visit the official website.