Fullscreen Split Card Slider With Parallax Effect - ContentSlider
| File Size: | 4.67 MB |
|---|---|
| Views Total: | 3780 |
| Last Update: | |
| Publish Date: | |
| Official Website: | Go to website |
| License: | MIT |

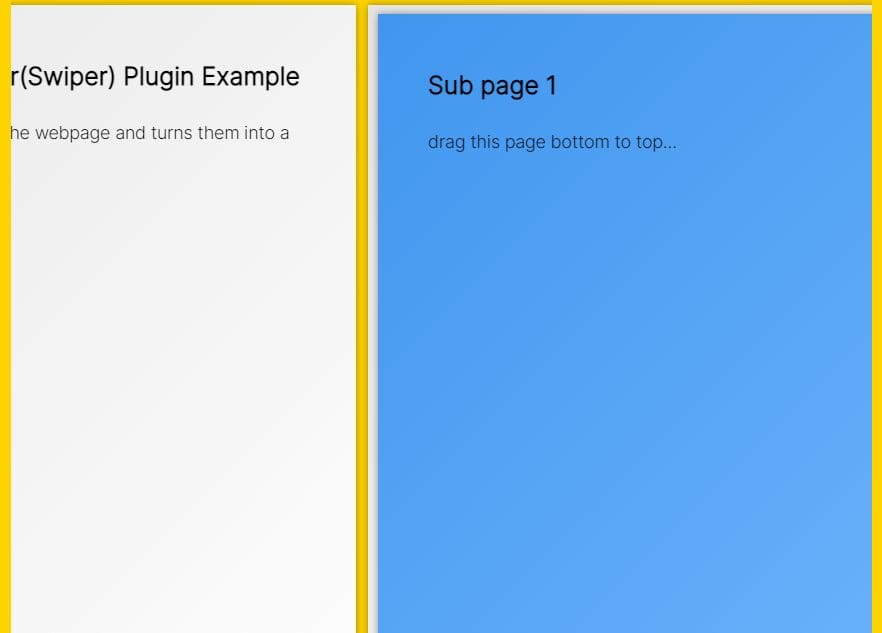
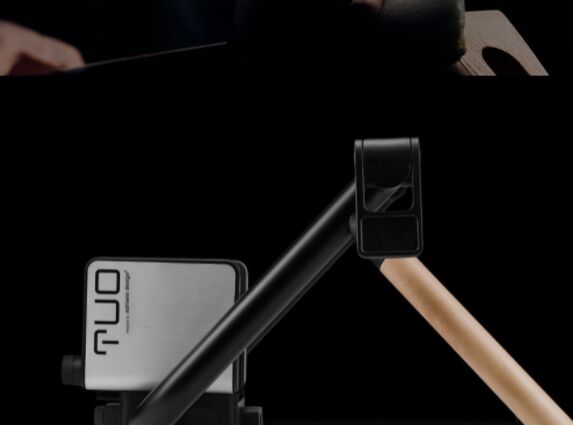
An awesome, responsive, vertical, fullscreen split slider which enables the user to slide through contents with a parallax scrolling effect.
Based on jQuery, CSS3 and GSAP's TweenMax.js library.
How to use it:
1. Add slides to the card slider as follows:
<div class="slide active">
  <div class="card">
    <div class="card-img" id="img01"></div>
      <div class="card-content">
        <p class="card-theme">According to The Quote Verifier: Who Said What, Where, And When (2006)</p>
        <h2 class="card-header">"If you can't stand the heat, get out of the kitchen."</h2>
        <p class="card-para">by Eugene Purcell</p>
        <a href="" class="card-link">Read</a>
      </div>
  </div>
</div>

<div class="slide">
  <div class="card">
    <div class="card-img" id="img02"></div>
      <div class="card-content">
        <p class="card-theme">As quoted in Curiosities in proverbs, (1916) pg. 130</p>
        <h2 class="card-header">"Never leave that till tomorrow which you can do today."</h2>
        <p class="card-para">by Benjamin Franklin</p>
        <a href="" class="card-link">Read</a>
      </div>
  </div>
</div>

<div class="slide">
  <div class="card">
    <div class="card-img" id="img03"></div>
      <div class="card-content">
        <p class="card-theme">As quoted in How to Write a Book Proposal, (2011) pg. 19</p>
        <h2 class="card-header">"Nothing is particularly hard if you divide it into small jobs."</h2>
        <p class="card-para">by Henry Ford</p>
        <a href="" class="card-link">Read</a>
      </div>
  </div>
</div>
2. Create prev/next buttons to slide through the slides.
<div class="prevnext">
  <button class="pn-btn" id="prev"></button>
  <button class="pn-btn" id="next"></button>
</div>
3. The main CSS for the card slider.
.slide{
  display: flex;
  justify-content: center;
  align-items: center;
  flex-wrap: wrap;
  flex-direction: column;
  width: 100%;
  height: 100%;
}

.card{
  width: 100%;
  height: 100vh;
  display: flex;
  background: #fff;
}

.card-img{
  background-position: center;
  width: 50%;
  height: 100%;
  background-size: cover;
  background-repeat: no-repeat;
}

.card-content{
  padding: 10% 5%;
  box-sizing: border-box;
  width: 50%;
  background: #0A0A0A;
}

.card-theme{
  font-weight: 900;
  font-size: 1.7vmin;
  text-transform: uppercase;
  font-family: Poppins;
  letter-spacing: 10px;
  color: grey;
}

.card-header{
  font-weight: 700;
  font-size: 54px;
  text-transform: capitalize;
  line-height: 1;
  margin: 3vmin 0 3.5vmin;
  color: #fff;
  font-family: Poppins;
}

.card-para{
  font-size: 1.6vmin;
  line-height: 1.8;
  font-weight: 300;
  margin-bottom: 2.5vmin;
  color: #fff;
  font-family: Poppins;
}

.card-link{
  color: #fff;
  font-family: Poppins;
  font-size: 1.8vmin;
  display: block;
  cursor: pointer;
  text-decoration: none;
  opacity: 0.7;
  transition: opacity 0.3s ease;
}

.card-link:after{
  content: " →";
}
4. Add your own background images to the slides.
#img01{
  background-image: url("img01.jpeg");
}

#img02{
  background-image: url("img02.jpeg");
}

#img03{
  background-image: url("img03.jpeg");
}
5. Style the navigation controls.
.prevnext{
  position: absolute;
  width: 4vmin;
  height: 8vmin;
  right: 2%;
  bottom: 0;
  top: 80%;
  color: #fff;
  margin: auto 0;
}

.pn-btn{
  color: #fff;
  width: 100%;
  height: 50%;
  border: 0;
  background-color: transparent;
  font-size: 20px;
}

#prev, #next{
  position: relative;
  cursor: pointer;
}

#prev:focus, #next:focus{
  outline: none;
}

#prev:hover:after, #next:hover:after{
  opacity: 1;
}

#prev:after, #next:after{
  position: absolute;
  width: 100%;
  height: 100%;
  left: 0;
  top: 0;
  right: 0;
  bottom: 0;
  opacity: 0.6;
  transition: opacity 0.3s ease;
}

#prev:after{
  content: "↑";
}

#next:after{
  content: "↓";
}
6. The main JavaScript to activate the card slider.
var $activeSlide = $('.active'),
    $homeSlide = $(".slide"),
    $slideNavPrev = $("#prev"),
    $slideNavNext = $("#next");

function init() {
  TweenMax.set($homeSlide.not($activeSlide), {autoAlpha: 0});
  TweenMax.set($slideNavPrev, {autoAlpha: 0.2});
}

init();

function goToNextSlide(slideOut, slideIn, slideInAll) {
  var t1 = new TimelineLite(),
  slideOutContent = slideOut.find('.card-content'),
  slideInContent = slideIn.find('.card-content'),
  slideOutImg = slideOut.find('.card-img'),
  slideInImg = slideIn.find('.card-img'),
  index = slideIn.index(),
  size = $homeSlide.length;
  console.log(index);

  if(slideIn.length !== 0) {
  t1
  .set(slideIn, {autoAlpha: 1, className: '+=active'})
  .set(slideOut, {className: '-=active'})
  .to(slideOutContent, 0.65, {y: "+=40px", ease: Power3.easeInOut}, 0)
  .to(slideOutImg, 0.65, {backgroundPosition :'bottom', ease: Power3.easeInOut}, 0)
  .to(slideInAll, 1, {y: "-=100%", ease: Power3.easeInOut}, 0)
  .fromTo(slideInContent, 0.65, {y: '-=40px'}, {y : 0, ease: Power3.easeInOut}, "-=0.7")
  .fromTo(slideInImg, 0.65, {backgroundPosition: 'top'}, {backgroundPosition: 'bottom', ease: Power3.easeInOut}, '-=0.7')
  }

  TweenMax.set($slideNavPrev, {autoAlpha: 1});

  if(index === size - 1){
        TweenMax.to($slideNavNext, 0.3, {autoAlpha: 0.2, ease:Linear.easeNone});
  }
};

$slideNavNext.click(function(e) {
  e.preventDefault();

  var slideOut = $('.slide.active'),
  slideIn = $('.slide.active').next('.slide'),
  slideInAll = $('.slide');

  goToNextSlide(slideOut, slideIn, slideInAll);

});

function goToPrevSlide(slideOut, slideIn, slideInAll) {
  var t1 = new TimelineLite(),
  slideOutContent = slideOut.find('.card-content'),
  slideInContent = slideIn.find('.card-content'),
  slideOutImg = slideOut.find('.card-img'),
  slideInImg = slideIn.find('.card-img'),
  index = slideIn.index(),
  size = $homeSlide.length;

  if(slideIn.length !== 0) {
  t1
  .set(slideIn, {autoAlpha: 1, className: '+=active'})
  .set(slideOut, {className: '-=active'})
  .to(slideOutContent, 0.65, {y: "-=40px", ease: Power3.easeInOut}, 0)
  .to(slideOutImg, 0.65, {backgroundPosition :'top', ease: Power3.easeInOut}, 0)
  .to(slideInAll, 1, {y: "+=100%", ease: Power3.easeInOut}, 0)
  .fromTo(slideInContent, 0.65, {y: '+=40px'}, {y : 0, ease: Power3.easeInOut}, "-=0.7")
  .fromTo(slideInImg, 0.65, {backgroundPosition: 'bottom'}, {backgroundPosition: 'top', ease: Power3.easeInOut}, '-=0.7')
  }

  TweenMax.set($slideNavPrev, {autoAlpha: 1});

  if(index === 0){
        TweenMax.to($slideNavPrev, 0.3, {autoAlpha: 0.2, ease:Linear.easeNone});
  }
};

$slideNavPrev.click(function(e) {
  e.preventDefault();

  var slideOut = $('.slide.active'),
  slideIn = $('.slide.active').prev('.slide'),
  slideInAll = $('.slide');

  goToPrevSlide(slideOut, slideIn, slideInAll);

});
This awesome jQuery plugin is developed by r4nd3l. For more Advanced Usages, please check the demo page or visit the official website.