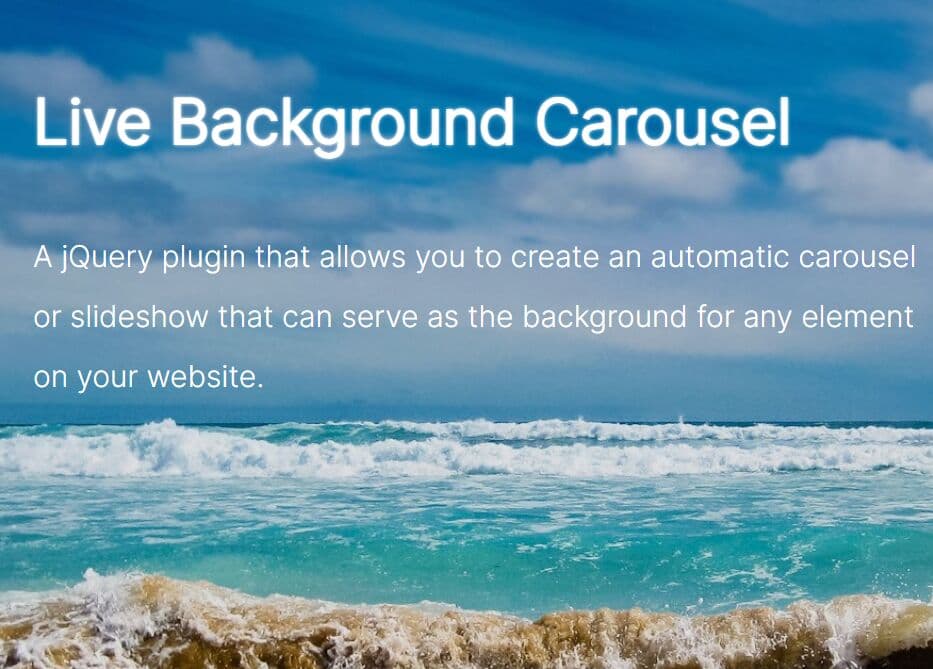
Basic Responsive jQuery Sliding Carousel Plugin - LMS Slideshow
| File Size: | 6.43 KB |
|---|---|
| Views Total: | 593 |
| Last Update: | |
| Publish Date: | |
| Official Website: | Go to website |
| License: | MIT |

LMS Slideshow is a jQuery plugin that provides a simple way to create a responsive image carousel/slideshow with support for infinite loop.
Basic Usage:
1. Load the jQuery library and jQuery LMS Slideshow's JS and CSS files in your html page.
<link href="slide.css" rel="stylesheet" type="text/css">
<script src="http://ajax.googleapis.com/ajax/libs/jquery/1.11.1/jquery.min.js"></script>
<script src="slide.js"></script>
2. Create the Html for the left/right arrow navigation. Font Awesome is required for the navigation icons.
<div class="prev">
  <div class="nav-btn"><i class="fa fa-angle-left"></i> </div>
</div>
<div class="next">
  <div class="nav-btn"><i class="fa fa-angle-right"></i> </div>
</div>
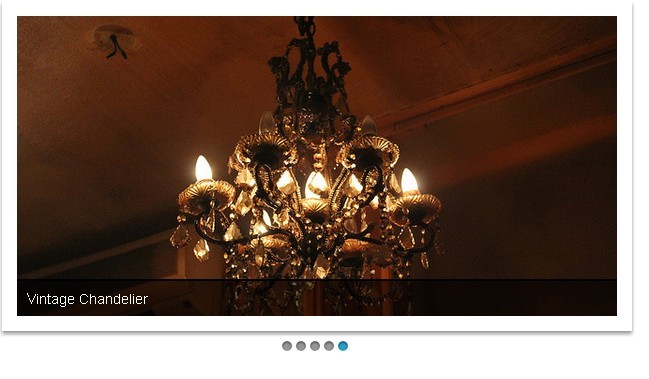
3. Insert the images into your html page as follows.
<div class="lmsSlideWrap">
  <div class="lmsSlideBody">
    <div class="slide">
      <div class="content">
        <div class="image"> <img src="1.jpg"> </div>
      </div>
    </div>
    <div class="slide">
      <div class="content">
        <div class="image"> <img src="2.jpg"> </div>
      </div>
    </div>
    <div class="slide">
      <div class="content">
        <div class="image"> <img src="3.jpg"> </div>
      </div>
    </div>
  </div>
</div>
4. The full Html markup should be like this:
<div class="lmsSlide">

<!-- Navigation -->

<!-- Images -->

</div>
5. You can setup the carousel/slideshow via data-* attributes defined in parent container.
<div class="lmsSlide"
     data-fill="fill"
     data-delay="5"
     data-autoslide="yes"
>
This awesome jQuery plugin is developed by lemankk. For more Advanced Usages, please check the demo page or visit the official website.