Mouse-aware Sliding Overlays with jQuery and CSS3
| File Size: | 1.8 KB |
|---|---|
| Views Total: | 4098 |
| Last Update: | |
| Publish Date: | |
| Official Website: | Go to website |
| License: | MIT |
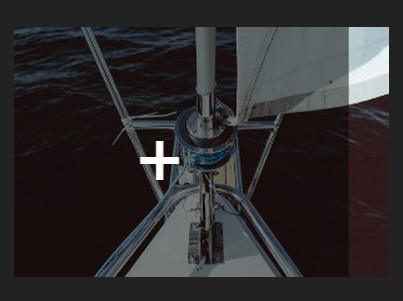
Creating mouse direction aware sliding overlays covering any Html elements using jQuery and CSS3. The overlay direction is determined by where the mouse enters the element.
See also:
- Direction-aware Hover Effect with jQuery SlipHover Plugin
- Image Direction-Aware Hover Effect with jQuery and CSS3
- Simple jQuery Direction Aware Hover Animation Plugin - Hover Direction
How to use it:
1. Create a DIV element on where you wish to apply a sliding overlay.
<div></div>
2. Set the width & height for the DIV element and make it position:relative.
div {
  width: 300px;
  height: 200px;
  margin: 20px;
  overflow: hidden;
  position: relative;
}
3. Create sliding overlay using CSS3 transitions and transforms.
div:before {
  content: '+';
  color: white;
  padding-top: calc(30% - 20px);
  padding-left: calc(50% - 20px);
  font-size: 4em;
  position: absolute;
  width: 300px;
  height: 200px;
  background: rgba(0, 0, 0, 0.5);
  -webkit-transform: translate3d(0, 100%, 0);
  transform: translate3d(0, 100%, 0);
  visibility: hidden;
  -webkit-transition: all 0.5s cubic-bezier(0.68, -0.6, 0.33, 1.65);
  transition: all 0.5s cubic-bezier(0.68, -0.6, 0.33, 1.65);
  -webkit-transition-property: -webkit-transform, visibility;
  transition-property: transform, visibility;
}

div.mouse-from-top:before {
  -webkit-transform: translate3d(0, -100%, 0);
  transform: translate3d(0, -100%, 0);
}

div.mouse-from-right:before {
  -webkit-transform: translate3d(100%, 0, 0);
  transform: translate3d(100%, 0, 0);
}

div.mouse-from-bottom:before {
  -webkit-transform: translate3d(0, 100%, 0);
  transform: translate3d(0, 100%, 0);
}

div.mouse-from-left:before {
  -webkit-transform: translate3d(-100%, 0, 0);
  transform: translate3d(-100%, 0, 0);
}

div:hover:before {
  -webkit-transform: translate3d(0, 0, 0);
  transform: translate3d(0, 0, 0);
  visibility: visible;
}
4. Load the latest version of jQuery JavaScript library in the web page.
<script src="//ajax.googleapis.com/ajax/libs/jquery/2.1.3/jquery.min.js"></script>
5. The core JavaScript to enable the sliding overlays.
$(window).on('resize', function(){
  for (i = 0; i < $('div').length; i++) {
    var div = $('div');
    var divW = $(div).width();
    var divH = $(div).height();
  }

  $(document).on('mousemove', function(event){
    var mouseX = event.pageX;
    var mouseY = event.pageY;

    for (i = 0; i < $('div').length; i++) {
      if (mouseY > 0 && mouseY < $(div[i]).position().top) {
        $(div[i]).removeClass();
        $(div[i]).addClass('mouse-from-top');
      }

      if ((mouseY > $(div[i]).position().top && mouseY < $(div[i]).position().top + divH) && (mouseX < $('body').width() && mouseX > $(div[i]).position().left + divW)) {
        $(div[i]).removeClass();
        $(div[i]).addClass('mouse-from-right');
      }

      if (mouseY > $(div[i]).position().top + divH && mouseY < $('body').height()) {
        $(div[i]).removeClass();
        $(div[i]).addClass('mouse-from-bottom');
      }

      if ((mouseY > $(div[i]).position().top && mouseY < $(div[i]).position().top + divH) && (mouseX > 0 && mouseX < $(div[i]).position().left)) {
        $(div[i]).removeClass();
        $(div[i]).addClass('mouse-from-left');
      }
    }
  });
}).resize();
This awesome jQuery plugin is developed by magicPenguin. For more Advanced Usages, please check the demo page or visit the official website.