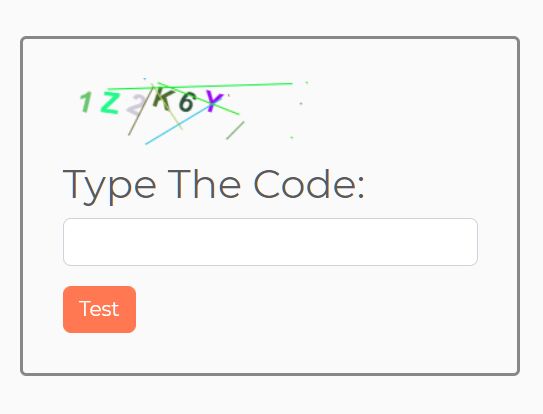
Simplify Bot Prevention For Your Web Apps with EasyCaptchaJS
| File Size: | 74 KB |
|---|---|
| Views Total: | 2874 |
| Last Update: | |
| Publish Date: | |
| Official Website: | Go to website |
| License: | MIT |
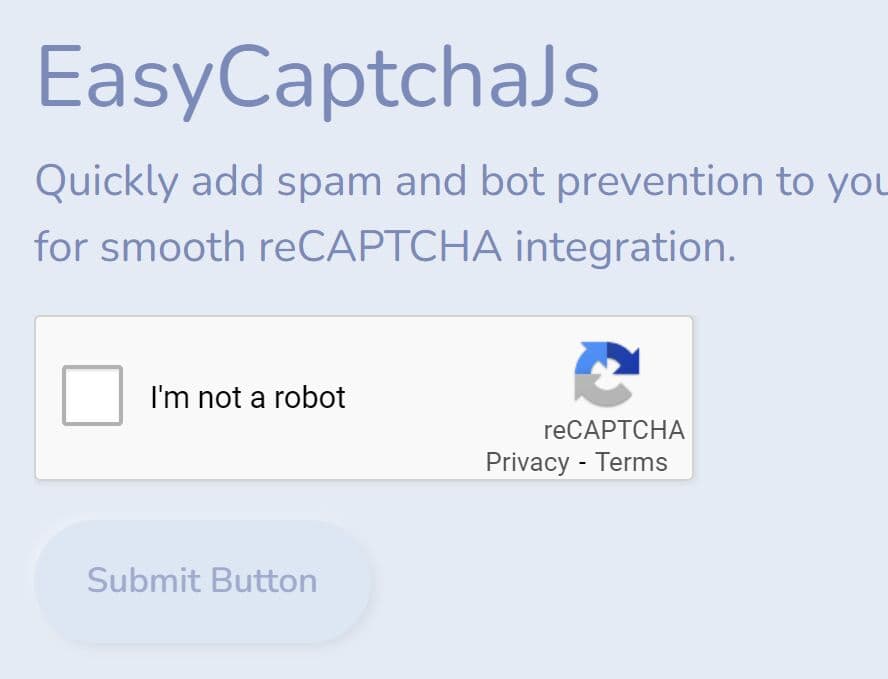
EasyCaptchaJS is a lightweight yet customizable jQuery plugin that makes adding Google reCAPTCHA protection to your websites/web apps a breeze.
Ideal for login forms, sign-up pages, and any place on your website where you need to validate human users and ward off bots. With its intuitive API and auto-initialization options, you can quickly secure sites against bots without the typical reCAPTCHA complexity.
To use the reCAPTCHA API, you will need a site key from Google. Visit the Google reCAPTCHA Admin Console, register your site, and retrieve your site key.
How to use it:
1. Install & download the EasyCaptchaJS via NPM.
# NPM
$ npm i easycaptchajs
2. Load the EasyCaptchaJS plugin after jQuery.
<script src="/path/to/cdn/jquery.min.js"></script>
<script src="/path/to/dist/easycaptcha.min.js"></script>
3. Initialize the plugin automatically by add your Google reCAPTCHA site key to the ReCAPTCHA_API_KEY_CLIENT meta tag.
<meta name="ReCAPTCHA_API_KEY_CLIENT" content="YOUR SITE KEY HERE">
4. Add the data-auto-easycaptcha to the targetElement which will hold the Google reCAPTCHA. The data-okbtn-selector attribute is used to specify the target button which is disabled on page load until your visitors get verified.
<div class="captchaTarget"
     data-auto-easycaptcha
     data-okbtn-selector="#submit">
</div>
<button type="button" id="submit">
  Submit
</button>
5. You can also initialize the plugin manually by calling the method EasyCaptcha on the target element.
<div id="targetElement"></div>
$('#targetElement').EasyCaptcha({
  // options here
});
6. All possible HTML data attributes:
<div id="targetElement"
     data-recaptcha-apikey="YOUR SITE KEY"
     data-theme="dark"
     data-okbtn-selector="#submit"
     data-required-msg-example-selector="#errorMsg"
     data-loading-msg-example-selector="#loadingMsg"
     data-error-msg-example-selector="#errorMsg">
</div>
7. All possible plugin options.
$('#targetElement').EasyCaptcha({
  ReCAPTCHA_API_KEY_CLIENT: null,
  ReCaptchaSubmit: {
    success: () => {
    },
    failed: () => {
    },
    expired: () => {
    },
  },
  autoVerification: {
    okBtn: null,
    requiredMsg: "<div class='alert alert-danger'>Please verify that you are not a robot.</div>",
  },
  apiScriptLoading: {
    loadingMsg: '<div class="spinner-border text-primary" role="status"></div>',
    error: () => {},
    errorMsg: "<div class='alert alert-danger'>Error while loading Api Script. <b class='retry-load-api-script clickable'>retry</b></div>",
  },
  theme: 'light', // or 'dark'
  failure: (error) => {
    console.error(error);
  }
});
8. API methods.
// Verify the reCAPTCHA checkbox status
// Properties:
// parentElement: The parent element of the EasyCaptcha checkbox
// verified: A boolean indicating whether the reCAPTCHA checkbox has been verified
$().EasyCaptcha('verify');

// Get the reCAPTCHA response token
// Properties:
// parentElement: The parent element of the EasyCaptcha checkbox
// token: The reCAPTCHA response token
$().EasyCaptcha('response');

// Reset the reCAPTCHA response token
$().EasyCaptcha('reset');

// Destroy the plugin
$().EasyCaptcha('destroy');
Changelog:
v1.2.1 (2023-09-02)
- Bugfixes
This awesome jQuery plugin is developed by HichemTab-tech. For more Advanced Usages, please check the demo page or visit the official website.