Responsive Slider With Animate.css Animations - simple-slider
| File Size: | 17.5 KB |
|---|---|
| Views Total: | 11108 |
| Last Update: | |
| Publish Date: | |
| Official Website: | Go to website |
| License: | MIT |

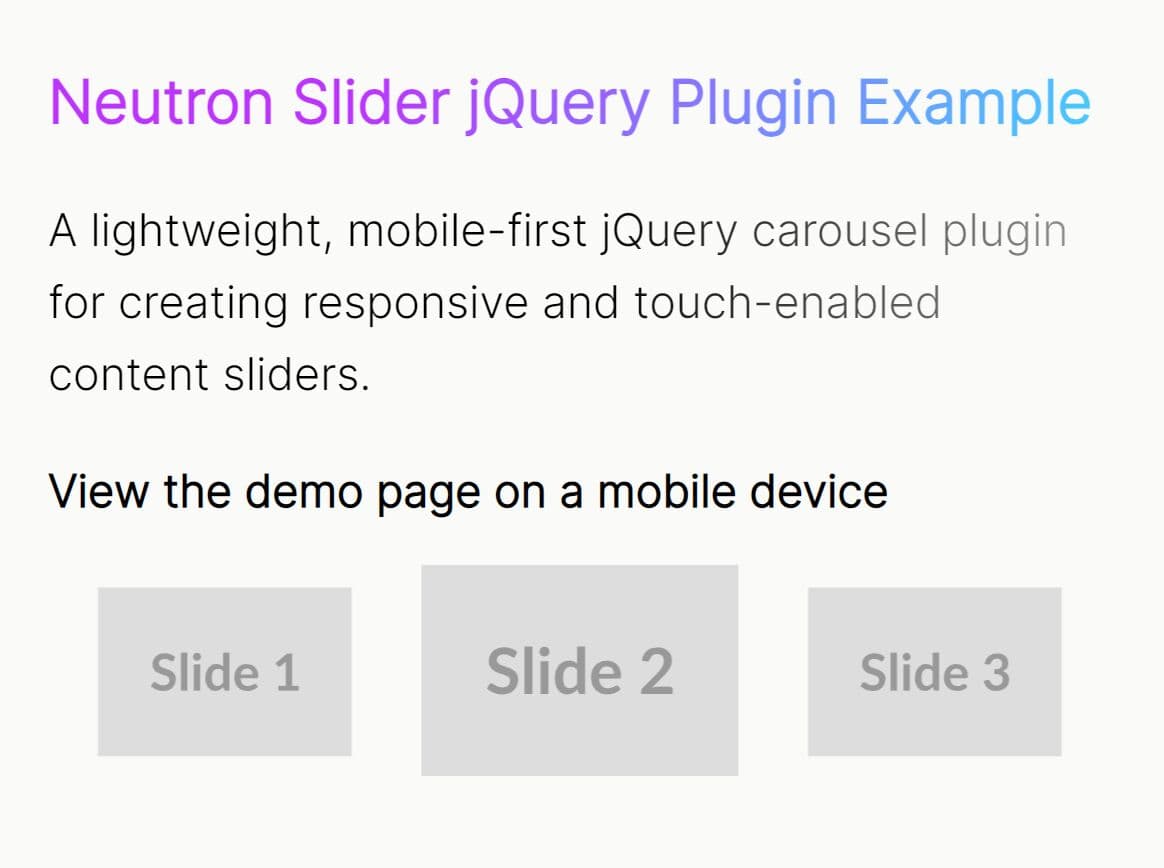
A simple, flexible, responsive, dynamic slider/carousel plugin which uses Animate.css for the smooth transition effects when switching between slides.
How to use it:
1. Include the animate.css library on the webpage.
<link rel="stylesheet" href="https://cdnjs.cloudflare.com/ajax/libs/animate.css/3.7.0/animate.min.css">
2. Or directly insert the slideInLeft and slideInRight animations snippets into the document.
@-webkit-keyframes slideInLeft {
  from {
    -webkit-transform: translate3d(-100%, 0, 0);
    transform: translate3d(-100%, 0, 0);
    visibility: visible;
  }

  to {
    -webkit-transform: translate3d(0, 0, 0);
    transform: translate3d(0, 0, 0);
  }
}

@keyframes slideInLeft {
  from {
    -webkit-transform: translate3d(-100%, 0, 0);
    transform: translate3d(-100%, 0, 0);
    visibility: visible;
  }

  to {
    -webkit-transform: translate3d(0, 0, 0);
    transform: translate3d(0, 0, 0);
  }
}

.slideInLeft {
  -webkit-animation-name: slideInLeft;
  animation-name: slideInLeft;
}

@-webkit-keyframes slideInRight {
  from {
    -webkit-transform: translate3d(100%, 0, 0);
    transform: translate3d(100%, 0, 0);
    visibility: visible;
  }

  to {
    -webkit-transform: translate3d(0, 0, 0);
    transform: translate3d(0, 0, 0);
  }
}

@keyframes slideInRight {
  from {
    -webkit-transform: translate3d(100%, 0, 0);
    transform: translate3d(100%, 0, 0);
    visibility: visible;
  }

  to {
    -webkit-transform: translate3d(0, 0, 0);
    transform: translate3d(0, 0, 0);
  }
}

.slideInRight {
  -webkit-animation-name: slideInRight;
  animation-name: slideInRight;
}

.animated {
  -webkit-animation-duration: 1s;
  animation-duration: 1s;
  -webkit-animation-fill-mode: both;
  animation-fill-mode: both;
}
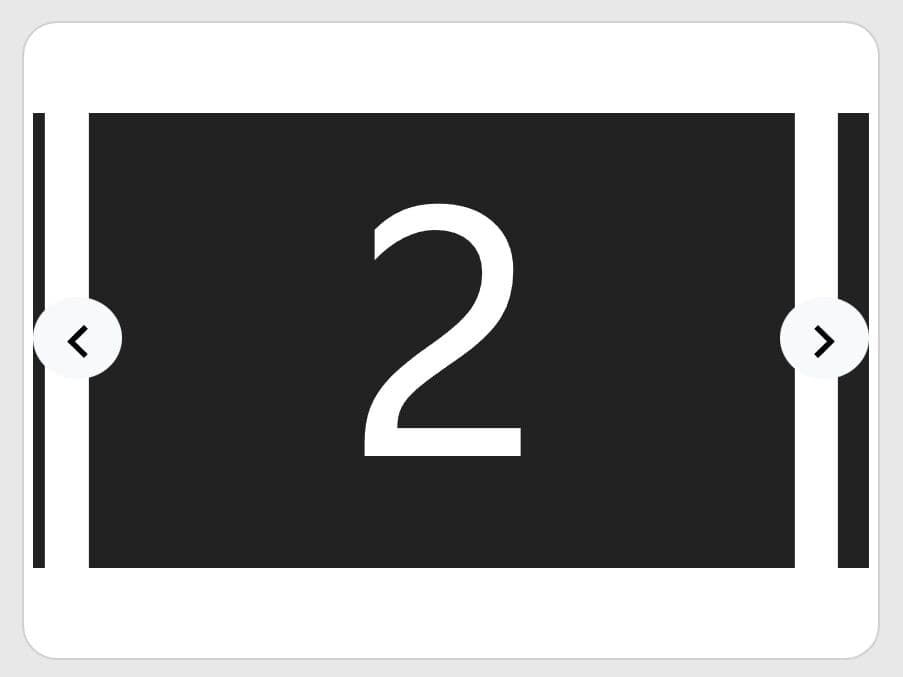
3. Add slides together with the navigation lists and bullet list to the slider.
<div id="demo">
<nav class="slider-nav">
<div class="slider-nav-content">
<ul class="bullet-list">
</ul>
<ul class="arrows">
<li><button class="slider-button arrow next" data-index="">❯</button></li>
<li><button class="slider-button arrow previous" data-index="">❮</button></li>
</ul>
</div>
</nav>
<ul class="slider-list">
<li class="slide" data-index="0">
<div class="slide-content">
<h3 class="slide-title">Slide #1</h3>
</div>
</li>
<li class="slide" data-index="1">
<div class="slide-content">
<h3 class="slide-title">Slide #2</h3>
</div>
</li>
<li class="slide" data-index="2">
<div class="slide-content">
<h3 class="slide-title">Slide #3</h3>
</div>
</li>
</ul>
</div>
4. Initialize the slider with the following parameters:
- first_creation: false for the demo
- animation: animation name
- add_slide: true for the demo
- remove_slide: true for the demo
- colorsARR: true for the demo
- autoplay: enable autoplay
- autoplay_interval: autoplay interval
$('#demo').slider(first_creation, animation, add_slide, remove_slide, colorsARR, autoplay, autoplay_interval);
This awesome jQuery plugin is developed by angelique2503. For more Advanced Usages, please check the demo page or visit the official website.