Create Smart Tooltips That Follow Cursor - jQuery Tip.js
| File Size: | 8.91 KB |
|---|---|
| Views Total: | 859 |
| Last Update: | |
| Publish Date: | |
| Official Website: | Go to website |
| License: | MIT |
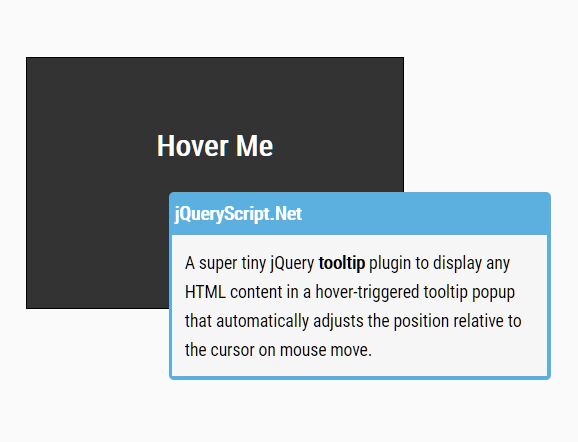
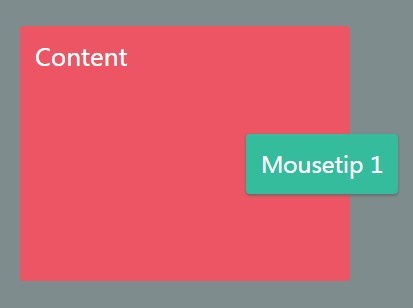
Tip.js is a tiny and customizable jQuery plugin to create nice-looking tooltips that follow the cursor when hovering over elements.
The tooltips are created in an intelligent way using the HTML data attributes, which means that you can have an unlimited number of tooltips without creating multiple instances.
See Also:
How to use it:
1. Include jQuery library and the Tip.js on the webpage.
<link rel="stylesheet" href="/path/to/tip.css">
<script src="/path/to/cdn/jquery.slim.min.js"></script>
<script src="/path/to/tip.js"></script>
2. Initialize the tooltip plugin on document ready.
$(function(){
  $().tip();
});
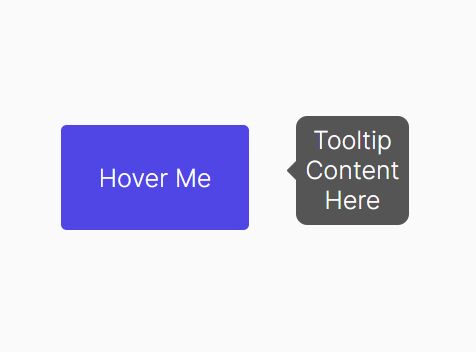
3. Attach a basic static tooltip to the element.
<a class="tip"
   data-tip="Tooltip Content Here">
   Hover Me
</a>
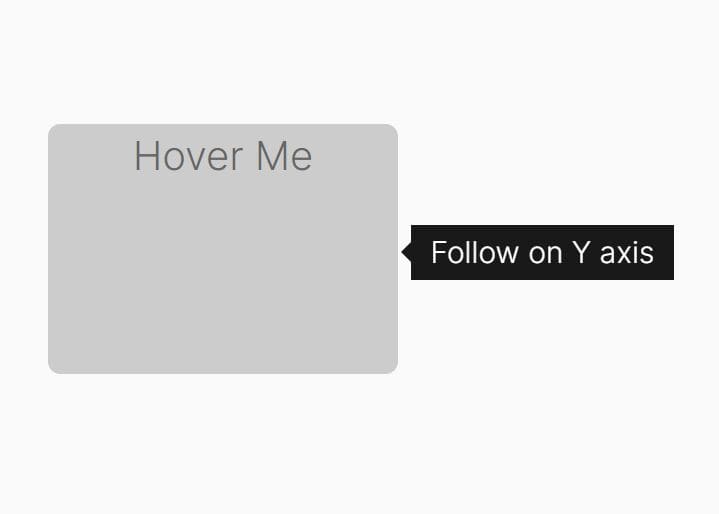
4. Restrict tooltip movement to X-axis, Y-axis, or both.
<a class="tip"
   data-tip="Tooltip Content Here"
   data-tip-follow="x">
   X-axis
</a>

<a class="tip"
   data-tip="Tooltip Content Here"
   data-tip-follow="y">
   Y-axis
</a>

<a class="tip"
   data-tip="Tooltip Content Here"
   data-tip-follow="xy">
   X-axis and Y-axis
</a>

<a class="tip"
   data-tip="Tooltip Content Here"
   data-tip-follow="false">
   Disable
</a>
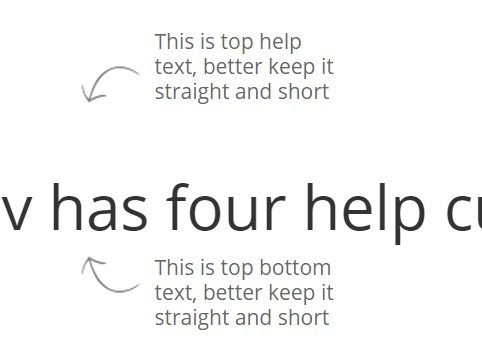
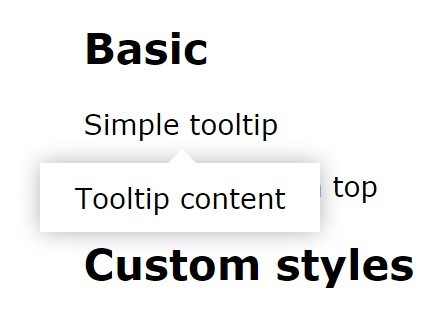
5. Set the position of the tooltip: 'auto', 'left', 'right', 'top', 'bottom'.
<a class="tip"
   data-tip="Tooltip Content Here"
   data-tip-position="auto">
   Auto
</a>

<a class="tip"
   data-tip="Tooltip Content Here"
   data-tip-position="left">
   Left
</a>

<a class="tip"
   data-tip="Tooltip Content Here"
   data-tip-position="right">
   Right
</a>

<a class="tip"
   data-tip="Tooltip Content Here"
   data-tip-position="top">
   Top
</a>

<a class="tip"
   data-tip="Tooltip Content Here"
   data-tip-position="bottom">
   Bottom
</a>
6. Set the time to wait before showing/closing the tooltip.
$().tip({
  showTime: 200,
  hideTime: 1000,
});
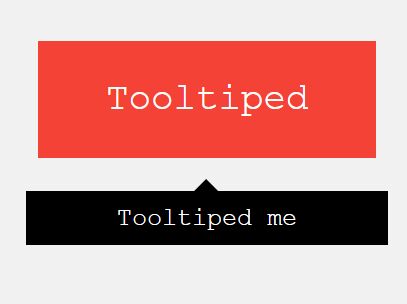
7. Set the alignment of the tooltip arrow. Default: right.
$().tip({
  align: 'center',
});
8. Determine whether to place the tooltip to the left/right based on the "position" option. Default: false.
$().tip({
  aside: true,
});
9. Override the default CSS selector.
$().tip({
  selector: '.myTip',
});
This awesome jQuery plugin is developed by KaneCohen. For more Advanced Usages, please check the demo page or visit the official website.