Elegant Tooltip Plugin With Intellegent Position - Tipy
| File Size: | 25.8 KB |
|---|---|
| Views Total: | 859 |
| Last Update: | |
| Publish Date: | |
| Official Website: | Go to website |
| License: | MIT |
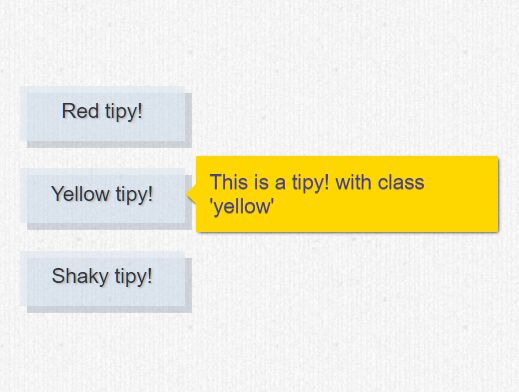
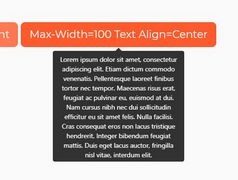
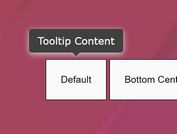
Tipy is a small, customizable jQuery tooltip plugin to display context messages in a tooltip popup which can be attached to any DOM element.
Key features:
- Auto re-position.
- Works with any attributes.
- Custom duration.
- Easy to add your own styles.
How to use it:
1. Insert the Tipy plugin's JavaScript and CSS files into the webpage which has jQuery library loaded.
<link rel="stylesheet" href="/path/to/tipy.css">
<script src="/path/to/jquery-3.3.1.min.js"></script>
<script src="/path/to/tipy.js"></script>
2. Define the tooltip content in the data-tipy attribute. Done.
<div data-tipy="Tooltip Content">
  Hover Me
</div>
3. Customize the data attribute.
tipyController.setAttr("YourAttribute");
4. You can also attach the tooltip to a specific element in the JavaScript:
$('.element').tipy('Tooltip Content');
5. Customize the position of the tooltip.
- top (or t)
- tr (top-right)
- right (or r)
- br (bottom-right)
- bottom (or b)
- bl (bottom-left)
- left (or l)
- tl (top-left)
<div data-tipy="Tooltip Content"
     data-tipy-pos="t">
     Hover Me
</div>
// or
$('.element').tipy('Tooltip Content', 'top');
6. Customize the time to wait before triggering the tooltip.
$('.element').tipy('Tooltip Content', 'top', 500);
7. Append extra CSS classes to the tooltip. Useful for applying your own CSS styles to the toolip
<div data-tipy="Tooltip Content"
     data-tipy-class="YourClasses">
     Hover Me
</div>
$('.element').tipy('Tooltip Content', 'top', 500, 'YourClasses');
8. Enable/disable the tooltip.
tipyController.disable();
tipyController.enable();
This awesome jQuery plugin is developed by xpy. For more Advanced Usages, please check the demo page or visit the official website.
