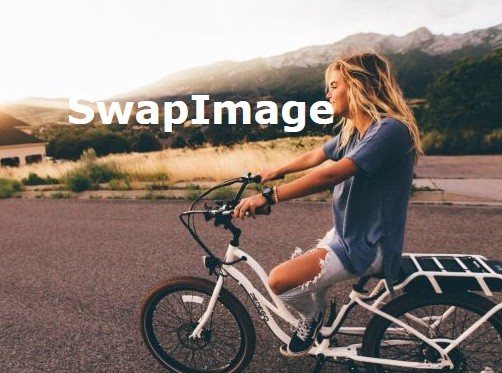
Create A Rollover Image Effect using jQuery - Image Switcher
| File Size: | 16.5 KB |
|---|---|
| Views Total: | 918 |
| Last Update: | |
| Publish Date: | |
| Official Website: | Go to website |
| License: | MIT |
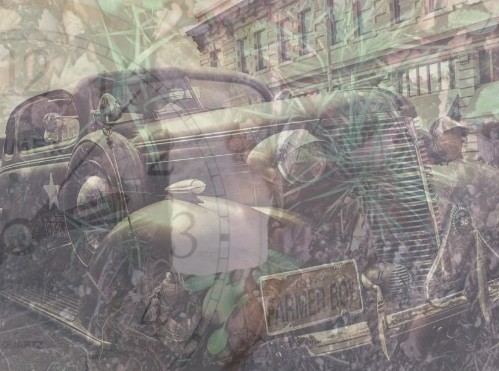
A super tiny jQuery rollover image effect script that automatically switches between a group of images with a crossfade effect on mouse hover.
How to use it:
1. Insert a group of images into your web page.
<div id="wrapper">
  <img class="ini" src="01.png" alt="">
  <img class="other" src="02.png" alt="">
  <img class="other" src="03.png" alt="">
  <img class="other" src="04.png" alt="">
</div>
2. Make the images absolute positioned and hide the images with the 'other' class.
#wrapper img {
  display: block;
  position: absolute;
}

#wrapper .other { display: none; }
3. Include jQuery library at the bottom of the web page.
<script src="//code.jquery.com/jquery-1.11.3.min.js"></script>
4. The jQuery script to enable the image rollover effect and apply the fade in / out effects.
(function() {

  var l = function() {
      console.log.apply(console, arguments)
  };

  var maxImgs = 4;
  var imgNum = 1;
  var intervalId = undefined;

  var cur = 1;
  var nex = 2;

  var $img = $('#wrapper img');

  $('#wrapper').on('mouseenter', function(evt) {
      intervalId = setInterval(function() {

          if (cur > maxImgs) {
              cur = 1;
              nex = 2;
          }
          $img.filter("[src*='" + cur + "']").fadeOut();
          $img.filter("[src*='" + nex + "']").fadeIn();

          cur += 1;

          nex = (cur === 4) ? 1 : nex + 1;

      }, 1000);
  });

  $('#wrapper').on('mouseleave', function(evt) {

      $img.filter("[src*='1']").fadeIn();
      $img.filter('.other').fadeOut();

      clearInterval(intervalId);
  });

}());
This awesome jQuery plugin is developed by FernandoBasso. For more Advanced Usages, please check the demo page or visit the official website.