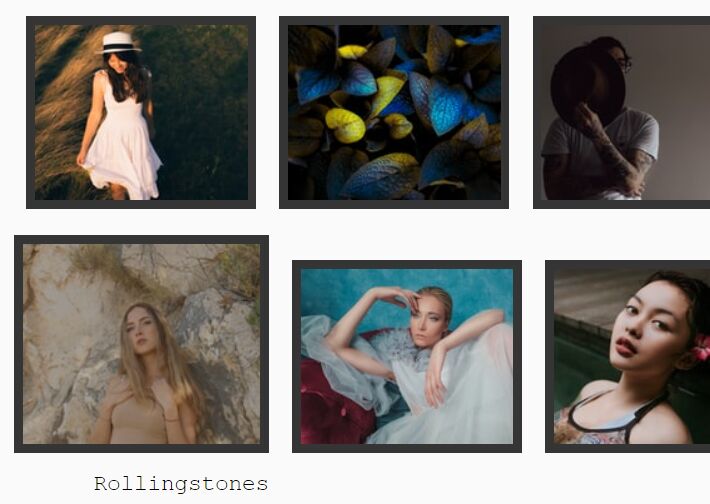
Grayscale Image Hover Effect with HTML5 and jQuery
| File Size: | 277 KB |
|---|---|
| Views Total: | 11453 |
| Last Update: | |
| Publish Date: | |
| Official Website: | Go to website |
| License: | MIT |
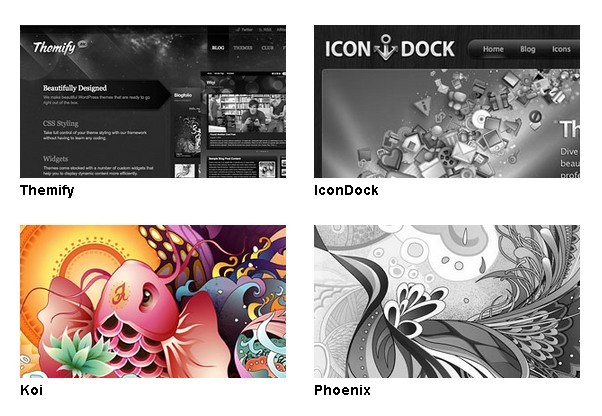
A grayscale image hover fffect with HTML5 and jQuery. With HTML5 canvas, images can be manipulated into grayscale without having to use image editing software.
How to use it:
1. Inlcude jQuery Library
<script src="jquery.min.js" type="text/javascript"></script>
2. Call the plugin with options
<script type="text/javascript">

	// $(".item img").css({"display":"none");

	// On window load. This waits until images have loaded which is essential
	$(window).load(function(){

		// Fade in images so there isn't a color "pop" document load and then on window load
		$(".item img").animate({opacity:1},500);

		// clone image
		$('.item img').each(function(){
			var el = $(this);
			el.css({"position":"absolute"}).wrap("<div class='img_wrapper' style='display: inline-block'>").clone().addClass('img_grayscale').css({"position":"absolute","z-index":"998","opacity":"0"}).insertBefore(el).queue(function(){
				var el = $(this);
				el.parent().css({"width":this.width,"height":this.height});
				el.dequeue();
			});
			this.src = grayscale(this.src);
		});

		// Fade image
		$('.item img').mouseover(function(){
			$(this).parent().find('img:first').stop().animate({opacity:1}, 1000);
		})
		$('.img_grayscale').mouseout(function(){
			$(this).stop().animate({opacity:0}, 1000);
		});
	});

	// Grayscale w canvas method
	function grayscale(src){
        var canvas = document.createElement('canvas');
		var ctx = canvas.getContext('2d');
        var imgObj = new Image();
		imgObj.src = src;
		canvas.width = imgObj.width;
		canvas.height = imgObj.height;
		ctx.drawImage(imgObj, 0, 0);
		var imgPixels = ctx.getImageData(0, 0, canvas.width, canvas.height);
		for(var y = 0; y < imgPixels.height; y++){
			for(var x = 0; x < imgPixels.width; x++){
				var i = (y * 4) * imgPixels.width + x * 4;
				var avg = (imgPixels.data[i] + imgPixels.data[i + 1] + imgPixels.data[i + 2]) / 3;
				imgPixels.data[i] = avg;
				imgPixels.data[i + 1] = avg;
				imgPixels.data[i + 2] = avg;
			}
		}
		ctx.putImageData(imgPixels, 0, 0, 0, 0, imgPixels.width, imgPixels.height);
		return canvas.toDataURL();
    }

</script>
3. CSS
.item {
width: 296px;
margin: 0 0 30px 30px;
float: left;
}
.item.first {
clear: left;
margin-left: 0;
}
.item img {
opacity: 0;
}
</style>
4. Markup
<div class="item first"> <a href="http://themify.me"><img src="images/themify.jpg"></a>
<h3>Themify</h3>
</div>
<div class="item"> <a href="http://icondock.com"><img src="images/icondock.jpg"></a>
<h3>IconDock</h3>
</div>
<div class="item"> <a href="http://www.webdesignerwall.com"><img src="images/webdesignerwall.jpg"></a>
<h3>Web Designer Wall</h3>
</div>
<div class="item first"> <a href="#"><img src="images/koifish.jpg"></a>
<h3>Koi</h3>
</div>
<div class="item"> <a href="#"><img src="images/phoenix.jpg"></a>
<h3>Phoenix</h3>
</div>
<div class="item"> <a href="#"><img src="images/peacock.jpg"></a>
<h3>Peacock</h3>
</div>
<div class="item first"> <a href="#"><img src="images/flow.jpg"></a>
<h3>Flow</h3>
</div>
<div class="item"> <a href="#"><img src="images/webdesign136cover.jpg"></a>
<h3>Web Designer</h3>
</div>
<div class="item"> <a href="#"><img src="images/sakura.jpg"></a>
<h3>Sakura</h3>
</div>
This awesome jQuery plugin is developed by webdesignerwall. For more Advanced Usages, please check the demo page or visit the official website.