Custom Image Marker Plugin For jQuery - imagePointer.js
| File Size: | 116 KB |
|---|---|
| Views Total: | 3715 |
| Last Update: | |
| Publish Date: | |
| Official Website: | Go to website |
| License: | MIT |
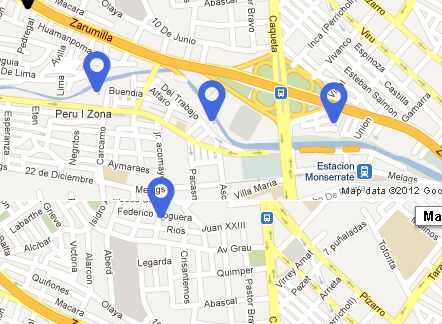
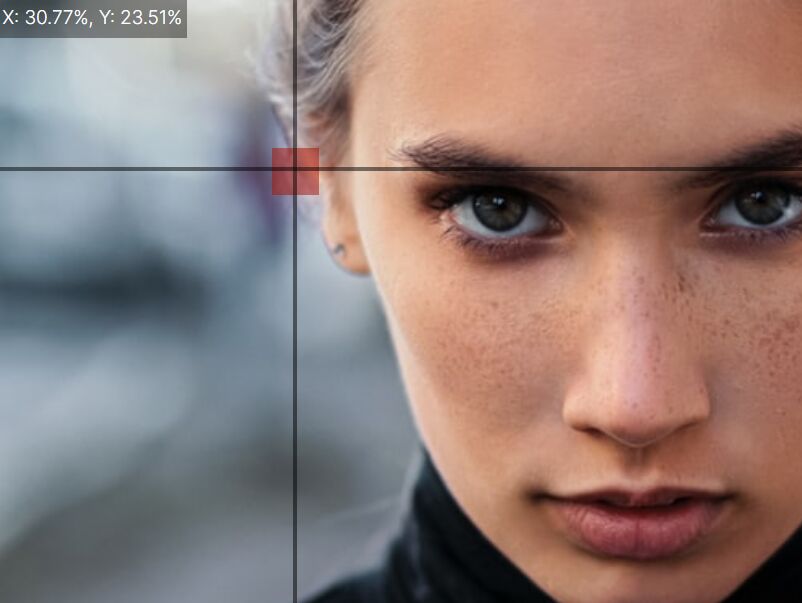
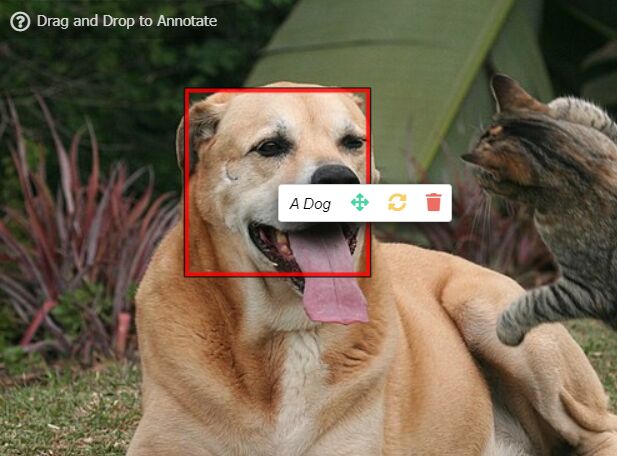
imagePointer.js is a jQuery plugin which allows to use arbitrary elements as markers in your images. Supports multiple markers in an image.
How to use it:
1. By default, the plugin uses Font Awesome icons as image marks.
<link rel="stylesheet" href="font-awesome.min.css">
2. Insert your image as a background into a container.
<div class="mainContainer"></div>
.mainContainer{
  background-image: url("1.png");
}
3. Include jQuery library and the jQuery imagePointer.js plugin when needed.
<script src="/path/to/jquery.min.js"></script>
<script src="/path/to/jquery.imagePointer.js"></script>
4. Call the function on the container you created.
$(".mainContainer").imagePointer();
5. Style the image marker.
.pointerElm {
  position: absolute;
  z-index: 100;
  width : 30px;
  height: 44px;
}

.CCImgPointer { color : royalblue; }

.CCDragElement {
  background-color: #ccc;
  border: 1px solid black;
  opacity: 0.2;
  position: absolute;
  z-index: 99;
}
6. Config the image marker.
$(".mainContainer").imagePointer({
  "cursor"             : 'crosshair',
  "multi"              : true,
  "pointerHTML"        : '<div class="fa fa-map-marker fa-3x pointerElm"></div>',
  "pointerClass"       : 'CCImgPointer',
  "mouseOverHTML"      : '<div class="fa fa-map-marker fa-3x pointerElm"></div>',
  "mouseOverClass"     : 'CCMouseOver',
  "removeClass"        : 'CCRemovePointer',
  "strictBorder"       : false,
  "disable"            : false,
  "destroyMouseOut"    : true,
  "areaSelection"      : true,
  "pointerArray"       : [{'top' : 100, 'left' : 200}],
});
7. Convert and output the image marker information to a JSON string.
$(".mainContainer").imagePointer({
  pointerCallBack : function(pointerInfo){
    $('#outputElm').html(JSON.stringify(pointerInfo));
  }
});
This awesome jQuery plugin is developed by venuvijayan. For more Advanced Usages, please check the demo page or visit the official website.