Overlay Cross Hair On An DOM Element - jQuery Crosshair.js
| File Size: | 6.59 KB |
|---|---|
| Views Total: | 771 |
| Last Update: | |
| Publish Date: | |
| Official Website: | Go to website |
| License: | MIT |
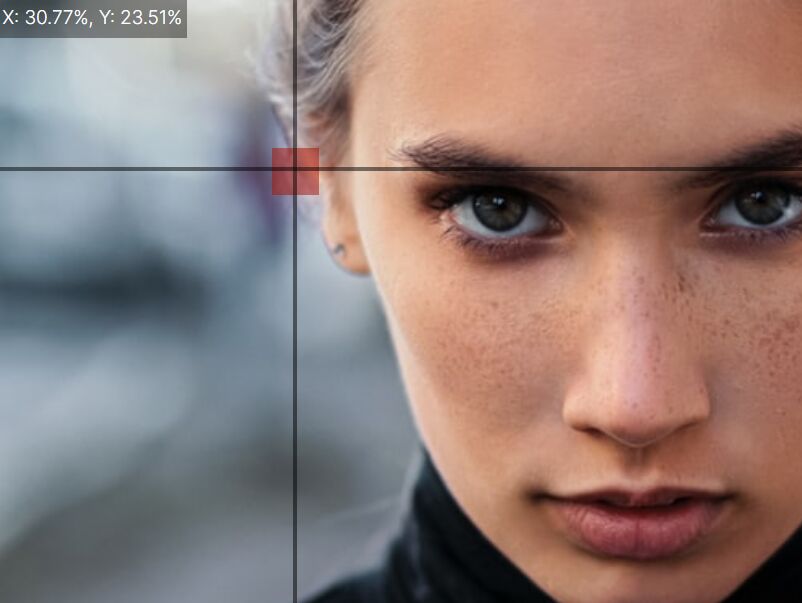
A lightweight jQuery plugin that overlays Cross Hair on a DOM element and gets the relative cursor position on click. Can be used to mark an important part of an image with the mouse.
How to use it:
1. Add the main script crosshair.js after the latest jQuery library.
<!-- Cross Hair Styles -->
<link rel="stylesheet" href="style.css">
<script src="/path/to/cdn/jquery.slim.min.js"></script>
<script src="/path/to/crosshair.js"></script>
2. Call the function on the targer DOM element where the cross hair overlay should appear.
<img id="demo" src="1.jpg" />
$('#demo').crosshair({
  // options here
});
3. Get the current cursor position.
$('#demo').crosshair({
  callback: function(crosshair) {
    console.log("Pixel coordinates: ("+crosshair.coords.x+"|"+crosshair.coords.y+")");
    console.log("Relative position: X: "+crosshair.pct.x+"%, Y: "+crosshair.pct.y+"%");
  }
});
4. Determine whether to display the current cursor position on the DOM element. Default: true.
$('#demo').crosshair({
  legend: true,
});
5. Customize the marker.
$('#demo').crosshair({
  marker: '<div class="crosshair-marker"></div>',
});
6. Overlay the cross hair directly on the DOM element.
$('#demo').crosshair({
  wrap: false
});
This awesome jQuery plugin is developed by eschmar. For more Advanced Usages, please check the demo page or visit the official website.


