Fully Customizable & Responsive jQuery Carousel Plugin - AdaptaSlider
| File Size: | 1.03 MB |
|---|---|
| Views Total: | 1943 |
| Last Update: | |
| Publish Date: | |
| Official Website: | Go to website |
| License: | MIT |
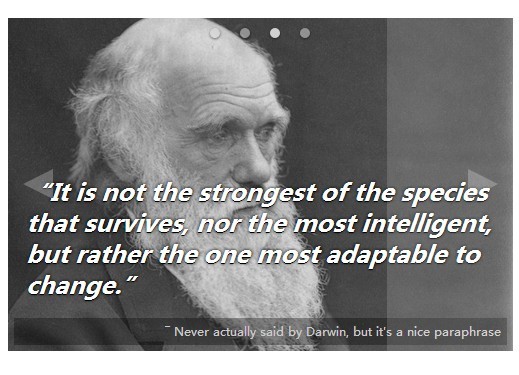
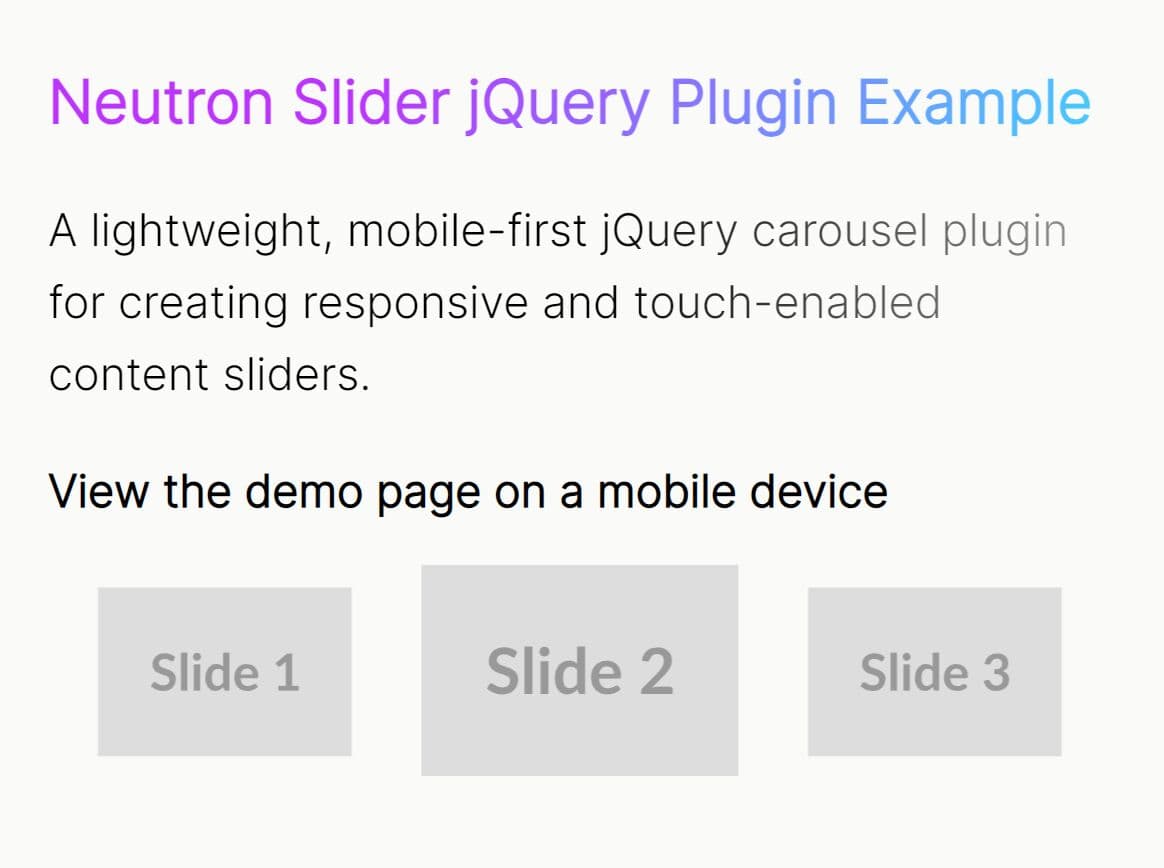
AdaptaSlider is a jQuery plugin that makes it easier to create a responsive content slider/carousel which is highly customzable via javascript and custom CSS to suit your any needs.
More feature:
- Autoplay and infinite loop.
- Built-in slide and fade modes. You can create your own transition using 'custom' mode.
- jQuery based easing effects: linear and swing.
- Pause on hover.
- Custom controls (next/prev buttons, arrows/pager navigation)
- Callback functions supported.
How to use it:
1. Load the jQuery javascript library and jQuery AdapaSlider plugin before closing body tag.
<script src="http://ajax.googleapis.com/ajax/libs/jquery/1.11.0/jquery.min.js"></script>
<script src="jquery.adaptaslider.js"></script>
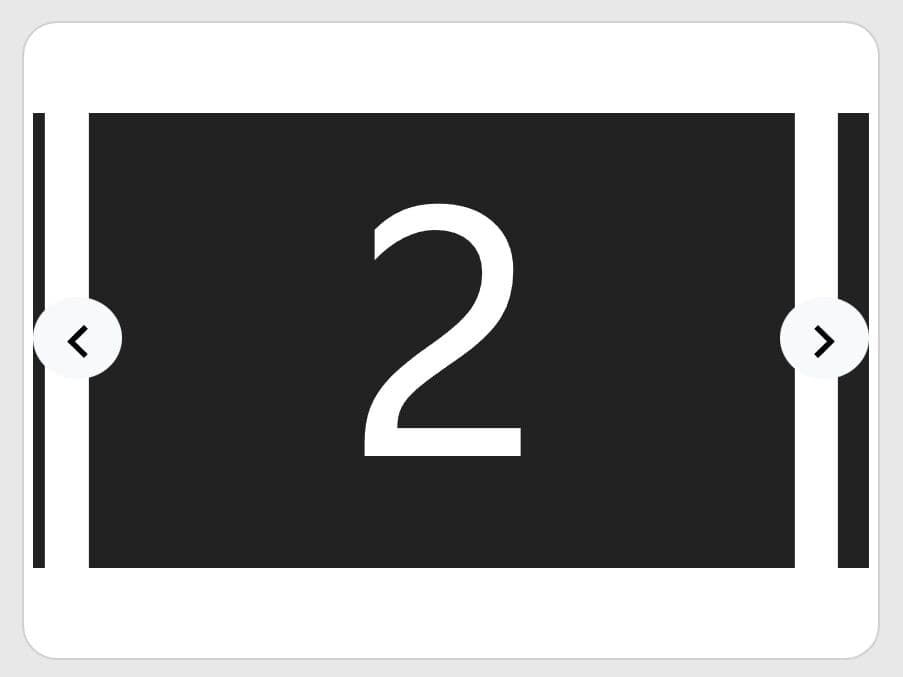
2. Create the Html for an image carousel with autoplay and custom transition.
<div class="slider-wrapper">

<ul id="slider">
<li class="current" style="background-image: url(../img/1.jpg);">
<div class="quote">
Content 1
</div>
</li>
<li style="background-image: url(../img/2.jpg);">
<div class="quote">
Content 2
</div>
</li>
<li style="background-image: url(../img/3.jpg);">
<div class="quote">
Content 3
</div>
</li>
</ul>

<div class="slider-nav"> <a href="#" class="slider-prev"></a>
<div class="slider-select"></div>
<a href="#" class="slider-next"></a> </div>
</div>
3. The CSS to style the image carousel.
.slider-wrapper {
position: relative;
}
.slider-prev,  .slider-next {
position: absolute;
display: block;
top: 0;
bottom: 0;
width: 25%;
text-decoration: none;
color: #FFF;
background-color: transparent;
z-index: 99;
}
.slider-prev::after,  .slider-next::after {
content: '';
display: block;
position: absolute;
top: 50%;
margin-top: -15px;
width: 0;
height: 0;
border-width: 15px 30px 15px 30px;
border-style: solid;
border-color: transparent;
}
.slider-prev::after {
left: 15px;
border-right-color: rgba(255,255,255,0.25);
border-left-width: 0;
}
.slider-next::after {
right: 15px;
border-left-color: rgba(255,255,255,0.25);
border-right-width: 0;
}
.slider-prev:hover,  .slider-next:hover {
background-color: rgba(255,255,255,0.15);
}
.slider-prev {
left: 0;
}
.slider-next {
right: 0;
}
.slider-select {
position: absolute;
display: block;
top: 0;
left: 0;
right: 0;
height: 30px;
text-align: center;
}
.select {
position: relative;
display: inline-block;
width: 30px;
height: 30px;
text-decoration: none;
color: #FFF;
z-index: 99;
}
.select::after {
content: '';
position: absolute;
display: block;
top: 50%;
left: 50%;
width: 10px;
height: 10px;
margin-top: -5px;
margin-left: -5px;
border-radius: 5px;
background-color: rgba(225,225,225,0.5);
box-shadow: 0 1px 3px rgba(0,0,0,0.5);
}
.select.active::after,  .select:hover::after {
background-color: rgba(255,255,255,0.75);
}
.active {
font-weight: bold;
}
#slider {
list-style: none;
margin: 0;
padding: 0;
height: 0;
padding-bottom: 66%;
background-color: #333;
position: relative;
overflow: hidden;
}
#slider img {
width: 100%;
}
#slider li {
position: absolute;
top: 0;
left: 0;
display: none;
width: 100%;
height: 100%;
/*padding-bottom: 66%;*/
background-repeat: no-repeat;
background-position: center center;
background-size: 100% auto;
-webkit-transition-property: top, left, opacity;
-moz-transition-property: top, left, opacity;
-o-transition-property: top, left, opacity;
transition-property: top, left, opacity;
-webkit-transition-duration: 1s;
-moz-transition-duration: 1s;
-o-transition-duration: 1s;
transition-duration: 1s;
}
#slider .prev {
display: block;
top: 100%;
opacity: 0;
z-index: 3;
}
#slider .current {
display: block;
opacity: 1;
z-index: 2;
}
#slider .next {
display: block;
left: 100%;
opacity: 0;
}
#slider .quote {
position: absolute;
width: 100%;
bottom: 0;
}
4. Initialize the image carousel with options.
<script>
$(function() {
var sliderAPI = $('#slider').adaptaSlider({
mode: 'custom',
autoPlay: true,
transitionTime: 1000, // time is same as transition time in CSS
prevButton: '.slider-prev',
nextButton: '.slider-next',
selectButton: '.slider-select',
selectHTML: '<a href="#" class="select"></a>',
selectHTMLNumbers: false,
customTransition: function(slider, fromSlide, toSlide, time, easing, callback) {
// call callback after time
setTimeout(callback, time);
},
verbose: true
}).data('adaptaSlider');
});
</script>
5. Available APIs.
<script>
$(function() {
var sliderAPI = $('#slider').adaptaSlider({
mode                : 'slide',      // set to 'slide', 'fade', or 'custom' (only first letter checked, will default to slide) (req: animate)
easing              : 'swing',      // 'linear' or 'swing', can include easing plugin for more options: http://gsgd.co.uk/sandbox/jquery/easing/ (req: animate)
startSlide          : 0,            // zero-indexed slide to start on
animate             : true,         // if false, slider will not control transitions; you can then create CSS transitions based on the 'current', 'prev', & 'next' classes that are applied to the slides
autoPlay            : true,         // if false, slider must be manually controlled
pauseOnHover        : true,         // if false, slider will not pause on hover (req: autoPlay)
loop                : true,         // if false, slider will stop on last slide (req: autoPlay)

// Custom class names (set to empty string to not add class)
sliderClass         : 'slider',     // Class applied to slider
currentSlideClass   : 'current',    // Class applied to current slide
prevSlideClass      : 'prev',       // Class applied to previous slide
nextSlideClass      : 'next',       // Class applied to next slide
activeSelectClass   : 'active',     // Class applied to active select button

// Timing
pauseTime           : 7000,         // milliseconds to pause on each slide (req: autoPlay)
transitionTime      : 600,          // milliseconds to transition between slides (req: autoPlay)
resumeTime          : 12000,        // milliseconds to resume autoplay after user interaction (req: autoPlay)

// Controls
useControls         : true,         // if false, controls will not be set up; you can still manually access controls with your own script
prevButton          : '',           // jQuery selector string for prev button; required for prevHTML
nextButton          : '',           // jQuery selector string for next button; required for nextHTML
selectButton        : '',           // jQuery selector string for select button(s); required for selectHTML

// Button creation
prevHTML            : '',           // this string (or function returning an HTML string) will be placed inside prevButton (req: useControls, prevButton)
nextHTML            : '',           // this string (or function returning an HTML string) will be placed inside nextButton (req: useControls,nextButton)
selectHTML          : '',           // this string (or function(index) returning an HTML string) will be placed inside selectHTML (multiplied by number of slides) (req: useControls, selectHTML)
selectHTMLNumbers   : false,        // Whether numbers should be inserted into the selectHTML (incompatible with selectHTML containing function)

// Callback functions
onLoaded            : function(){},                     // Callback triggered after plugin loads
onWillSlide         : function(fromSlide, toSlide){},   // Callback triggered before slider slides, supplies 'fromSlide' & toSide'
onDidSlide          : function(fromSlide, toSlide){},   // Callback triggered after slider slides, supplies 'fromSlide' & toSide'

// Custom
customSetup         : function(slider){},               // (req: mode=custom)
customTransition    : function(slider, fromSlide, toSlide, time, easing, callback){
setTimeout(callback, time, this);
}, // You MUST invoke the callback! (req: mode=custom)

// Debug
verbose             : false         // If true, log to JavaScript console; leave false for production
}).data('adaptaSlider');
});
</script>
This awesome jQuery plugin is developed by cr0ybot. For more Advanced Usages, please check the demo page or visit the official website.