Touch-enabled Carousel With jQuery And CSS Scroll Snap - Snapper
| File Size: | 905 KB |
|---|---|
| Views Total: | 2710 |
| Last Update: | |
| Publish Date: | |
| Official Website: | Go to website |
| License: | MIT |

snapper is a small jQuery slider plugin to create a fully responsive, mobile-friendly, fully configurable carousel component using CSS Scroll Snap feature.
Main features:
- Supports touch events.
- Arrows navigation.
- Thumbnail navigation.
- Keyboard interactions.
- Autoplay.
- Allows multiple items per slide.
- Auto updates the location hash when slides change or not.
- Auto calculates and resizes items to fit the viewport.
- You can find more demos in the zip.
How to use it:
1. Import the jQuery snapper plugin's files into the document. The plugin requires the latest jQuery library to work.
<link rel="stylesheet" href="snapper.css" />
<script src="jquery.min.js"></script>
<script src="snapper.js"></script>
2. Load the toss.js library for smooth anchoring and scroll snapping (OPTIONAL).
<script src="toss.js"></script>
3. The basic HTML structure for the carousel. The OPTIONAL snapper_pane_crop class is used to hide the scrollbar when using thumbnail navigation.
<div class="snapper">
  <div class="snapper_pane_crop">
    <div class="snapper_pane">
      <div class="snapper_items">
        <div class="snapper_item" id="img-a">
          <img src="a.jpg" alt="">
        </div>
        <div class="snapper_item" id="img-b">
          <img src="b.jpg" alt="">
        </div>
        <div class="snapper_item" id="img-c">
          <img src="c.jpg" alt="">
        </div>
        ...
      </div>
    </div>
  </div>
</div>
4. Call the plugin to initialize the carousel. Done.
$(function(){
  $(document).trigger("enhance");
});
5. Add a thumbnail navigation to the bottom of the carousel.
<div class="snapper_nav">
  <a href="#img-a"><img src="a-thmb.jpg" alt=""></a>
  <a href="#img-b"><img src="b-thmb.jpg" alt=""></a>
  <a href="#img-c"><img src="c-thmb.jpg" alt=""></a>
  ...
</div>
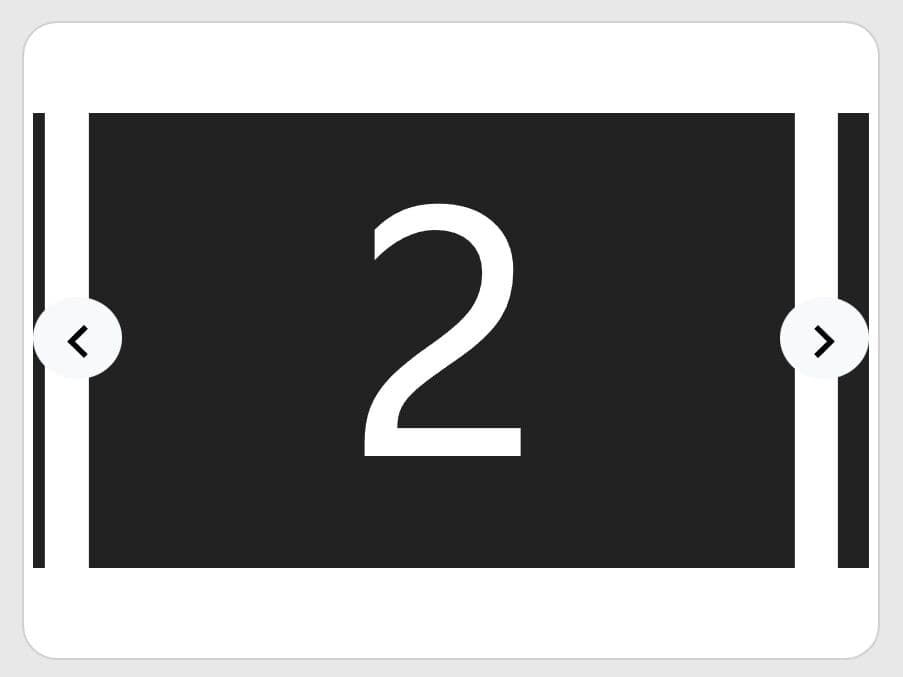
6. Add navigation arrows to the carousel using the data-snapper-nextprev attribute:
<div class="snapper" data-snapper-nextprev>
  ...
</div>
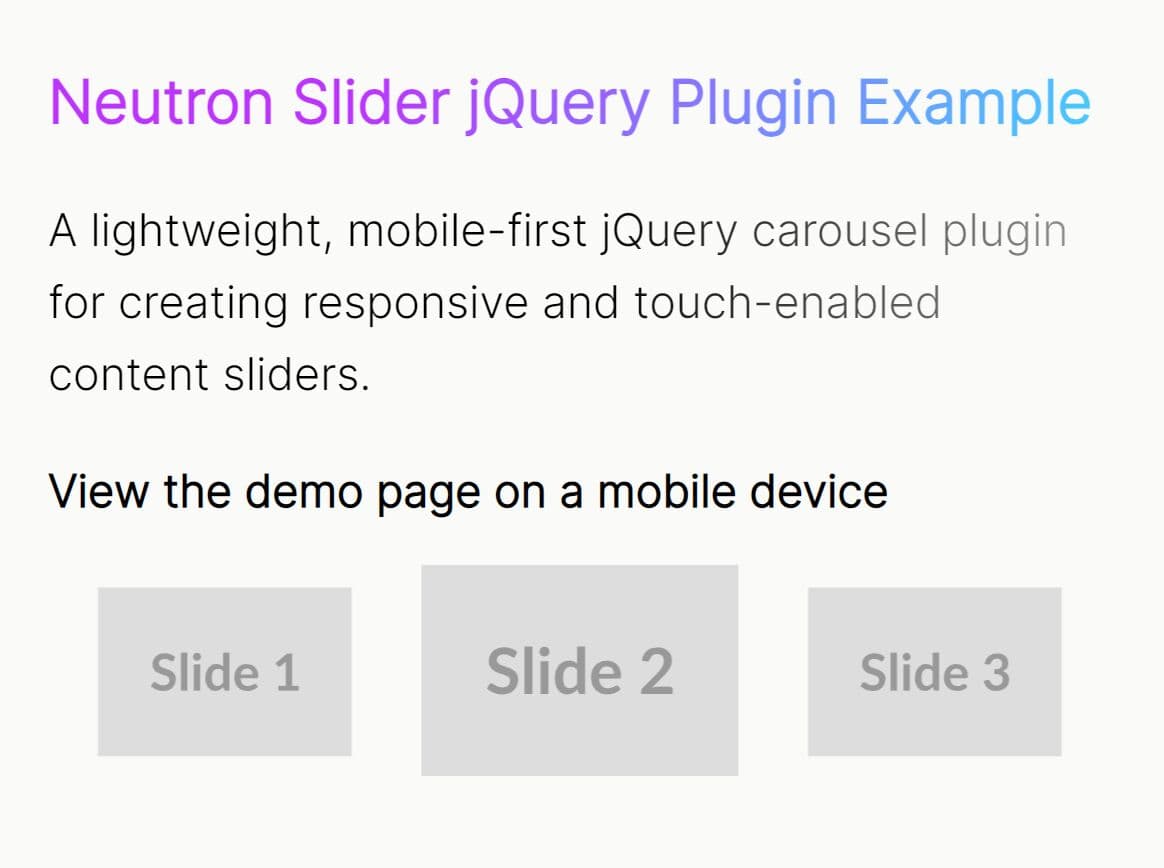
7. Add pagination bullets to the carousel:
<div class="snapper_nav snapper_nav-dots">
  <a href="#img-a">Slide 1</a>
  <a href="#img-b">Slide 2</a>
  <a href="#img-c">Slide 3</a>
</div>
8. Add pagination bullets to the carousel:
<div class="snapper_nav snapper_nav-dots">
  <a href="#img-a">Slide 1</a>
  <a href="#img-b">Slide 2</a>
  <a href="#img-c">Slide 3</a>
</div>
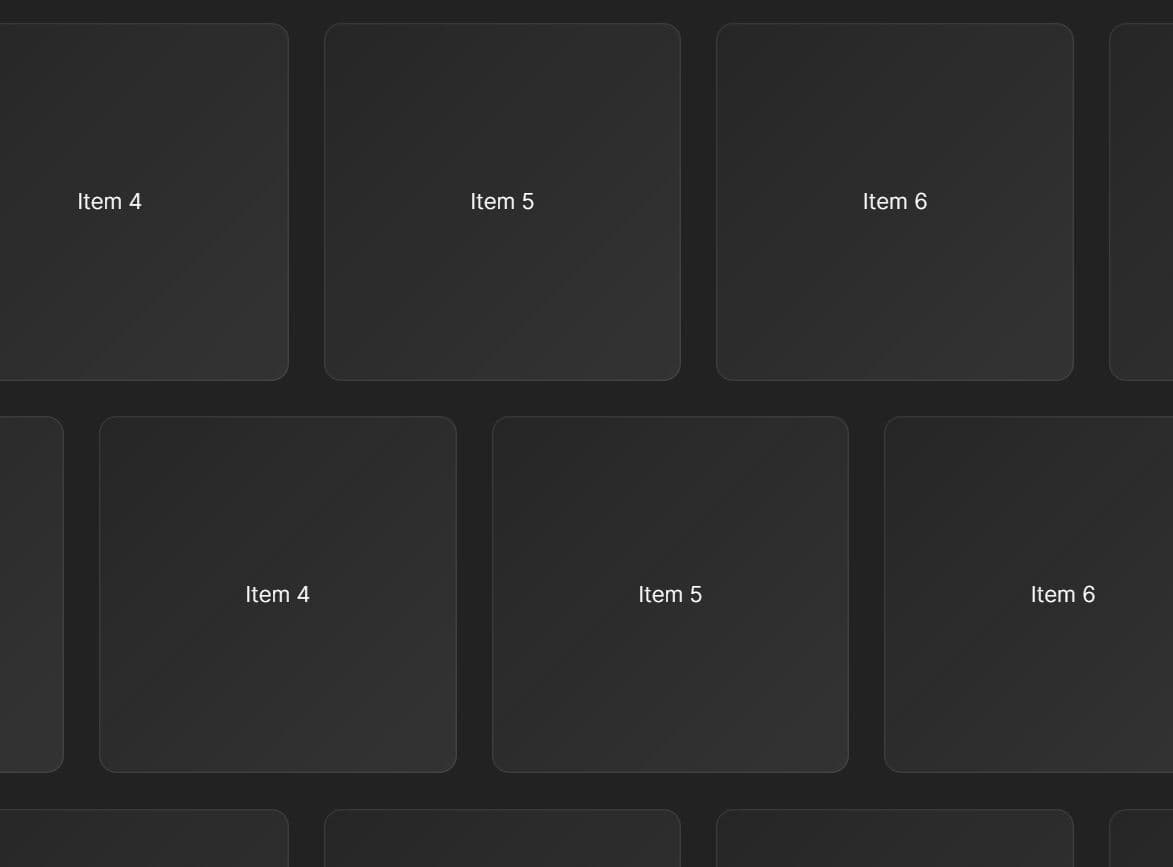
9. Show multiple items per slide using the data-snapper-setwidths attribute:
<div class="snapper" data-snapper-setwidths>
  ...
</div>
@media (min-width: 30em){
  .snapper-smallpoints  .snapper_item {
    width: 50%;
  }
  .snapper-smallpoints  .snapper_pane {
    -webkit-scroll-snap-points-x: repeat(50%);
    -ms-scroll-snap-points-x: repeat(50%);
    scroll-snap-points-x: repeat(50%);
  }
}
@media (min-width: 50em){
  .snapper-smallpoints  .snapper_item {
    width: 33.333%;
  }
  .snapper-smallpoints  .snapper_pane {
    -webkit-scroll-snap-points-x: repeat(33.33333%);
    -ms-scroll-snap-points-x: repeat(33.33333%);
    scroll-snap-points-x: repeat(33.33333%);
  }
}
10. Enable the autoplay functionality using the data-snapper-autoplay attribute:
<div class="snapper" data-snapper-autoplay="3000">
  ...
</div>
11. Disable the hash change using the data-snapper-deeplinking attribute:
<div class="snapper" data-snapper-deeplinking="false">
  ...
</div>
This awesome jQuery plugin is developed by filamentgroup. For more Advanced Usages, please check the demo page or visit the official website.