Easy Background Image Carousel With jQuery And CSS3 - Overflow Slider
| File Size: | 1.76 KB |
|---|---|
| Views Total: | 1798 |
| Last Update: | |
| Publish Date: | |
| Official Website: | Go to website |
| License: | MIT |

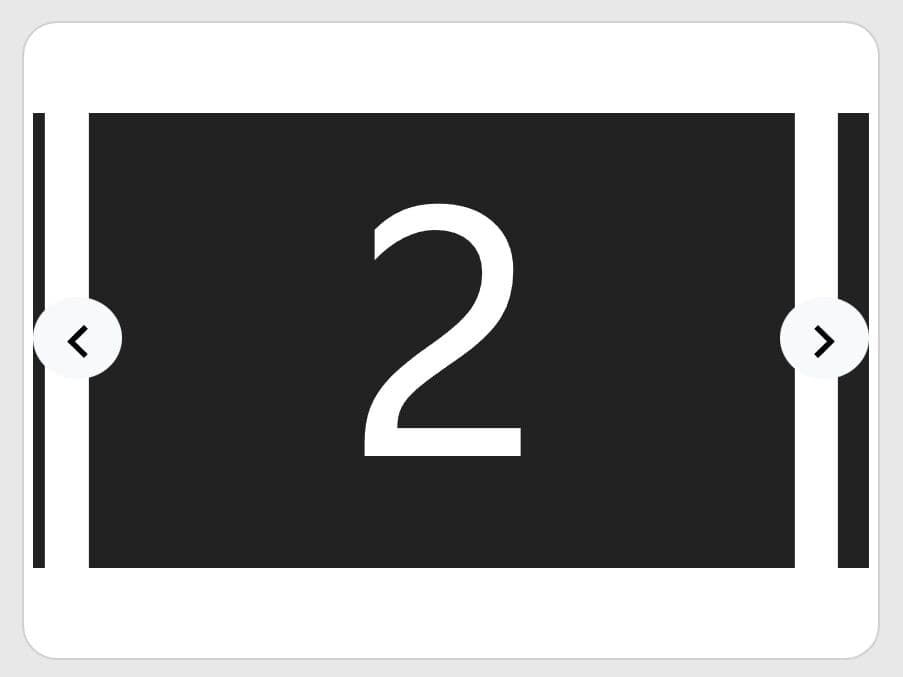
The Overflow Slider makes use of jQuery and CSS3 to showcase your images in a cool, responsive, automatic carousel slider with an unique 'overflow' effect when transitioning between slides.
How to use it:
1. Create an html list and insert the images as backgrounds to the slider as follows:
<ul class="slider">
  <li class="active">
    <div class="image-wrapper">
      <span class="img" style="background-image: url(1.jpg);"></span>
    </div>
  </li>
  <li>
    <div class="image-wrapper">
      <span class="img" style="background-image: url(2.jpg);"></span>
    </div>
  </li>
  <li>
    <div class="image-wrapper">
      <span class="img" style="background-image: url(3.jpg);"></span>
    </div>
  </li>
  <li class="prev">
    <div class="image-wrapper">
      <span class="img" style="background-image: url(4.jpg);"></span>
    </div>
  </li>
</ul>
2. Add a bottom pagination to the slider.
<ul class="pager">
  <li data-index="0" class="active"></li>
  <li data-index="1"></li>
  <li data-index="2"></li>
  <li data-index="3"></li>
</ul>
3. The primary CSS / CSS3 styles for the slider & pagination.
body { overflow-x: hidden; }

.slider {
  position: relative;
  margin: 0;
  padding: 0;
  list-style: none;
}

.slider li {
  position: absolute;
  top: 0;
  left: 0;
  margin: 0;
  padding: 0;
  width: 0vw;
  overflow: hidden;
  transition: width 800ms cubic-bezier(0.95, 0.05, 0.795, 0.035);
}

.slider li.active {
  z-index: 2;
  width: 100vw;
}

.slider li.prev {
  z-index: 1;
  width: 100vw;
}

.slider li .img {
  display: block;
  position: relative;
  width: 100vw;
  height: 100vh;
  background-size: cover;
  background-position: center center;
}

.pager {
  z-index: 100;
  position: absolute;
  bottom: 10px;
  left: 50%;
  width: 100%;
  margin: 0;
  padding: 0;
  list-style: none;
}

.pager li {
  display: inline-block;
  border: 2px solid white;
  width: 10px;
  height: 10px;
  border-radius: 50%;
  background: transparent;
}

.pager li.active { background: white; }
4. Load the slim build of jQuery library at the end of the html document.
<script src="//code.jquery.com/jquery-3.1.0.slim.min.js"></script>
5. The core JavaScript(jQuery script) to active the slider.
var sliderInterval = null;
var $slider = $('.slider');
var index = 0;
sliderInterval = setInterval(function(){
  ++index;
  if(index >= $slider.children().length){
    index = 0;
  }
  changeSlideTo(index);
},3000);

function changeSlideTo(index){
  var $next = $slider.children().eq(index);
  var $current = $slider.children('.active');
  var $prev = $slider.children('.prev');
  if($prev.length == 0){
    $prev = $slider.children().last();
  }

  $next.addClass('active');
  $current.removeClass('active').addClass('prev');
  $prev.removeClass('prev');

  $('.pager .active').removeClass('active');
  $('.pager li').eq(index).addClass('active');
}

$('.pager li').click(function(e){
  e.preventDefault();
  clearInterval(sliderInterval);
  changeSlideTo($(this).data('index'));
});
This awesome jQuery plugin is developed by mpeach. For more Advanced Usages, please check the demo page or visit the official website.