Mobile-Friendly & Responsive Slider jQuery Plugin - flick
| File Size: | 41.9KB |
|---|---|
| Views Total: | 1677 |
| Last Update: | |
| Publish Date: | |
| Official Website: | Go to website |
| License: | MIT |
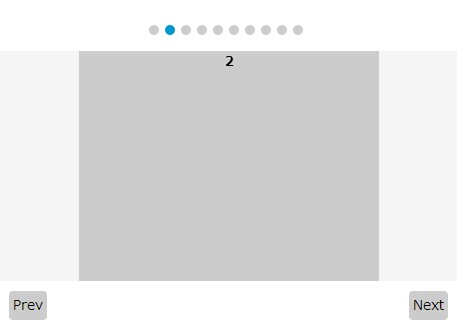
Just another jQuery slider plugin designed for iPhone, Android and PC clients that creates a responsive, mobile-first, touch-enabled and cross-browser slider with swipe and CSS3 animations support.
Basic Usage:
1. Include jQuery library and jQuery flick.js on the page.
<script src="http://ajax.googleapis.com/ajax/libs/jquery/1.10.2/jquery.min.js"></script>
<script src="js/flick.js"></script>
2. Include HTML5 IE enabling script for support of IE 6/7/8.
<!--[if lt IE 9]>
<script src="http://html5shiv.googlecode.com/svn/trunk/html5.js"></script>
<![endif]-->
3. Create the html for a slider with navigation and next/pre buttons.
<div id="content">
<div id="flick">

<ul class="flickNav">
<li><a href="#content01"></a></li>
<li><a href="#content02"></a></li>
<li><a href="#content03"></a></li>
</ul>

<div class="container">
<div class="itemBox">
<div id="content01" class="item">
<figure>1</figure>
</div>
<div id="content02" class="item">
<figure>2</figure>
</div>
<div id="content03" class="item">
<figure>3</figure>
</div>
</div>
</div>

<ul class="next_prev">
<li class="next">Next</li>
<li class="prev">Prev</li>
</ul>

</div>
</div>
4. The sample CSS to style the slider.
div#flick {
overflow: hidden;
}
ul.flickNav {
margin: 10px 0;
position: relative;
left: 50%;
float: left;
}
ul.flickNav li {
float: left;
display: inline;
margin-right: 6px;
margin-bottom: 6px;
position: relative;
left: -50%;
}
ul.flickNav li a {
display: block;
width: 10px;
height: 10px;
-moz-border-radius: 10px;
-webkit-border-radius: 10px;
-o-border-radius: 10px;
border-radius: 10px;
background-color: #ccc;
}
ul.flickNav li.selected a {
background-color: #09C;
}
div.container {
height: 230px;
position: relative;
clear: both;
overflow: hidden;
}
div.itemBox {
position: relative;
}
div.container .item {
float: left;
text-align: center;
background-color: #f5f5f5;
}
.moving {
-webkit-transition: -webkit-transform .2s ease-out;
-moz-transition: -moz-transform .2s ease-out;
-o-transition: -o-transform .2s ease-out;
-ms-transition: -ms-transform .2s ease-out;
}
div#flick figure {
margin: 0 auto;
background-color: #ccc;
width: 300px;
height: 230px;
}
ul.next_prev li {
margin: 10px;
padding: 0.3em;
display: inline;
background-color: #ccc;
-moz-border-radius: 4px;
-webkit-border-radius: 4px;
-o-border-radius: 4px;
border-radius: 4px;
cursor: pointer;
}
ul.next_prev li.off {
display: none;
}
ul.next_prev li.prev {
float: left;
}
ul.next_prev li.next {
float: right;
}
5. Call the plugin with options.
<script type="text/javascript">
$(function(){
$("#flick").flick({
contentNum: 0, // which slide will display first
centerPosition: true,
speed: 200, // the aniamtion speed
timer: false // the delay time
});
});
</script>
This awesome jQuery plugin is developed by kamem. For more Advanced Usages, please check the demo page or visit the official website.