Create Interactive Onboarding Tours with jQuery - TourKit
| File Size: | 8.91 KB |
|---|---|
| Views Total: | 505 |
| Last Update: | |
| Publish Date: | |
| Official Website: | Go to website |
| License: | MIT |
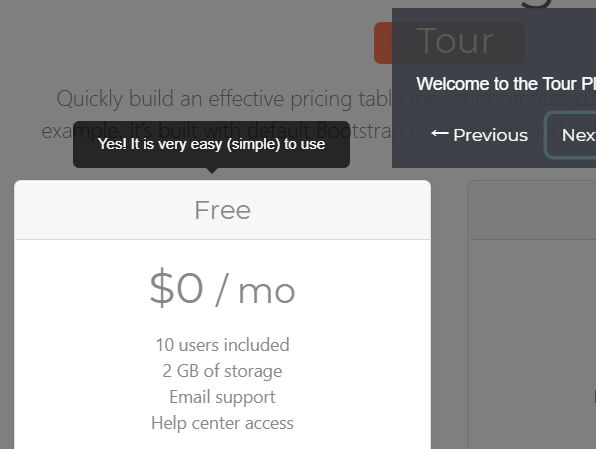
TourKit is a lightweight jQuery plugin that helps you create step-by-step guided tour and user onboarding experiences for your web applications.
It works by highlighting the specific elements and walking your users through a workflow or new features. Styled with the latest Bootstrap 5 framework.
Features:
- Persistent tour state with localStorage to prevent repeated tours.
- RTL (right-to-left) text direction support.
- Multiple tour management on single pages using tourParent scoping.
- Highlights specific DOM elements with a custom overlay.
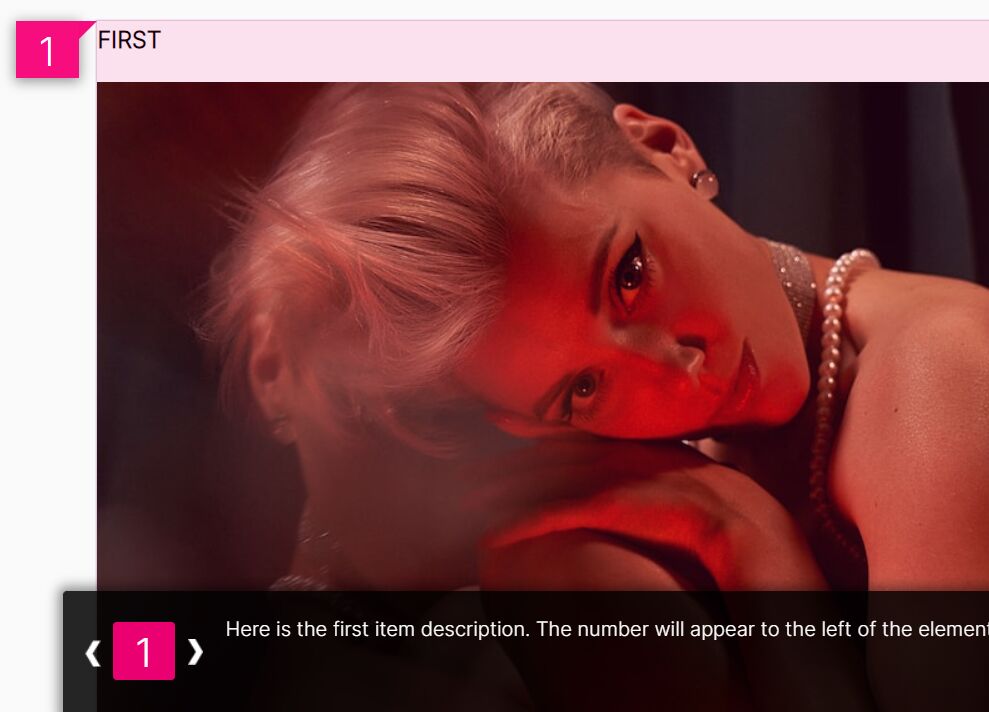
- Navigation controls with Back, Next, Finish, and Exit buttons.
How to use it:
1. Load the required jQuery library and Bootstrap 5 framework in your project. Font Awesome is optional but recommended for the tour icons.
<!-- jQuery is required -->
<script src="/path/to/cdn/jquery.min.js"></script>

<!-- Bootstrap framework -->
<link rel="stylesheet" href="/path/to/cdn/bootstrap.min.css" />
<script src="/path/to/cdn/bootstrap.bundle.min.js"></script>

<!-- FontAwesome -->
<link rel="stylesheet" href="/path/to/cdn/font-awesome.min.css">
2. Load the plugin's CSS and JavaScript files in your page.
<link rel="stylesheet" href="tourkit.css" />
<script src="tourkit.js"></script>
3. TourKit needs two div elements for its overlay and tooltip. Place these just before your closing </body> tag.
<div class="tour-overlay" style="display: none;"></div>
<div class="tour-tooltip" style="display: none;"></div>
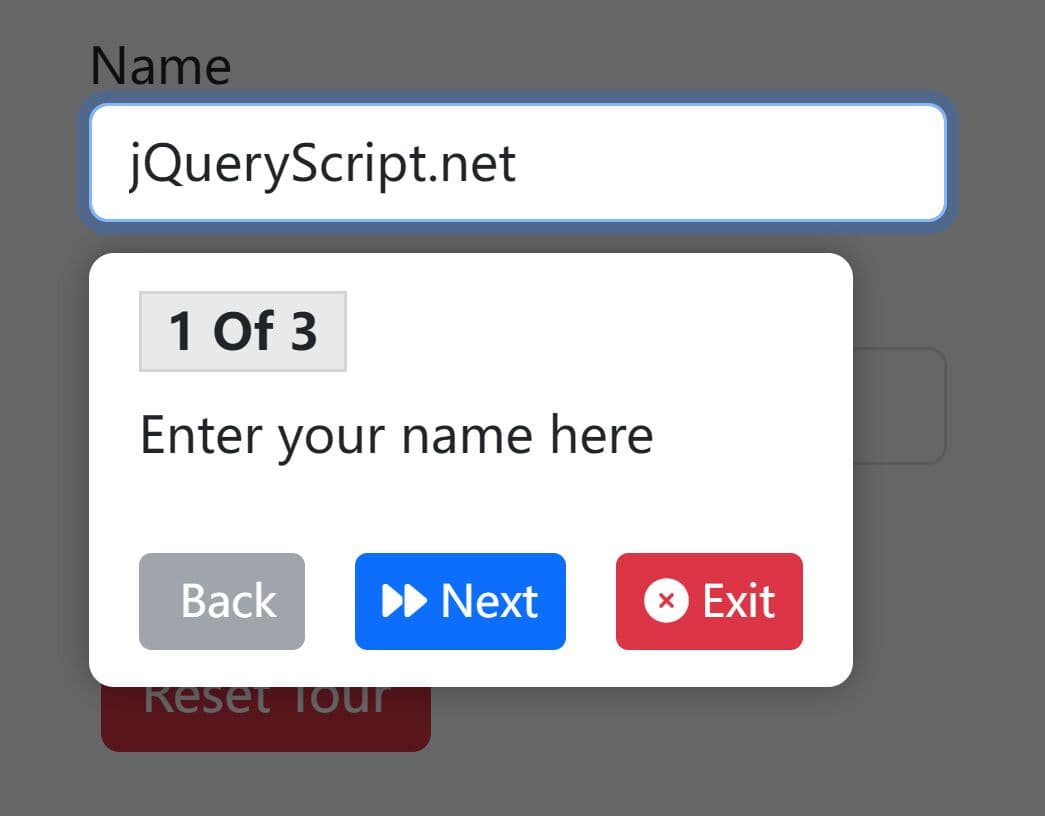
4. Create a new Tourkit instance. The only required option is an array of steps. Each step is an object containing an element selector and the text for the tooltip.
let myTour = new Tourkit({
  steps: [
    {element: '#name', text: 'Enter your name here'},
    {element: '#email', text: 'Your email goes here'},
    {element: '#submit', text: 'Click to submit your form'}
  ]
});
5. Call the startTour() method when you're ready to begin, for example, on a button click or automatically on page load. Note that if a tour needs to run on dynamically loaded content, you must initialize and start the tour AFTER the content is present in the DOM. Otherwise, the element selectors will fail.
myTour.startTour();
6. Config the guided tour with the following options. Here is an example with all options configured:
- seenVariableName (String): localStorage key to track tour completion. Default: 'tour1_seen'. Use unique names for different tours.
- tourParent (String or jQuery Object): Scope the tour to specific container. Default: $('body'). Useful for multiple tours on the same page.
let myTour = new Tourkit({
  steps: [
    {element: '#notification-toggle', text: 'Manage your email notifications here.'},
    {element: '#theme-selector', text: 'Switch between light and dark themes.'}
  ],
  tourParent: $('#settings-modal'),
  seenVariableName: 'settingsTour_v2_seen',
});
7. To reset a completed tour for testing, you can clear its specific key in localStorage:
localStorage.setItem('settingsTour_v2_seen', '');
settingsTour.startTour();
8. More API methods:
- showStep(index) – Jumps to a specific step (zero-indexed)
- endTour(permanent = true) – Ends the tour; if
permanent, sets localStorage flag
Alternatives:
- Shepherd.js: More feature-rich, supports modals, keyboard nav, and better positioning engines. But it’s heavier and requires Popper.js. Better for SPAs.
- Intro.js: Popular, well-documented, pure JavaScript. Also larger, and its default styling feels dated unless customized.
- Driver.js: Focuses on element highlighting without tooltips. Good for focus-stealing flows, but not step-by-step guidance.
- 10 Best Tour Plugins To Guide Visitors Through Your App
FAQs
Q: How do I customize the look of the tour?
A: You can override the default CSS. The main classes to target are .tour-overlay, .tour-tooltip, and .tour-highlight. You can change the overlay color, tooltip styling, and the highlight effect to match your site's branding.
Q: How do I run multiple, different tours on the same page?
A: Use the seenVariableName and tourParent options. For each unique tour, create a new Tourkit instance with a distinct seenVariableName. If the tours are in different parts of the page (e.g., one in the main body, one in a modal), using tourParent will keep their overlays and tooltips correctly scoped.
Q: Is there a way to prevent users from interacting with highlighted elements during the tour?
A: TourKit doesn't block element interaction by default. You can add pointer-events: none to highlighted elements via CSS or handle this through your application logic during active tours.
This awesome jQuery plugin is developed by MoudiZd. For more Advanced Usages, please check the demo page or visit the official website.