Simple Step-by-step Site Tour Plugin For jQuery - Tour.js
| File Size: | 6.4 KB |
|---|---|
| Views Total: | 2345 |
| Last Update: | |
| Publish Date: | |
| Official Website: | Go to website |
| License: | MIT |
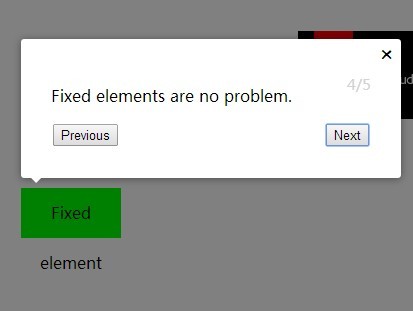
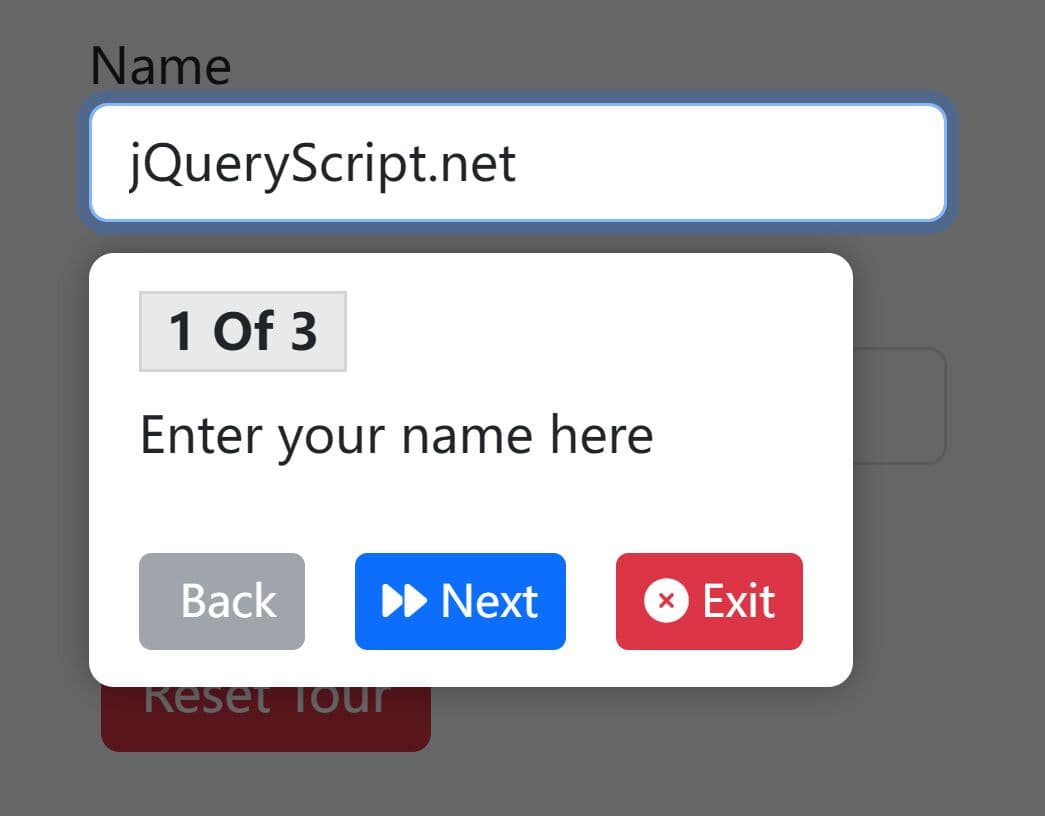
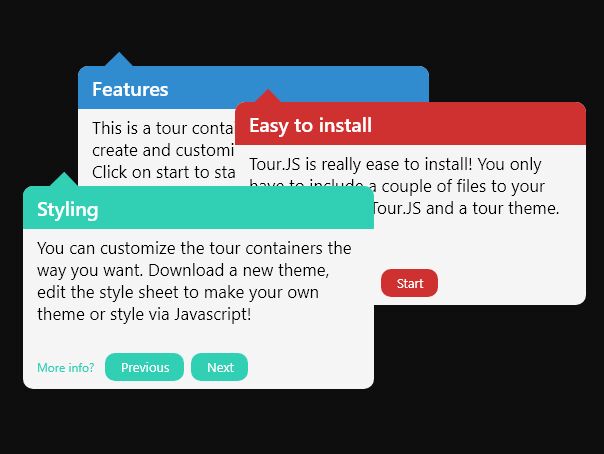
Tour.js is a jQuery plugin that creates a site tour wizard for your website to provide new feature introduction or step-by-step users guide. The plugin is licensed under the GNU Public License.
How to use it:
1. Include the required tour.css in the head to style the site tour plugin.
<link rel="stylesheet" href="tour.css">
2. Include jQuery library and the tour.js script at the bottom of the document so the pages load faster.
<script src="//ajax.googleapis.com/ajax/libs/jquery/1.11.1/jquery.min.js"></script>
<script src="tour.js"></script>
3. Create site tour steps in the options object, as so:
$(function () {
$('body').tour({
steps: [{
title: 'Welcome',
content: '<p>Hello! Welcome to Tour.js demo.</p>'
}, {
title: 'Step 1',
content: '<p>Step 1</p>',
element: '.element-1', // append to element with class of 'element-1'.
position: 'top' // custom positions.
}, {
content: '<p>Step 2</p>',
element: '.element-2'
}, {
content: '<p>Step 3</p>',
element: '.element-3'
}]
});

$('body').data('tour').start();

$('body').on('tourend', function () {
alert('Tour ended!');
});

$('body').on('stepchange', function (e, previousStep, nextStep) {
console.log(previousStep, nextStep);
});
});
4. All the default settings.
startingStep: 0,
tooltipClass: 'tour-tooltip',
overlayClass: 'tour-overlay',
buttonClass: 'tour-button',
previousLabel: 'Previous',
nextLabel: 'Next',
doneLabel: 'Done',
closeLabel: '×',
skipHidden: true,
offset: 10,
steps: [] // an array of steps
Change log:
2016-04-01
- Fix screen overflow anchoring bug
This awesome jQuery plugin is developed by Tundra-Interactive. For more Advanced Usages, please check the demo page or visit the official website.