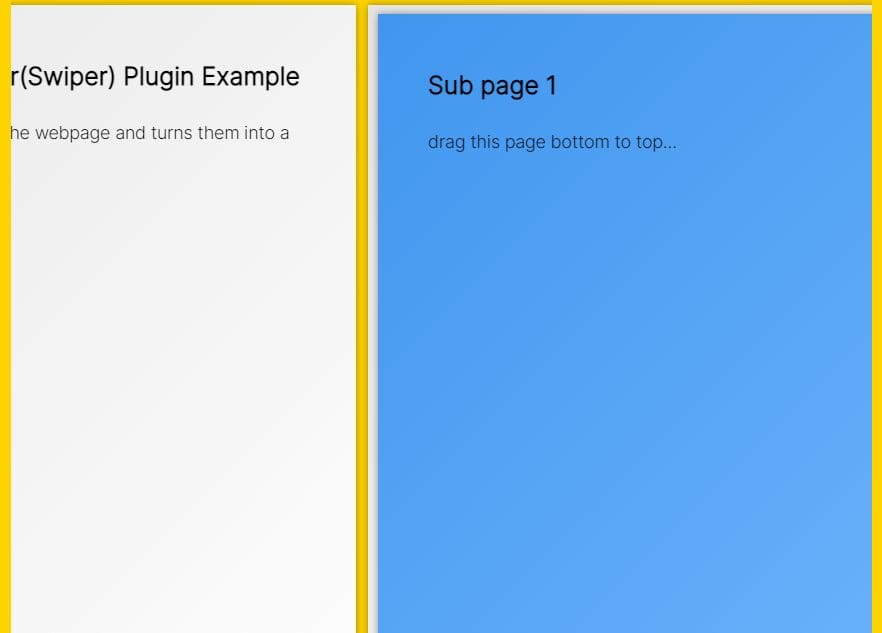
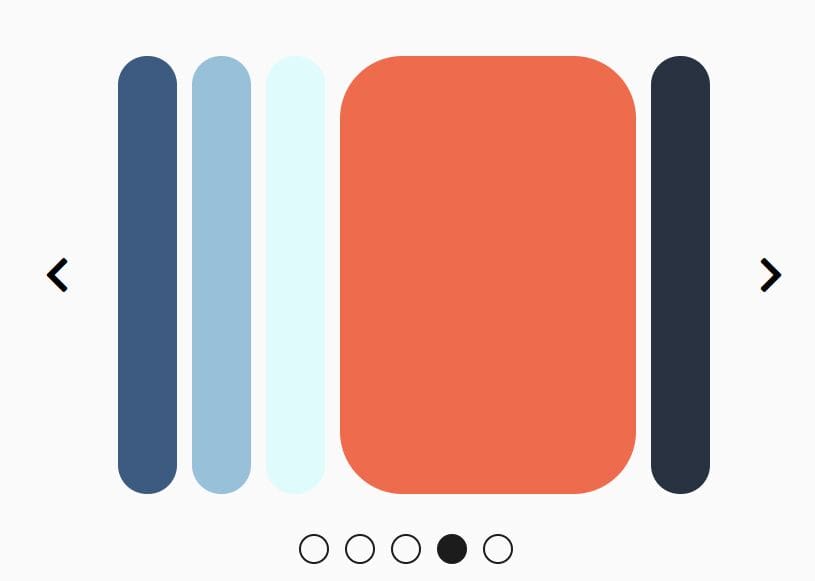
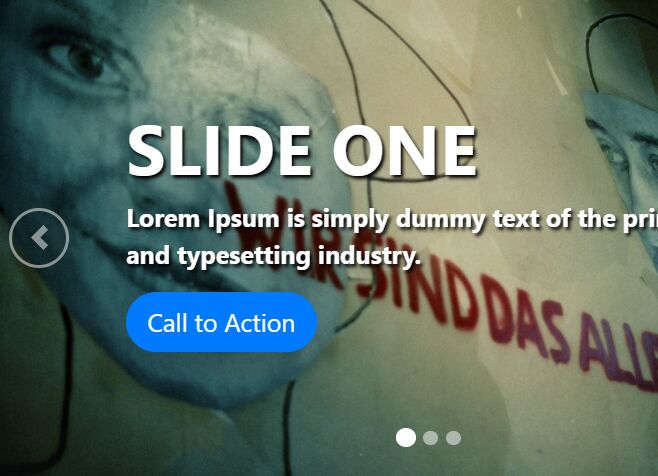
Clean and Tiny jQuery Image Slider Plugin - Play
| File Size: | 1.06MB |
|---|---|
| Views Total: | 1069 |
| Last Update: | |
| Publish Date: | |
| Official Website: | Go to website |
| License: | MIT |
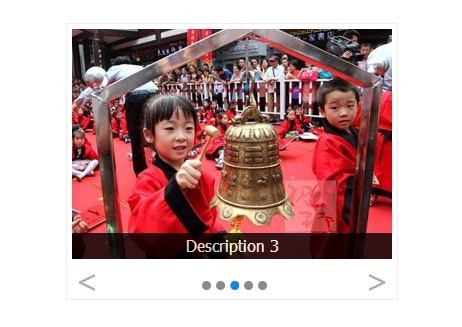
Play is a simple, fast and easy to use plugin for jQuery and Zepto that allows to create different styles of content sliders on your web page. Fork it on github.
Features:
- Auto play / loop
- Prev/Next arrow navigation
- Dots navigation
- List block navigation
- 4 Built-in transition effects
- Custom slide event (click or mousehover)
- Swipe slide supported on mobile device, with touch,js
More examples:
Basic Usage:
1. Include jQuery library and jQuery play plugin in you page
<script src="http://code.jquery.com/jquery-latest.min.js"></script>
<script src="../play.min.js"></script>
2. Create the html for the slider
<div class="play"> <div class="fxplay"> <div class="play-box"> <div class="play-item"><img src="i1.jpg" width="100%" height="100%" alt="" /> <p>Description 1</p> </div> <div class="play-item"><img src="i2.jpg" width="100%" height="100%" alt="" /> <p>Description 2</p> </div> <div class="play-item"><img src="i3.jpg" width="100%" height="100%" alt="" /> <p>Description 3</p> </div> <div class="play-item"><img src="i4.jpg" width="100%" height="100%" alt="" /> <p>Description 4</p> </div> <div class="play-item"><img src="i5.jpg" width="100%" height="100%" alt="" /> <p>Description 5</p> </div> </div> </div> <div class="bar"> <div id="playNo"></div> <a href="#null" class="ctrl" id="prev"><</a> <a href="#null" class="ctrl" id="next">></a> </div> </div>
3. Put styles in your CSS and change it to your taste
.fxplay {
width: 320px;
height: 230px;
margin: auto;
position: relative;
overflow: hidden;
}
.play {
border: 1px solid #eee;
padding: 5px;
width: 320px;
height: 265px;
margin: auto;
overflow: hidden;
}
.play-box {
width: 320px;
height: 230px;
}
.play-item {
width: 320px;
height: 230px;
}
.bar {
height: 50px;
position: relative;
}
.ctrl {
width: 30px;
height: 30px;
position: absolute;
cursor: pointer;
display: block;
line-height: 30px;
color: #afafaf;
font-size: 30px;
text-align: center;
text-decoration: none;
}
.ctrl:hover {
color: #1286DF;
}
#prev {
left: 0;
top: 6px;
}
#next {
right: 0;
top: 6px;
}
#playNo {
height: 50px;
line-height: 50px;
text-align: center;
}
#playNo i {
cursor: pointer;
display: inline-block;
margin-top: 12px;
width: 14px;
height: 14px;
line-height: 50px;
overflow: hidden;
background-image: url(dot.gif);
background-repeat: no-repeat;
background-position: 5px 5px;
}
#playNo i.curr {
background-position: -11px 5px;
}
.play-item {
position: relative;
}
p {
position: absolute;
left: 0;
width: 100%;
height: 26px;
line-height: 26px;
text-align: center;
background: #000;
margin: 0;
bottom: 0;
color: #fff;
opacity: .8;
}
4. Call the plugin with options.
<script>
$('.fxplay').fxuiPlay({
prev:$('#prev'),
next:$('#next'),
no:$('#playNo'),
auto:true,           // auto play
autotime:3000,       // Time interval of auto play
effect:2,            // types of effects. 0: default; 1: shrink; 2: left to right; 3: up to down;
ismobi:false,         // Set to true if you use it in mobile device (needed touch.js)
efftime:400,         // effect time
evt:'click'          // click or hover
});
</script>
This awesome jQuery plugin is developed by jq-school. For more Advanced Usages, please check the demo page or visit the official website.