Creating A Flexible Photo Gallery with jQuery Presentation Plugin
| File Size: | 2.3 MB |
|---|---|
| Views Total: | 3434 |
| Last Update: | |
| Publish Date: | |
| Official Website: | Go to website |
| License: | MIT |

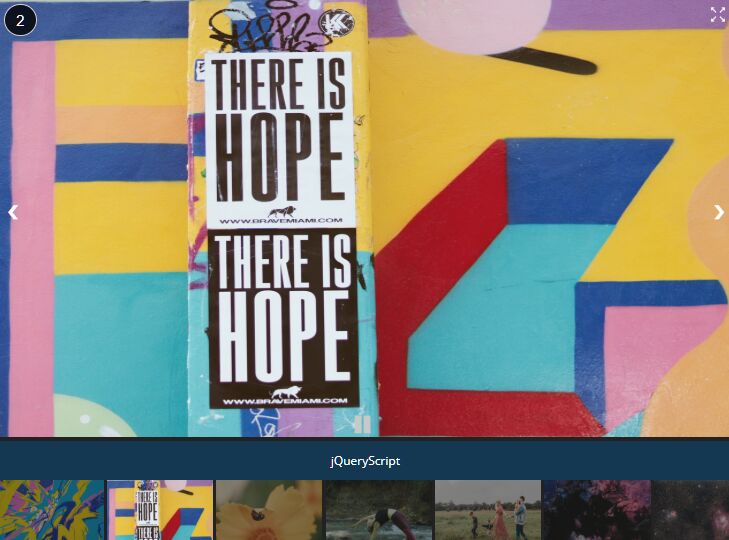
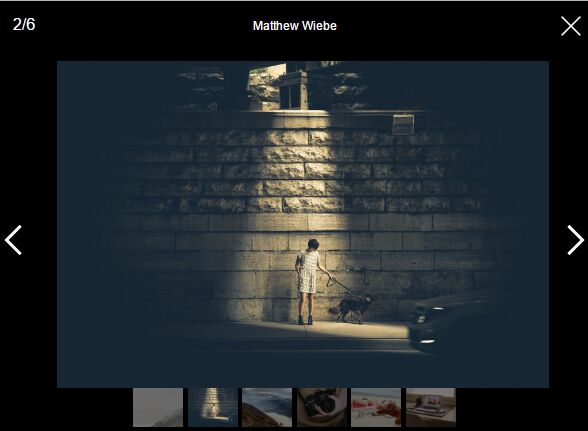
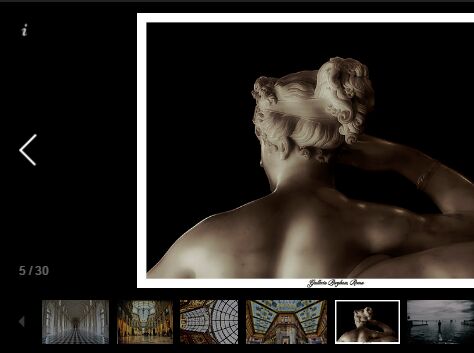
A quick and lightweight jQuery plugin for creating a flexible, adaptive, customizable presentation of your photos. The plugin loads all the images from a folder under your website and organizes/displays them as a gallery/sideshow that features vertical thumbnails bar, next/prev controls, auto play/pause buttons, and much more.
Basic Usage:
1. Include jQuery library and the jQuery presentation plugin in your web page.
<script src="//ajax.googleapis.com/ajax/libs/jquery/1.11.1/jquery.min.js"></script>
<script src="js/presentation.js"></script>
2. Create a container element to place the image gallery.
<div class="presentation">Presentation #2</div>
3. Prepare your images and place them into the folder '/css/images/'.
4. The required CSS to style the image gallery.
.present__header {
  position: relative;
  display: block;
  padding: 5px 5px 5px 10px;
  font-size: 14px;
  line-height: 24px;
  background: #e2e2e2;
  border-radius: 3px 3px 0 0;
}

.present__mwrap { position: relative; }

.present__slides {
  position: absolute;
  display: block;
  visibility: hidden;
  top: 0;
  left: 0;
  background: rgba(0,0,0, 0.3);
  overflow-y: scroll;
  z-index: 100;
}

.present__slides:hover { background: rgba(0,0,0, 0.8); }

.present__slide__handler {
  position: relative;
  display: block;
  padding: 0;
  margin: 5px;
  overflow: hidden;
}

.present__slide__handler img {
  position: absolute;
  display: block;
  height: 100%;
  top: 0;
  left: 0;
  opacity: 0.5;
}

.present__slide__handler:hover img { opacity: 0.8; }

.present__slide__handler.selected img,
present__slide__handler.selected:hover img { opacity: 1; }

.present__slide__handler+.present__slide__handler { margin-top: 0; }

.present__view {
  position: relative;
}

.present__button {
  position: absolute;
  display: none;
  padding: 10px;
  width: 20px;
  height: 20px;
  background-color: rgba(0,0,0, 0.4);
  color: white;
  font-face: Tahoma, sans-serif;
  font-weight: bold;
  font-size: 14px;
  line-height: 24px;
  text-decoration: none;
  text-align: center;
  border-radius: 3px;
}

.present__button.pb__prev {
  top: 50%;
  margin-top: -20px;
  right: 60px;
}

.present__button.pb__play {
  padding: 20px;
  font-size: 24px;
  top: 50%;
  margin-top: -30px;
  left: 50%;
  margin-left: -30px;
}

.present__button.pb__next {
  top: 50%;
  margin-top: -20px;
  right: 10px;
}

.present__mwrap:hover .present__slides { visibility: visible; }

.present__view:hover .present__button { display: block; }

.present__button:hover { background-color: rgba(0,0,0, 0.6); }

.present__slide {
  position: absolute;
  display: block;
  width: 100%;
  height: 100%;
  top: 0;
  left: 0;
  overflow: hidden;
}

.present__slide img {
  position: absolute;
  display: block;
  top: 0;
  left: 0;
  height: 100%;
}
5. Initialize the plugin with default settings.
jQuery(document).ready(function(){
  jQuery('.presentation').Presentation();
});
6. Custom the image folder.
make_slides: function(){
  var slides = [];
  for(var i = 0; i<= 4; i++){
    slides.push({
      image: "./css/images/"+i+".jpg"
    });
  }

  return slides;
},
7. All the settings available.
id: 0,
elm: null, // elemenet to replace
title: 'Presentation', // gallery title
slides: [], // an array of images
delay: 3, // delay level
timeout: null,
slide_id: 0,
status: 0
This awesome jQuery plugin is developed by itspacedev. For more Advanced Usages, please check the demo page or visit the official website.