User-friendly Responsive Menu Plugin - Responsive-nav
| File Size: | 5.34 KB |
|---|---|
| Views Total: | 1323 |
| Last Update: | |
| Publish Date: | |
| Official Website: | Go to website |
| License: | MIT |

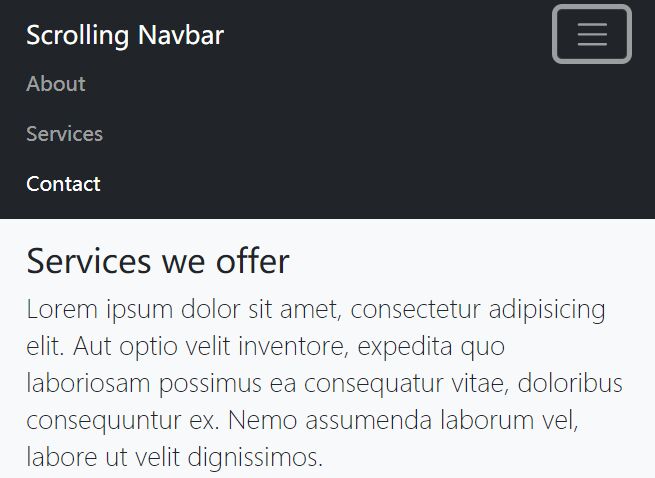
A user- and mobile-friendly responsive dropdown navigation plugin that is perfectly compatible with Desktop, Tablet, and Mobile devices.
Features:
- Collapses navbar items dynamically when there isn't enough space. E.g. Tablet.
- Transforms the navbar into a toggle menu on small screens. E.g. Mobile.
- Supports multi-level navigation. Up to 2 levels.
- SEO-friendly. Built using semantic HTML list markup.
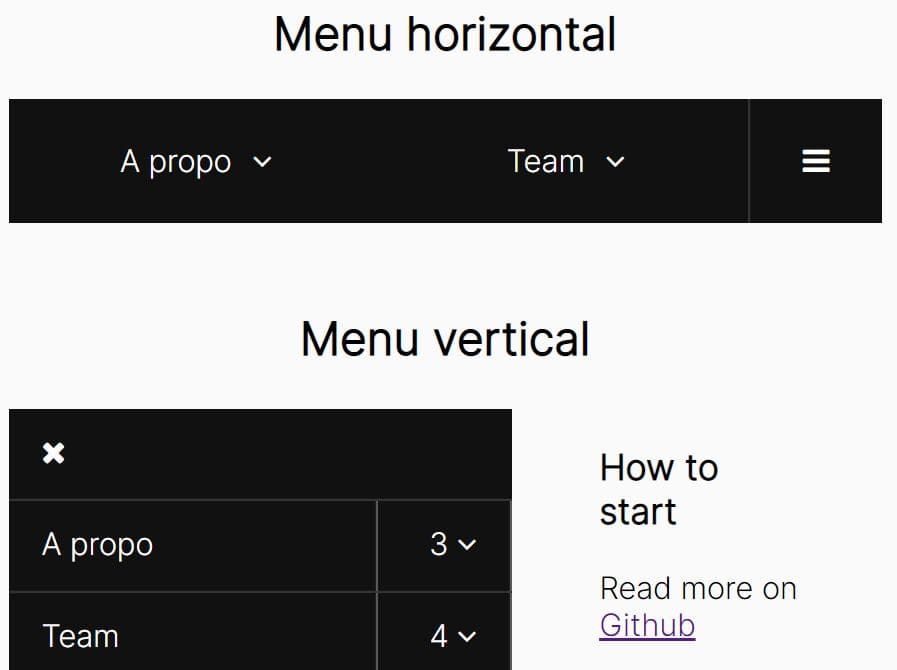
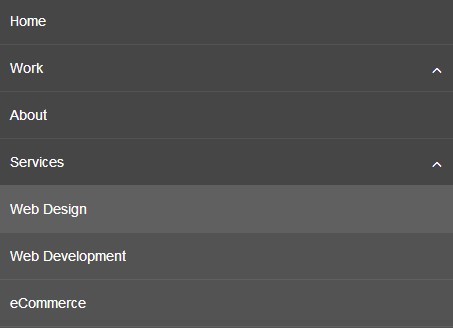
See It In Action:
How to use it:
1. Create a navbar from a nested HTML list and then insert it together with the mobile toggle control into a container as follows:
<div class="nav">
<!-- Mobile Toggle Control -->
<div class="navControl">
<a href="#">Toggle Button</a>
</div>
<!-- Main Nav Here -->
<ul>
<li>
<a href="">Link 1 <span>▾</span></a>
<ul class="dropdown">
<li><a href="">Sub link 1</a>
<li><a href="">Sub link 2</a>
<li><a href="">Sub link 3</a>>
</ul>
<li>
<a href="">Link 2 <span>▾</span></a>
<ul class="dropdown">
<li><a href="">Sub link 1</a>
<li><a href="">Sub link 2</a>
<li><a href="">Sub link 3</a>
</ul>
<li><a href="">Link 3</a>
<li><a href="">Link 4</a>
<li><a href="">Link 5</a>
<li><a href="">Link 6</a>
<li><a href="">Link 7</a>
...
</ul>
</div>
2. The core CSS styles for the navbar. Feel free to overide the CSS styles to fit your design.
.nav {
  background: #333;
}

.nav .navControl {
  display: none;
  cursor: pointer;
}

.nav ul {
  list-style: none;
}

.nav li {
  display: block;
  position: relative;
  z-index: 1;
}

.nav a {
  padding: 10px 20px;
  display: block;
  color: #fff;
  text-decoration: none;
  text-align: center;
}

.nav a:hover {
  color: #ccc;
}

.nav span {
  display: none;
}

.nav .dropdown {
  text-align: center;
}

.nav .dropdown li {
  margin: 0;
  display: inline-block;
}

.nav .dropdown a {
  padding: 0;
  border-right: 0;
  margin-right: 10px;
  font-size: 0.8em;
}

.nav .dropdown li:last-child a {
  margin-right: 0;
}

.nav .dropdown ul {
  display: none;
}
3. The CSS magic to make the navbar fully responsive.
@media all and (min-width: 600px) {
  .nav li {
    margin-right: -4px;
    display: inline-block;
  }

  .nav a {
    border-right: 1px solid #555;
  }

  .nav .dropdown {
    display: none;
    background: #333;
    position: absolute;
    top: 100%;
    left: 0;
  }

  .nav .dropdown li {
    display: block;
  }

  .nav .dropdown a {
    padding: 10px;
    margin-right: 0;
    white-space: nowrap;
    text-align: left;
  }

  .nav span {
    display: inline;
    position: relative;
    left: 5px;
  }

  .nav a:hover + .dropdown,
  .nav .dropdown:hover {
    display: block;
  }
}
4. Load the needed jQuery library at the end of the document.
<script src="/path/to/jquery.min.js"></script>
5. Download and load the jQuery Responsive-nav plugin after jQuery.
<script src="js/navigation.js"></script>
6. Initialize the plugin and define the breakpoint in pixels. That's it.
$(".nav").each(function(){
  new ResponsiveNav($(".nav"), 600);
});
This awesome jQuery plugin is developed by MartinBlackburn. For more Advanced Usages, please check the demo page or visit the official website.