Interactive Step-by-step Guide Through Plugin For jQuery - TourBus
| File Size: | 263 KB |
|---|---|
| Views Total: | 2539 |
| Last Update: | |
| Publish Date: | |
| Official Website: | Go to website |
| License: | MIT |
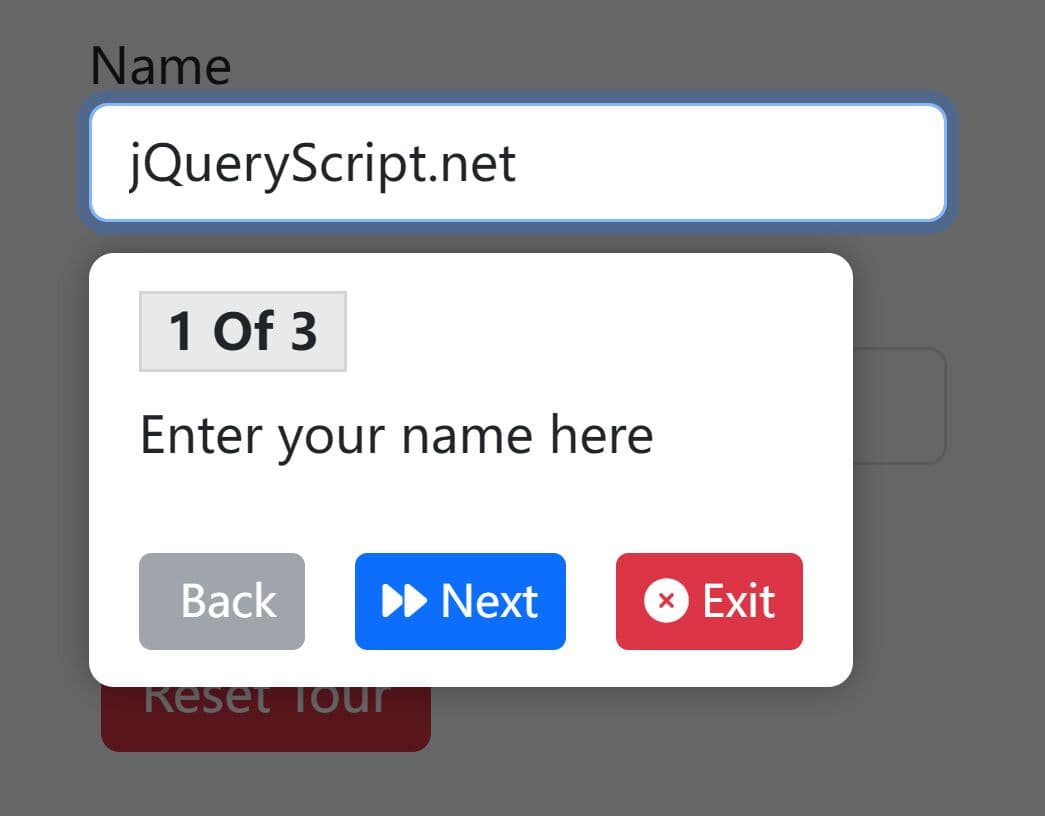
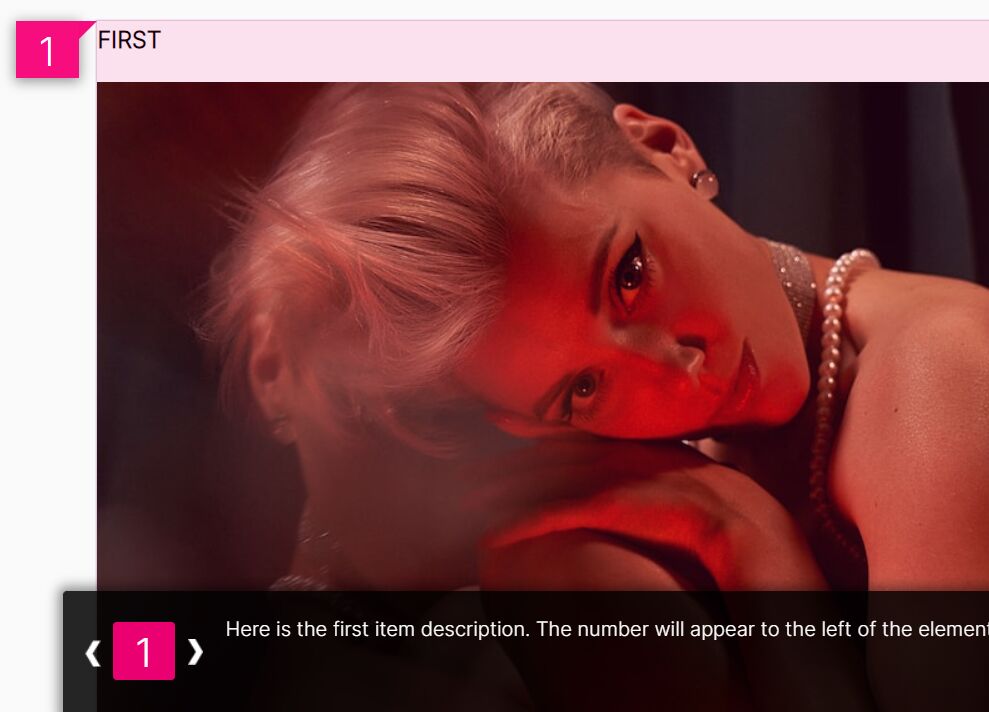
TourBus is a simple yet fully configurable jQuery tour/walkthrough plugin for creating interactive. step-by-step introductions for your site/app components or features.
Install the TourBus plugin:
# NPM
$ npm install jquery-tourbus

# Bower
$ bower install jquery-tourbus
Basic usage:
1. Load jQuery library and jQuery TourBus plugin's files in the html document and we're ready to go.
<link href="dist/jquery-tourbus.css" rel="stylesheet">
<script src="//code.jquery.com/jquery-3.1.1.slim.min.js"></script>
<script src="dist/jquery-tourbus.js"></script>
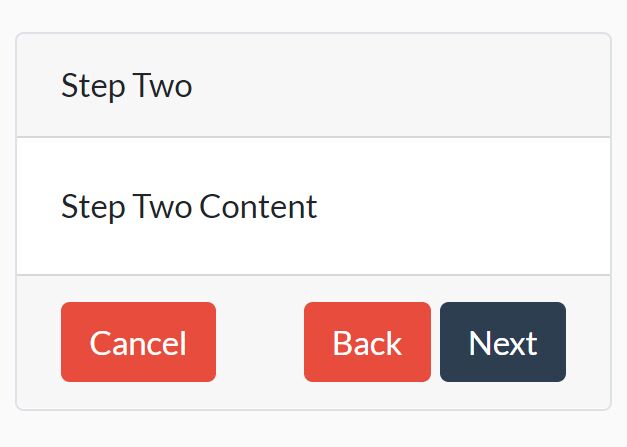
2. Create the guided tours following the html structure as this:
- data-el: Target element
- data-scroll-to: Scroll position (0 for top of page, etc)
- data-scroll-speed: The duration of the scrolling animation (can be 0 for instant, or just don't include jQuery-scrollTo on your page).
- data-scroll-context: How much space to leave above the leg when scrolled to (if scrolled to).
- data-class: Additional CSS class
- data-orientation: top, right, bottom, left or centered
- data-align: top, right, bottom, left, center.
- data-width: Width
- data-margin: Extra space
- data-top: Top offset
- data-left: Left offset
- data-arrow: Specifies where the arrow/pointer should be shown (if applicable). Defaults to '50%' and can be any valid CSS value.
- data-zindex: z-index property
<ol class='tourbus-legs' id='basic'>
<li data-orientation='centered'>
<h2>Tour Title</h2>
<a href='javascript:void(0);' class='tourbus-next'>Next...</a>
</li>
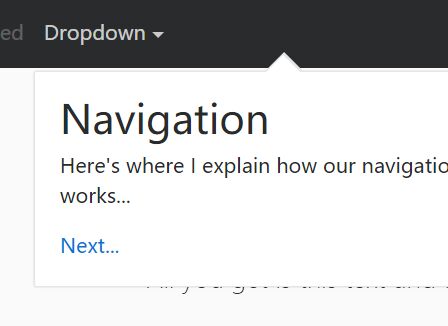
<li data-el='#nav' data-orientation='bottom' data-width='400'>
<h2>Navigation</h2>
<p>This is a navigation</p>
<a href='javascript:void(0);' class='tourbus-next'>Next...</a>
</li>
<li data-el='#title' data-orientation='top' data-width='300'>
<p>This is a title</p>
<a href='javascript:void(0);' class='tourbus-stop'>Done!</a>
</li>
...
</ol>
3. Initialize the plugin with default settings.
var tour = $('#basic').tourbus();
4. The JavaScript to start the tour. That's it.
tour.trigger('depart.tourbus');
5. All default plugin settings.
var tour = $('#basic').tourbus({

    // outputs a lot of stuff to the console
    debug: false,

    // auto start when initialized
    autoDepart: false,

    // specify a container for the leg markup
    container: 'body',

    // the depart-point of the tour
    startAt: 0,

    // a class to apply to the tour container
    class: '',

    // called when the tour starts
    onDepart: function( tourbus ) {},

    // called when the tour is stopped for any reason
    onStop: function( tourbus ) {},

    // called before switching to a leg
    onLegStart: function( leg, tourbus ) {},

    // called before switching _from_ a leg
    onLegEnd: function( leg, tourbus ) {},

    // global leg defaults
    leg: {

      // override scroll position (0 for top of page, etc)
      scrollTo: null,

      // duration of scroll animation
      scrollSpeed: 150,

      // how much space to leave above the leg when scrolled to
      scrollContext: 100,

      // a class to apply to every leg... more useful as a per-leg setting
      class: '',

      // position of leg in relation to target
      // supports top/right/bottom/left
      orientation: 'bottom',

      // alignment of leg to target
      // supports:
      //   left/right/center for orientation of top/bottom
      //   top/bottom/center for orientation of left/right
      align: 'left',

      // width of leg
      width: 'auto',

      // z-index of the leg
      zindex: 9999,

      // space between leg and target
      margin: 10,

      // forcibly override top/left positioning of leg
      top: null,
      left: null,

      // location of arrow, if applicable
      // if you pass a string (like "50%") it will be used
      // verbatim, if you pass a number, it will be in pixels
      arrow: "50%"

    }
});
This awesome jQuery plugin is developed by rfunduk. For more Advanced Usages, please check the demo page or visit the official website.