Create An Animated Polyline Timeline with jQuery
| File Size: | 4.63 KB |
|---|---|
| Views Total: | 1094 |
| Last Update: | |
| Publish Date: | |
| Official Website: | Go to website |
| License: | MIT |
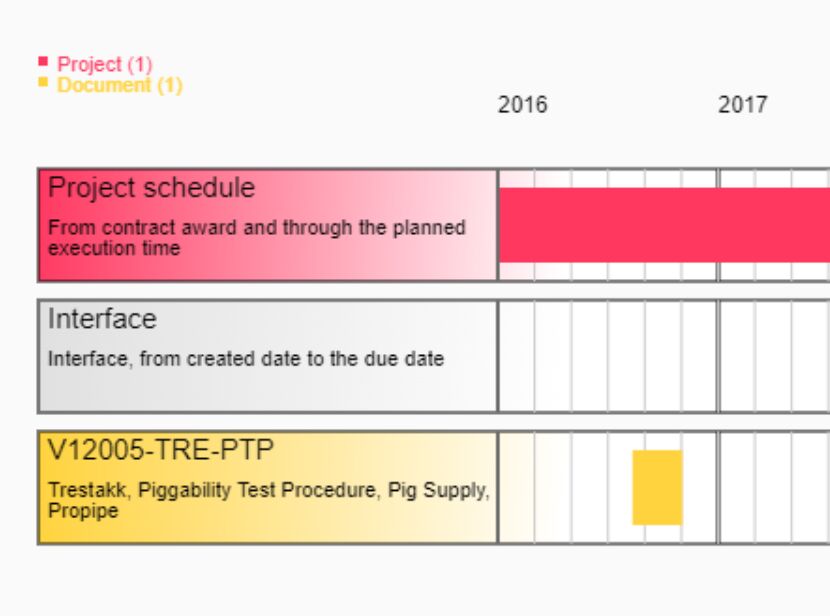
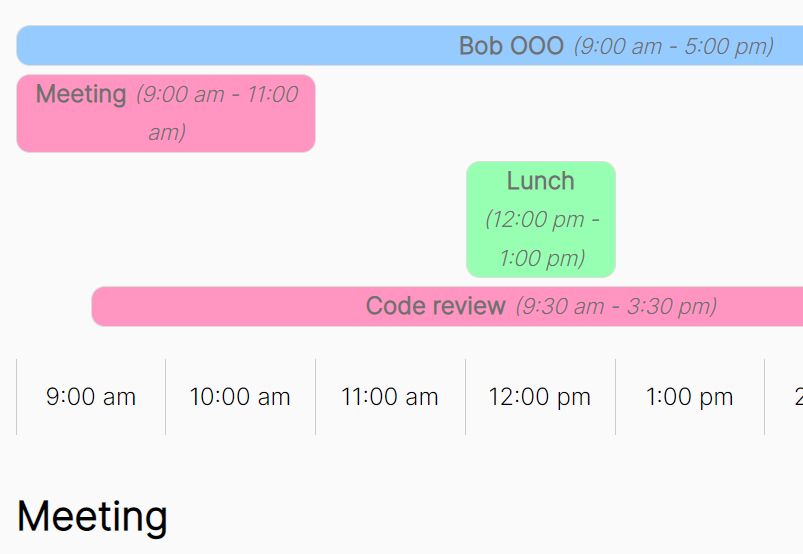
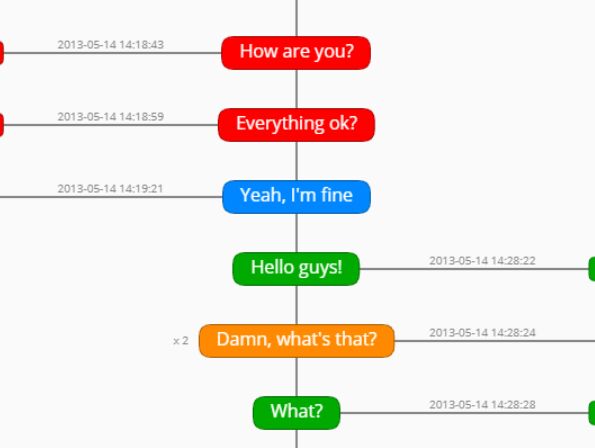
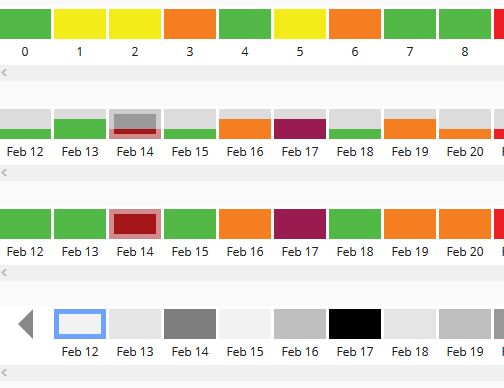
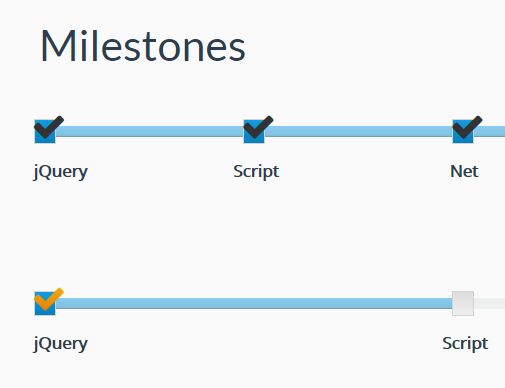
Putting together graphic timelines for various things makes for a great visual. A good timeline can help tell the story of a timeline and put the viewer in that moment or situation.
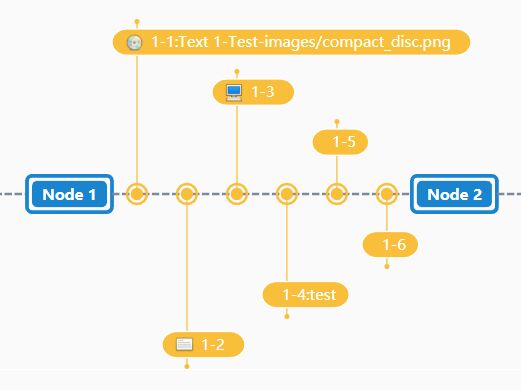
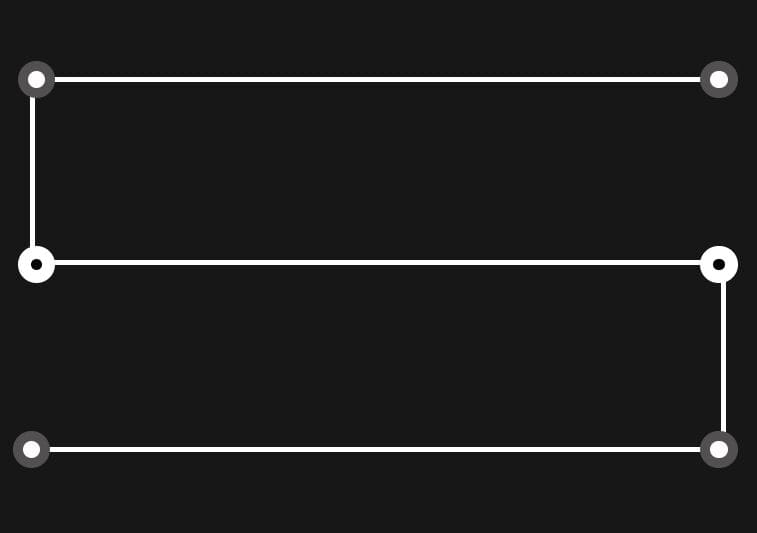
In this article we‘ll be using jQuery and HTML/CSS to create a polyline timeline, where users can switch between events & event details by clicking on the vertices in the polygonal chain.
The visual aspect in this type of timeline really stands out & can really help bring your data to life!
See It In Action:
How to use it:
1. Build the HTML for the polyline timeline.
<div class="line-timeline">
  <div class="spandiv">
    <span id="timeline1"class="active-timeline"></span>
    <span id="timeline2"></span>
    <span id="timeline3"></span>
    <span id="timeline4"></span>
    <span id="timeline5"></span>
    <span id="timeline6"></span>
  </div>
  <div class="dem dem1"></div>
  <div class="dem dem2"></div>
</div>
2. Add your own events to the timeline.
<div class="content-timeline">
  <p class="active-content-timeline">
    Event 1 Active
  </p>
  <p>
    Event 2
  </p>
  <p>
    Event 3
  </p>
  <p>
    Event 4
  </p>
  <p>
    Event 5
  </p>
  <p>
    Event 6
  </p>
</div>
3. The main CSS for the timeline.
/* timeline css */
.line-timeline {
  position: relative;
}

.line-timeline div.spandiv {
  width: 100%;
  height: 300px;
  position: relative;
}

.dem {
  position: absolute;
  width: 96%;
  height: 150px;
  margin: auto;
  left: 0;
  right: 0;
}

.dem1 {
  top: 0;
  border-top: 4px solid #ffffff;
  border-left: 4px solid #ffffff;
  border-bottom: 4px solid #ffffff;
}

.dem2 {
  top: 150px;
  border-right: 4px solid #ffffff;
  border-bottom: 4px solid #ffffff;
}

.line-timeline div.spandiv span {
  position: absolute;
  width: 30px;
  height: 30px;
  background: white;
  border-radius: 50px;
  border: 8px solid #525050;
  z-index: 2;
  cursor: pointer;
  transition: .3s ease-out;
}

.line-timeline div.spandiv span#timeline1 {
  right: -10px;
  top: -13px;
}

.line-timeline div.spandiv span#timeline2 {
  left: -10px;
  top: -13px;
}

.line-timeline div.spandiv span#timeline3 {
  left: -10px;
  top: 0;
  bottom: 0;
  margin: auto;
}

.line-timeline div.spandiv span#timeline4 {
  right: -10px;
  top: 0;
  bottom: 0;
  margin: auto;
}

.line-timeline div.spandiv span#timeline5 {
  right: -10px;
  bottom: -13px;
}

.line-timeline div.spandiv span#timeline6 {
  left: -14px;
  bottom: -13px;
}

.line-timeline div.spandiv span:hover {
  background: black;
  border: 11px solid white;
}

.line-timeline div.spandiv span.active-timeline {
  background: black;
  border: 11px solid white;
}


/* timeline content css */
.content-timeline {
  color: white;
  text-align: justify;
  line-height: 2;
  font-size: 19px;
  padding: 25px;
  position: relative;
}

.content-timeline p {
  opacity: 0;
  visibility: hidden;
  transition: .3s ease-in-out;
  position: absolute;
  right: 0;
  left: 0;
  top: 0;
  bottom: 0;
  margin: auto;
  padding: 15px;
}

.content-timeline p.active-content-timeline {
  opacity: 1;
  visibility: visible;
}
4. Load the necessary jQuery JavaScript library in the document.
<script src="/path/to/cdn/jquery.min.js"></script>
5. The main script to activate the polyline timeline.
$(document).ready(function () {

  var timelineSpan = $(".line-timeline").find("span");
  var contentTimeline = $(".content-timeline").find("p");

  timelineSpan.click(function () {
    var indexSpan = $(this).index();
    contentTimeline.removeClass("active-content-timeline");
    setTimeout(function () {
      contentTimeline.eq(indexSpan).addClass("active-content-timeline");
    }, 600)
    timelineSpan.removeClass("active-timeline");
    $(this).addClass("active-timeline");
    console.log($(this).index());
  });

  var timerTimeline = setInterval(autoTimeline, 3000);
  $('.timeline').hover(function (ev) {
    clearInterval(timerTimeline);
  }, function (ev) {
    timerTimeline = setInterval(autoTimeline, 3000);
  });

  function autoTimeline() {
    if ($("#timeline6").hasClass("active-timeline")) {
      timelineSpan.removeClass("active-timeline");
      contentTimeline.removeClass("active-content-timeline");
      timelineSpan.eq(0).addClass("active-timeline");
      contentTimeline.eq(0).addClass("active-content-timeline");

    } else {
      var indexSpanActive = $(".line-timeline").find(".active-timeline").index();
      var indexContentTimelineActive = $(".content-timeline").find(".active-content-timeline").index();

      timelineSpan.removeClass("active-timeline");
      contentTimeline.removeClass("active-content-timeline");

      timelineSpan.eq(indexSpanActive + 1).addClass("active-timeline");
      contentTimeline.eq(indexContentTimelineActive + 1).addClass("active-content-timeline");
    }
  }

})
This awesome jQuery plugin is developed by javadfathy. For more Advanced Usages, please check the demo page or visit the official website.