Powerful & Responsive jQuery Step-By-Step Form Plugin - Ideal Forms 3
| File Size: | 89.3 KB |
|---|---|
| Views Total: | 48055 |
| Last Update: | |
| Publish Date: | |
| Official Website: | Go to website |
| License: | MIT |
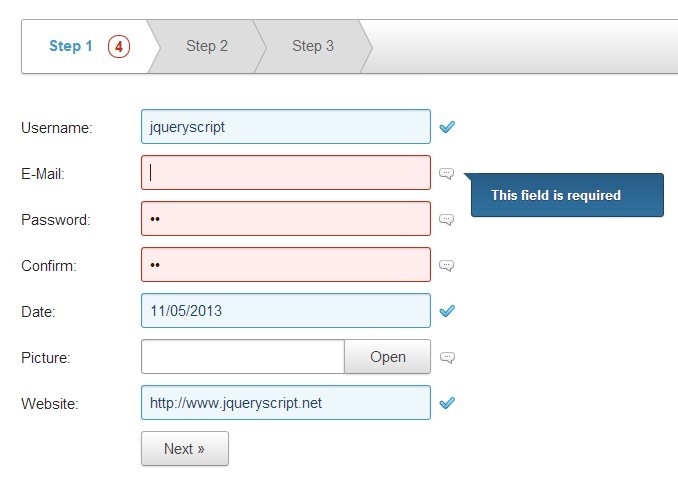
Ideal Forms 3 is a form plugin for jQuery and jQuery UI that makes it easy to create a beautiful, responsive and extendable HTML5 step-by-step form for your project.
Features:
- Real-time form validation.
- Ajax enabled.
- Data format and input mask with lots of built-in rules.
- Contextual help on input fields.
- Keyboard support.
- Custom checkboxes, radio buttons, input fields and buttons.
- Date picker with jQuery UI.
- Localization and themable.
How to use it:
1. Include required jquery.idealforms.css in the head section of your web page.
<link rel="stylesheet" href="css/jquery.idealforms.css">
2. Markup html structure.
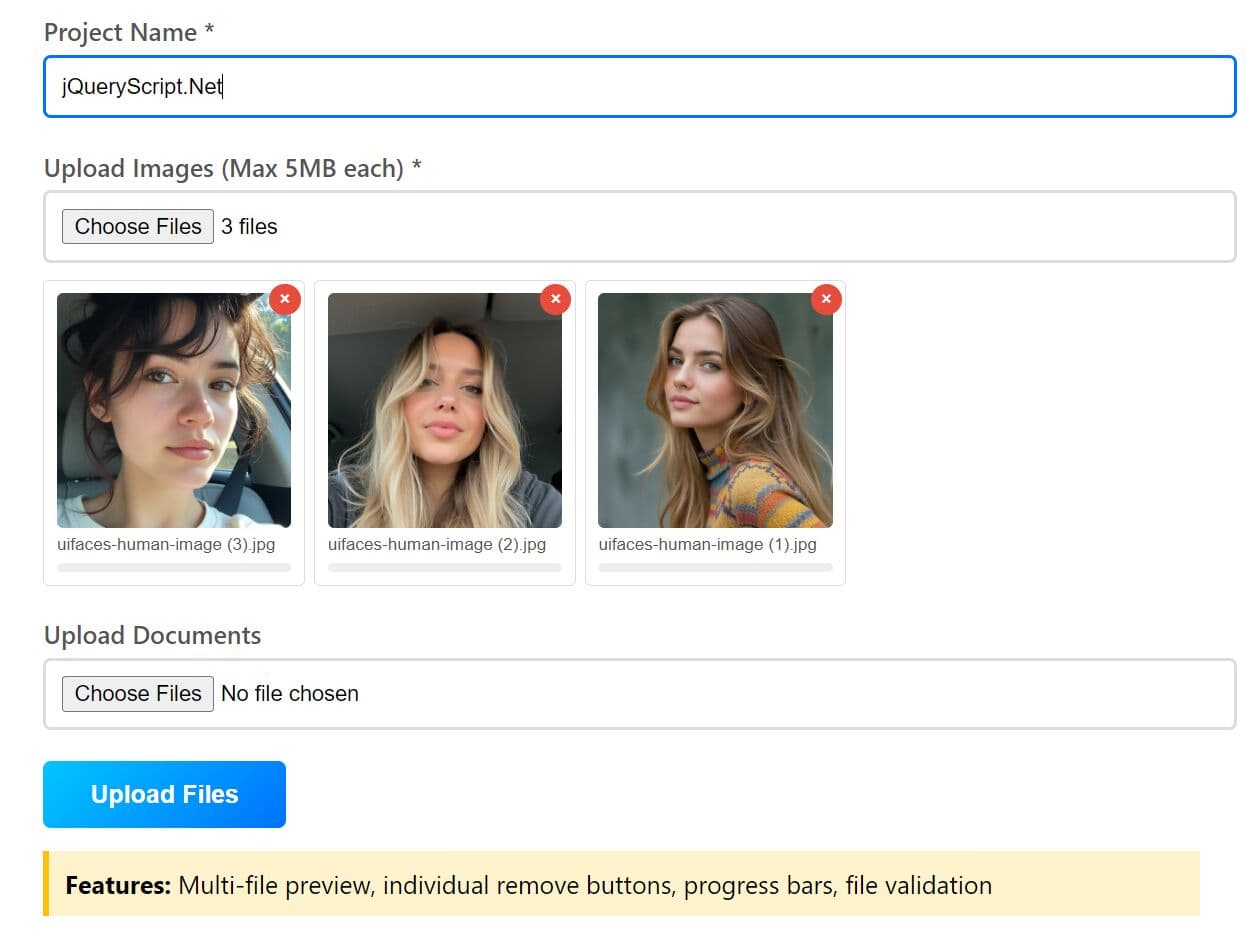
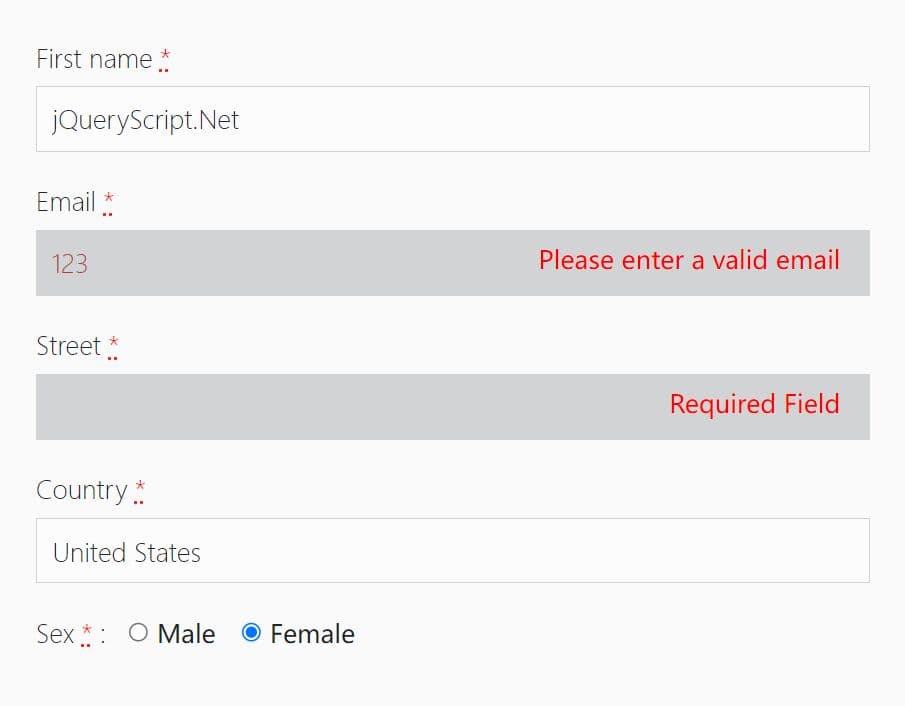
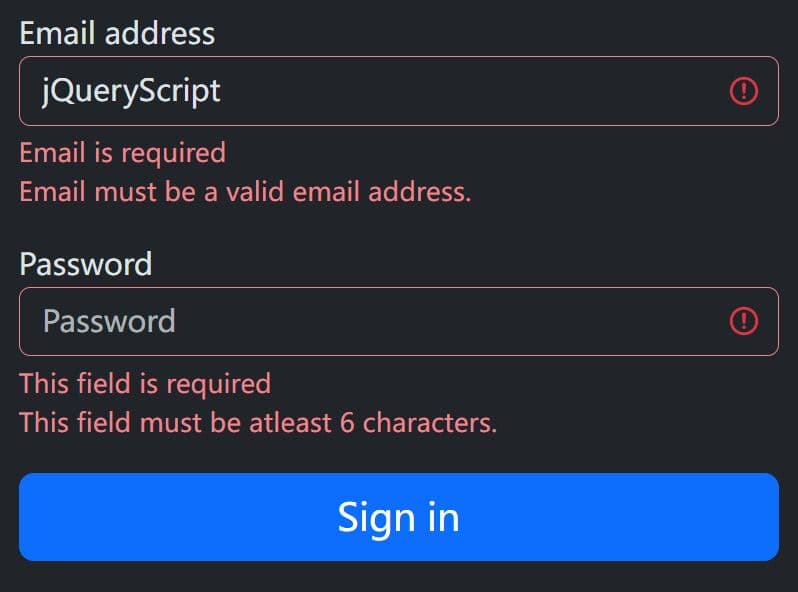
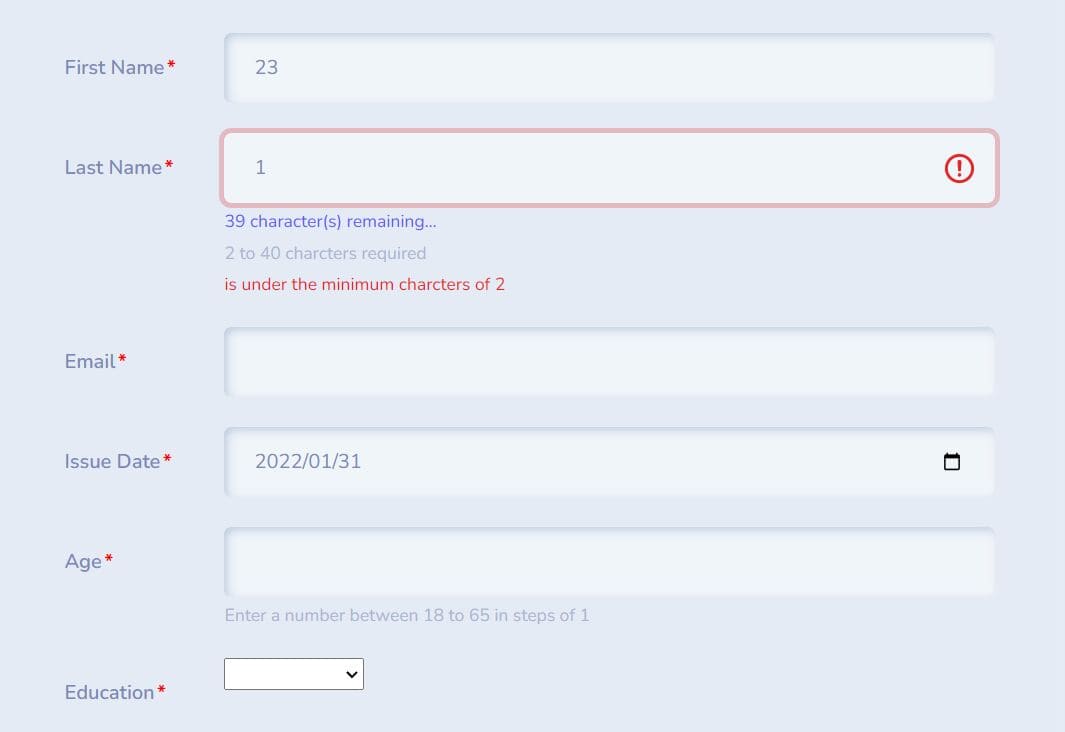
<div class="idealsteps-container"> <nav class="idealsteps-nav"></nav> <form action="" novalidate autocomplete="off" class="idealforms"> <div class="idealsteps-wrap"> <!-- Step 1 --> <section class="idealsteps-step"> <div class="field"> <label class="main">Username:</label> <input name="username" type="text" data-idealforms-ajax="ajax.php"> <span class="error"></span> </div> <div class="field"> <label class="main">E-Mail:</label> <input name="email" type="email"> <span class="error"></span> </div> <div class="field"> <label class="main">Password:</label> <input name="password" type="password"> <span class="error"></span> </div> <div class="field"> <label class="main">Confirm:</label> <input name="confirmpass" type="password"> <span class="error"></span> </div> <div class="field"> <label class="main">Date:</label> <input name="date" type="text" placeholder="mm/dd/yyyy" class="datepicker"> <span class="error"></span> </div> <div class="field"> <label class="main">Picture:</label> <input id="picture" name="picture" type="file" multiple> <span class="error"></span> </div> <div class="field"> <label class="main">Website:</label> <input name="website" type="text"> <span class="error"></span> </div> <div class="field buttons"> <label class="main"> </label> <button type="button" class="next">Next »</button> </div> </section> <!-- Step 2 --> <section class="idealsteps-step"> <div class="field"> <label class="main">Sex:</label> <p class="group"> <label> <input name="sex" type="radio" value="male"> Male</label> <label> <input name="sex" type="radio" value="female"> Female</label> </p> <span class="error"></span> </div> <div class="field"> <label class="main">Hobbies:</label> <p class="group"> <label> <input name="hobbies[]" type="checkbox" value="football"> Football</label> <label> <input name="hobbies[]" type="checkbox" value="basketball"> Basketball</label> <label> <input name="hobbies[]" type="checkbox" value="dancing"> Dancing</label> <label> <input name="hobbies[]" type="checkbox" value="dancing"> Parkour</label> <label> <input name="hobbies[]" type="checkbox" value="dancing"> Videogames</label> </p> <span class="error"></span> </div> <div class="field buttons"> <label class="main"> </label> <button type="button" class="prev">« Prev</button> <button type="button" class="next">Next »</button> </div> </section> <!-- Step 3 --> <section class="idealsteps-step"> <div class="field"> <label class="main">Phone:</label> <input name="phone" type="text" placeholder="000-000-0000"> <span class="error"></span> </div> <div class="field"> <label class="main">Zip:</label> <input name="zip" type="text" placeholder="00000"> <span class="error"></span> </div> <div class="field"> <label class="main">Options:</label> <select name="options" id=""> <option value="default">– Select an option –</option> <option value="1">One</option> <option value="2">Two</option> <option value="3">Three</option> <option value="4">Four</option> </select> <span class="error"></span> </div> <div class="field"> <label class="main">Comments:</label> <textarea name="comments" cols="30" rows="10"></textarea> <span class="error"></span> </div> <div class="field buttons"> <label class="main"> </label> <button type="button" class="prev">« Prev</button> <button type="submit" class="submit">Submit</button> </div> </section> </div> <span id="invalid"></span> </form> </div>
3. Include jQuery javascript library, jQuery UI and jQuery Ideal Forms 3 at the bottom of your web page.
<script src="http://ajax.googleapis.com/ajax/libs/jquery/1.10.2/jquery.min.js"></script>
<script src="http://ajax.googleapis.com/ajax/libs/jqueryui/1.10.3/jquery-ui.min.js"></script>
<script src="js/out/jquery.idealforms.js"></script>
4. Call the plugin and configure the form in the javascript.
<script>

$('form.idealforms').idealforms({

silentLoad: false,

rules: {
'username': 'required username ajax',
'email': 'required email',
'password': 'required pass',
'confirmpass': 'required equalto:password',
'date': 'required date',
'picture': 'required extension:jpg:png',
'website': 'url',
'hobbies[]': 'minoption:2 maxoption:3',
'phone': 'required phone',
'zip': 'required zip',
'options': 'select:default',
},

errors: {
'username': {
ajaxError: 'Username not available'
}
},

onSubmit: function(invalid, e) {
e.preventDefault();
$('#invalid')
.show()
.toggleClass('valid', ! invalid)
.text(invalid ? (invalid +' invalid fields') : 'All good!');
}
});


$('form.idealforms').find('input, select, textarea').on('change keyup', function() {
$('#invalid').hide();
});

$('form.idealforms').idealforms('addRules', {
'comments': 'required minmax:50:200'
});

$('.prev').click(function(){
$('.prev').show();
$('form.idealforms').idealforms('prevStep');
});
$('.next').click(function(){
$('.next').show();
$('form.idealforms').idealforms('nextStep');
});

</script>
5. Check the Full Document for more information.
This awesome jQuery plugin is developed by elclanrs. For more Advanced Usages, please check the demo page or visit the official website.