Custom jQuery File Inputs For Image Uploading
| File Size: | 2.49 KB |
|---|---|
| Views Total: | 7314 |
| Last Update: | |
| Publish Date: | |
| Official Website: | Go to website |
| License: | MIT |
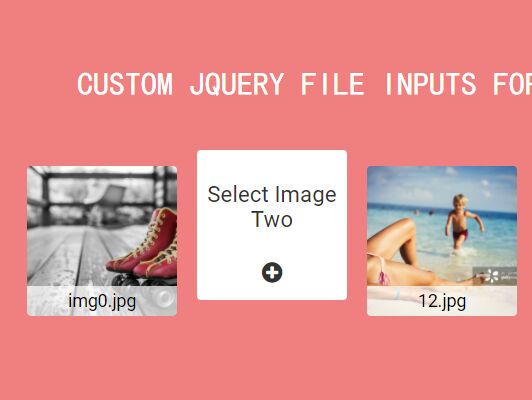
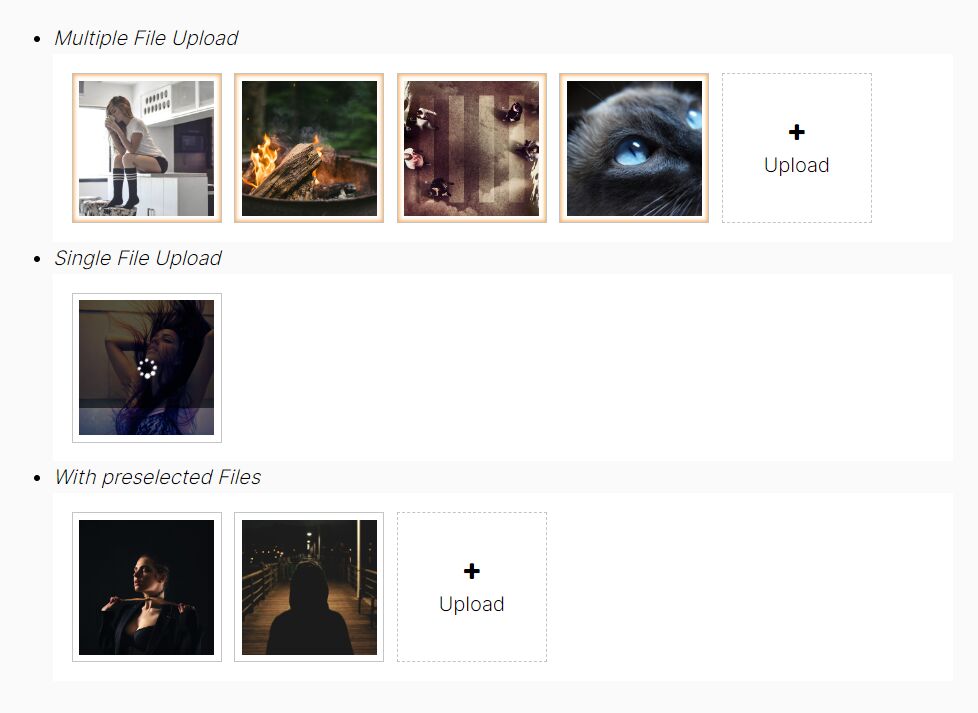
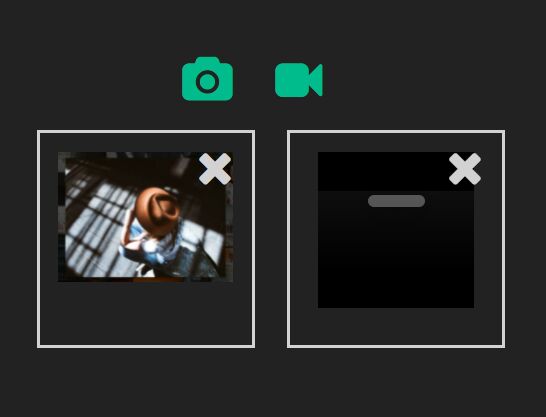
This is a small jQuery script to create custom file inputs for image uploading that features images preview and image name caption.
How to use it:
1. Add a group of image file inputs to the webpage.
<div class="wrap-custom-file">
  <input type="file" name="image1" id="image1" accept=".gif, .jpg, .png" />
  <label  for="image1">
    <span>Select Image One</span>
  </label>
</div>

<div class="wrap-custom-file">
  <input type="file" name="image2" id="image2" accept=".gif, .jpg, .png" />
  <label  for="image2">
    <span>Select Image Two</span>
  </label>
</div>

<div class="wrap-custom-file">
  <input type="file" name="image3" id="image3" accept=".gif, .jpg, .png" />
  <label  for="image3">
    <span>Select Image Three</span>
  </label>
</div>

...
2. The necessary CSS styles for the file inputs.
.wrap-custom-file {
  position: relative;
  display: inline-block;
  width: 150px;
  height: 150px;
  margin: 0 0.5rem 1rem;
  text-align: center;
}

.wrap-custom-file input[type="file"] {
  position: absolute;
  top: 0;
  left: 0;
  width: 2px;
  height: 2px;
  overflow: hidden;
  opacity: 0;
}

.wrap-custom-file label {
  z-index: 1;
  position: absolute;
  left: 0;
  top: 0;
  bottom: 0;
  right: 0;
  width: 100%;
  overflow: hidden;
  padding: 0 0.5rem;
  cursor: pointer;
  background-color: #fff;
  border-radius: 4px;
  -webkit-transition: -webkit-transform 0.4s;
  transition: -webkit-transform 0.4s;
  transition: transform 0.4s;
  transition: transform 0.4s, -webkit-transform 0.4s;
}

.wrap-custom-file label span {
  display: block;
  margin-top: 2rem;
  font-size: 1.4rem;
  color: #777;
  -webkit-transition: color 0.4s;
  transition: color 0.4s;
}

.wrap-custom-file label:hover {
  -webkit-transform: translateY(-1rem);
  transform: translateY(-1rem);
}

.wrap-custom-file label:hover span { color: #333; }

.wrap-custom-file label.file-ok {
  background-size: cover;
  background-position: center;
}

.wrap-custom-file label.file-ok span {
  position: absolute;
  bottom: 0;
  left: 0;
  width: 100%;
  padding: 0.3rem;
  font-size: 1.1rem;
  color: #000;
  background-color: rgba(255, 255, 255, 0.7);
}
3. Put the latest version of jQuery JavaScript library at the end of the document.
<script src="https://code.jquery.com/jquery-3.3.1.slim.min.js"
        integrity="sha384-q8i/X+965DzO0rT7abK41JStQIAqVgRVzpbzo5smXKp4YfRvH+8abtTE1Pi6jizo"
        crossorigin="anonymous">
</script>
4. The jQuery script (JavaScript) to active the custom file inputs.
$('input[type="file"]').each(function(){

  var $file = $(this),
      $label = $file.next('label'),
      $labelText = $label.find('span'),
      labelDefault = $labelText.text();

  $file.on('change', function(event){
    var fileName = $file.val().split( '\\' ).pop(),
        tmppath = URL.createObjectURL(event.target.files[0]);
    if( fileName ){
      $label
        .addClass('file-ok')
        .css('background-image', 'url(' + tmppath + ')');
      $labelText.text(fileName);
    }else{
      $label.removeClass('file-ok');
      $labelText.text(labelDefault);
    }
  });

});
This awesome jQuery plugin is developed by Paolo-Duzioni. For more Advanced Usages, please check the demo page or visit the official website.