Easy Custom Radio Button Plugin With jQuery - custom-radio
| File Size: | 7.09 KB |
|---|---|
| Views Total: | 2299 |
| Last Update: | |
| Publish Date: | |
| Official Website: | Go to website |
| License: | MIT |
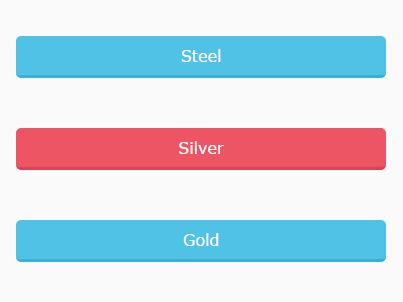
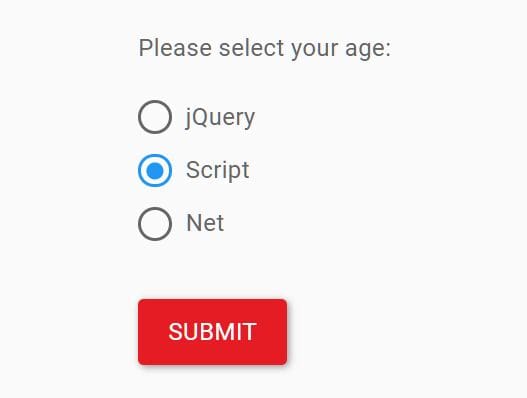
custom-radio is a minimal jQuery plugin which converts normal radio buttons into inline labels for easier selection.
See also:
- jQuery Plugin To Turn Checkboxes Into Toggle Buttons - BlueToggleButton
- jQuery Plugin To Turn Radio Buttons & Checkboxes Into Labels - zInput
- jQuery Plugin For Labeled Checkbox and Radio Button - Labelauty
How to use it:
1. Load the jQuery custom-radio plugin after loading jQuery JavaScript library as follows:
<script src="//code.jquery.com/jquery-2.2.0.js"></script>
<script src="custom-radio.js"></script>
2. Wrap the default radio buttons into a DIV element.
<div data-radio-custom>
  <input type="radio" name="material" value="Steel">
  <input type="radio" name="material" value="Silver">
  <input type="radio" name="material" value="Gold">
</div>
3. Initialize the plugin by calling the function on the DIV element.
$('div[data-radio-custom]').customRadio();
4. Style the plugin with your own CSS styles.
label {
  float: left;
  width: 100px;
  background-color: #DEDEDE;
  border-radius: 4px;
  padding: 10px;
  margin-right: 20px;
  text-align: center;
}

label.selected {
  color: #fff;
  background-color: #17bed0;
}
5. Default plugin options.
$('div[data-radio-custom]').customRadio({

  // custom label text
  text: 'value',

  // custom css class
  customClass: '',

  // disabled radio button
  disabled: false,

  // destroy the plugin
  destroy: false

});
This awesome jQuery plugin is developed by mario-iliev. For more Advanced Usages, please check the demo page or visit the official website.