Off-canvas Nav With Unlimited Dropdowns - jSide Menu
| File Size: | 664 KB |
|---|---|
| Views Total: | 16256 |
| Last Update: | |
| Publish Date: | |
| Official Website: | Go to website |
| License: | MIT |
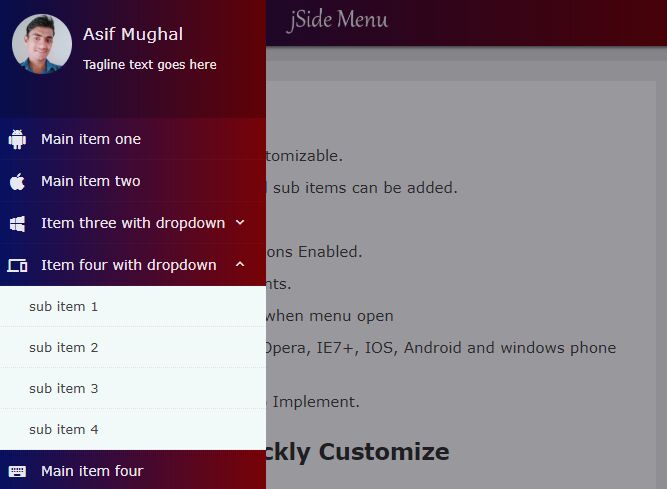
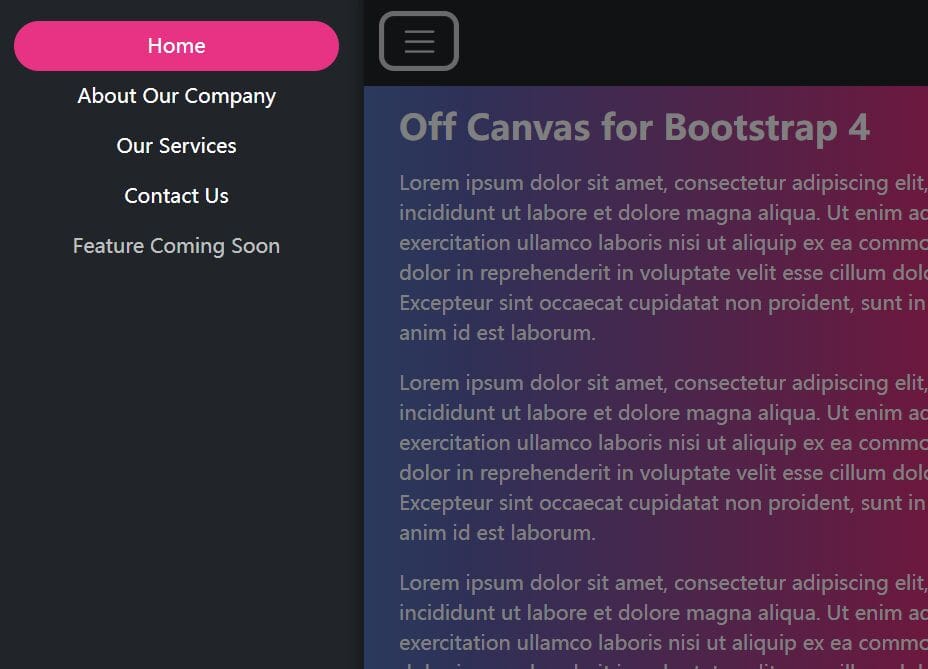
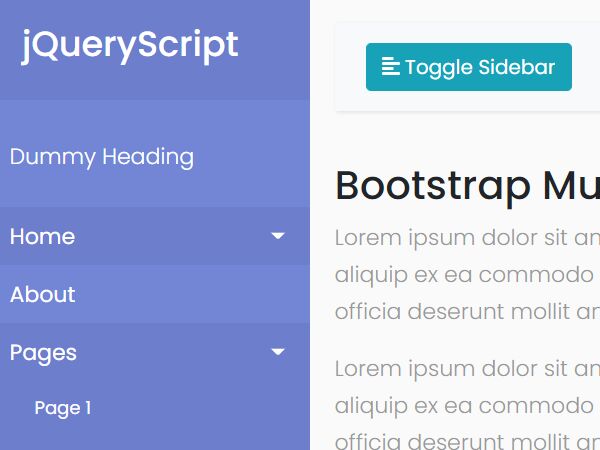
jSide Menu is a responsive, skinnable, cross-platform, mobile-friendly off-canvas navigation system built with HTML5, CSS3, and JavaScript (jQuery).
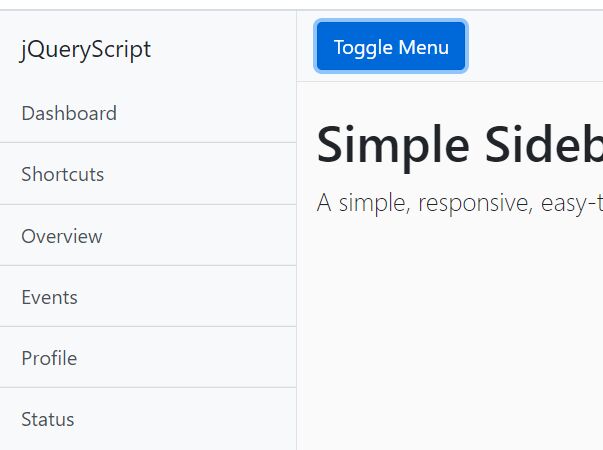
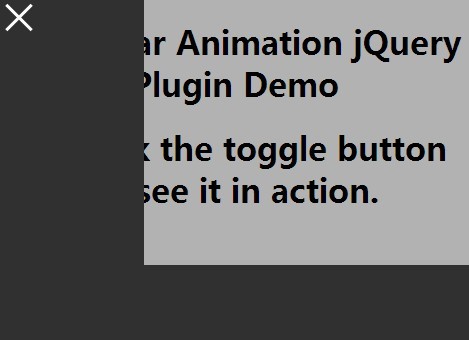
The jSide Menu plugin creates a sticky (or static) hamburger button on the top of the page that enables the user to reveal a sidebar menu sliding from the left or right of the screen.
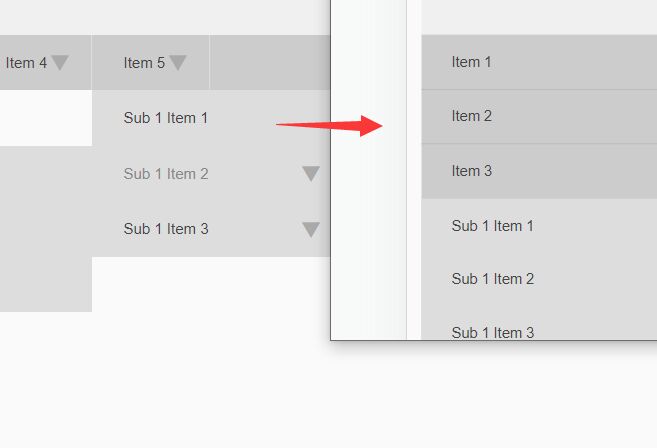
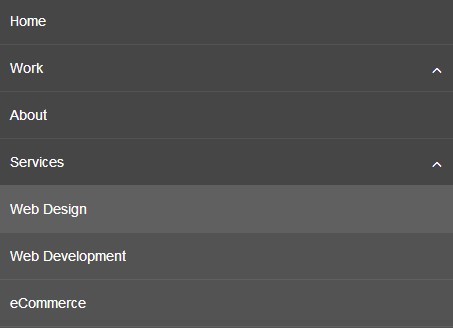
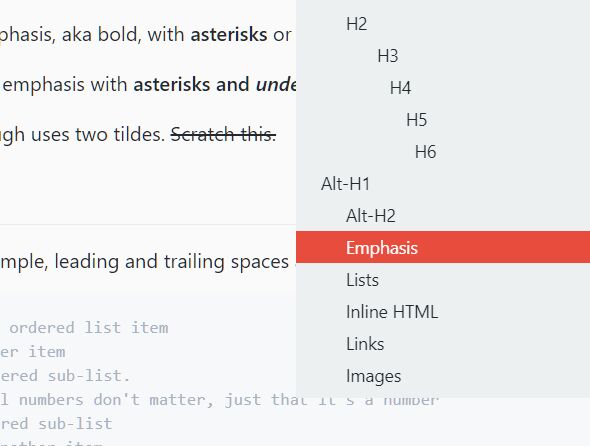
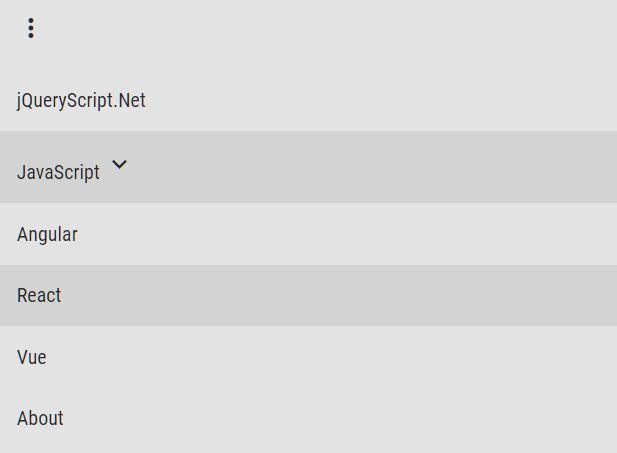
Supports unlimited dropdown menus based on the HTML unordered list.
How to use it:
1. Load the jSide Menu plugin's files in the HTML page.
<!--jQuery-->
<script src="https://code.jquery.com/jquery-3.3.1.slim.min.js" integrity="sha384-q8i/X+965DzO0rT7abK41JStQIAqVgRVzpbzo5smXKp4YfRvH+8abtTE1Pi6jizo" crossorigin="anonymous"></script>
<!--jSide Menu Plugin-->
<script src="js/jquery.jside.menu.js"></script>
<!--jSide Menu CSS-->
<link rel="stylesheet" href="css/jside-menu.css">
<!--jSide Skins-->
<link rel="stylesheet" href="css/jside-skins.css" >
2. Load the Material Design Iconic Fonts for the flip icons.
<link rel="stylesheet" href="https://cdnjs.cloudflare.com/ajax/libs/material-design-iconic-font/2.2.0/css/material-design-iconic-font.min.css">
3. Create the menu header. Great for profile information.
<div class="menu-head">
  <span class="layer">
    <div class="col">
      <div class="row for-pic">
        <div class="profile-pic">
          <img src="profile.jpg" alt="profile" />
        </div>
      </div>
      <div class="row for-name">
        <h3 title="User Name"> Username </h3>
        <span class="tagline"> Tagline</span>
      </div>
    </div>
  </span>
</div>
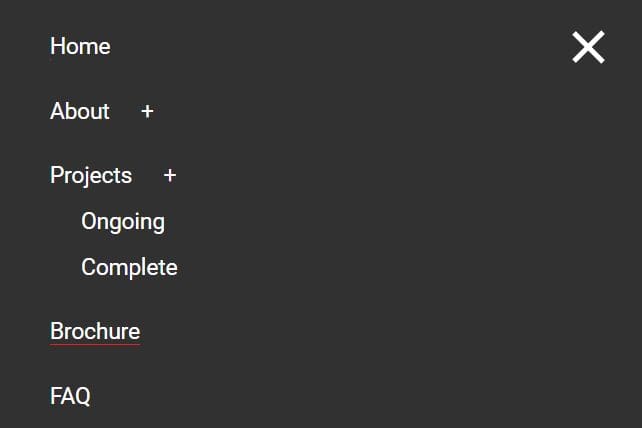
4. Create a multi-level menu for the off-canvas navigation.
<nav class="menu-container">
  <ul class="menu-items">
    <li><span class="item-icon"><i class="zmdi zmdi-android"></i></span> <a href="#1"> Main item one </a></li>
    <li> <span class="item-icon"> <i class="zmdi zmdi-apple"></i> </span> <a href="#1"> Main item two </a></li>
    <li class="has-sub"> <span class="item-icon"> <i class="zmdi zmdi-windows"></i> </span> <span class="dropdown-heading"> Item three with dropdown </span>
      <ul>
        <li> <a href="#2">dropdown sub item 1 </a> </li>
        <li> <a href="#2"> dropdown sub item 2 </a> </li>
        <li> <a href="#2"> dropdown sub item 3 </a> </li>
        ...
      </ul>
    </li>
    <li class="has-sub"> <span class="item-icon"> <i class="zmdi zmdi-devices"></i> </span> <span class="dropdown-heading"> Item four with dropdown </span>
      <ul>
        <li> <a href="#2">sub item 1 </a> </li>
        <li> <a href="#2">sub item 2 </a> </li>
        <li> <a href="#2">sub item 3 </a> </li>
        ...
      </ul>
    </li>
    <li> <span class="item-icon"> <i class="zmdi zmdi-keyboard"></i> </span> <a href="#1"> Main item four </a></li>
    <li> <span class="item-icon"> <i class="zmdi zmdi-dock"></i> </span> <a href="#1"> Main item five </a></li>
  </ul>
</nav>
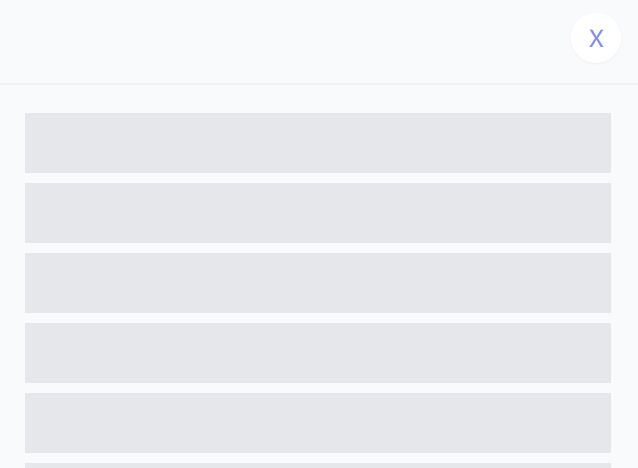
5. Create an overlay element that will overlay the main content when the navigation is revealed.
<div class="dim-overlay"></div>
6. Call the function on the main menu and done.
$(".menu-container").jSideMenu();
7. Make the off-canvas navigation slide from the right of the webpage.
$(".menu-container").jSideMenu({
  jSidePosition: "position-right"
});
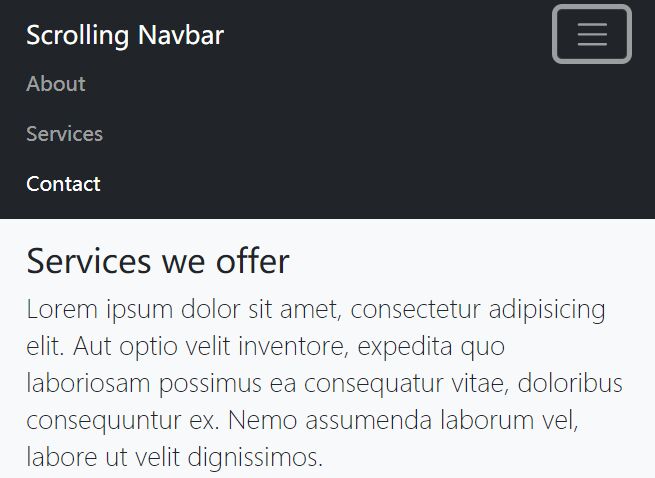
8. Decide whether to make the menu bar stick to the top of the webpage when scrolling down (Default: true).
$(".menu-container").jSideMenu({
  jSideSticky: false
});
9. Change the default skin. All possible skins:
- flickr
- fb-messenger
- moonlit
- park-life
- d2f
- steel-man
- amethyst
- between-clouds
- crazy-orange
- endless-river
$(".menu-container").jSideMenu({
  jSideSkin: "default-skin"
});
About Author:
Author: Asif Mughal
Website: www.codehim.com
Changelog:
2020-10-11
- CSS updated
2020-03-17
- bug fixed: hide the menu when page is still loading
2019-05-22
- Minor bugs fixed
2018-12-05
- CSS updated
This awesome jQuery plugin is developed by CodeHimBlog. For more Advanced Usages, please check the demo page or visit the official website.