User-friendly Telephone & Pincode Input Plugin - Input Lettering
| File Size: | 35.9 KB |
|---|---|
| Views Total: | 2883 |
| Last Update: | |
| Publish Date: | |
| Official Website: | Go to website |
| License: | MIT |
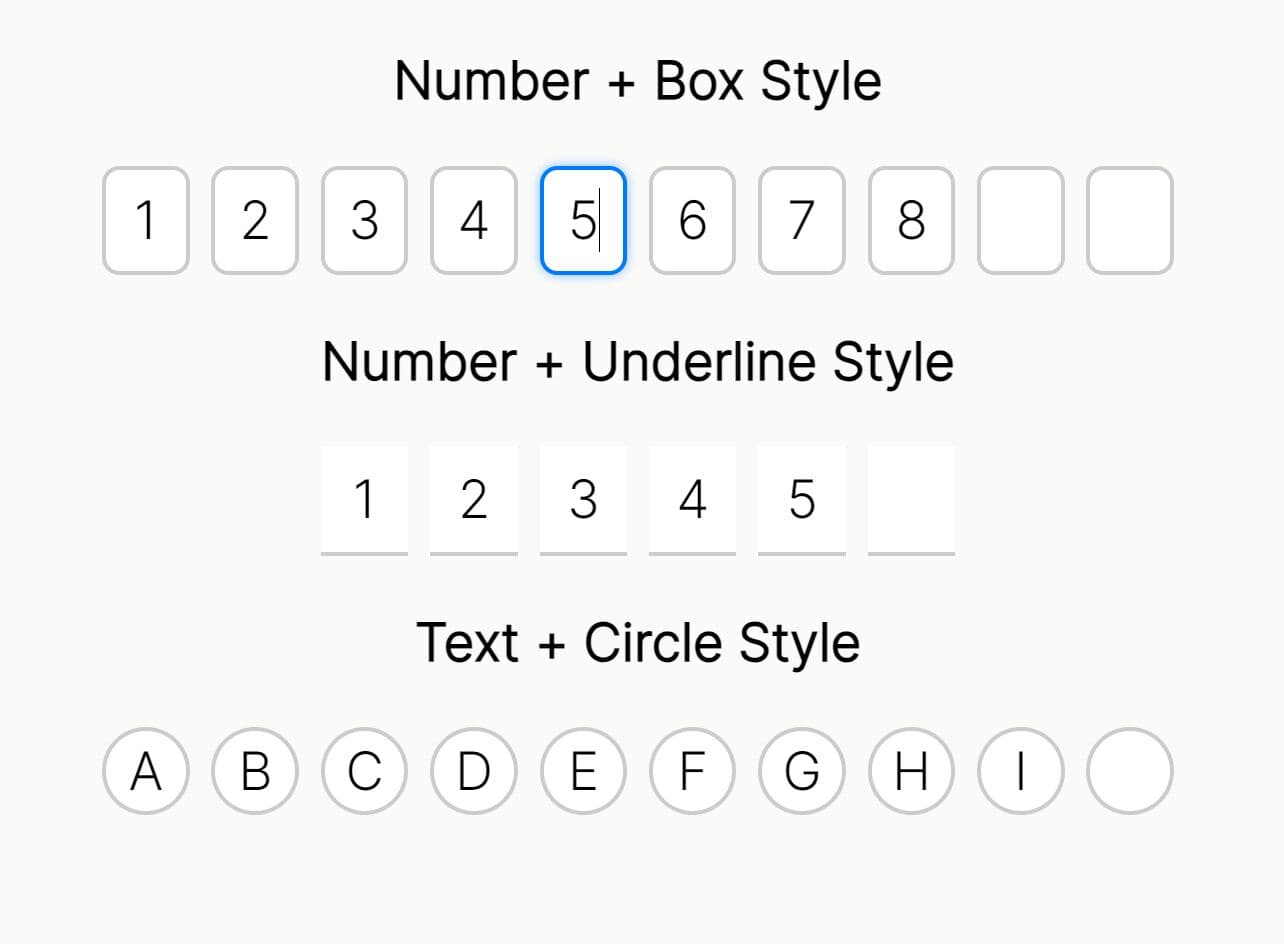
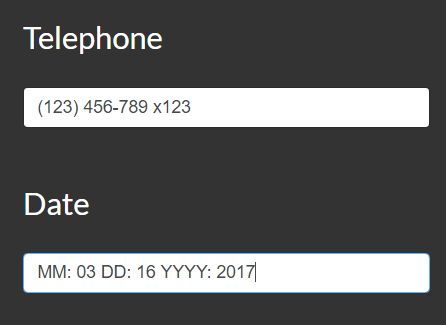
Input Lettering is a jQuery plugin to create a user-friendly telephone, one-time password or PIN/ZIP code input from a group of text fields.
The caret will automatically jump to the next one after the current text field is filled.
How to use it:
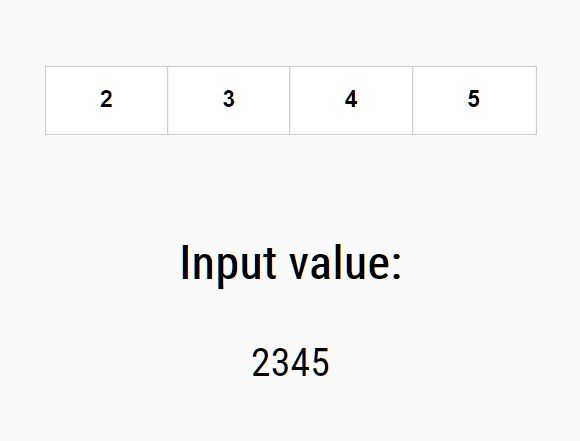
1. Create a phone input that consists of 4 separate numeric input fields as follows:
<div id="phoneInput">
    <div class="form-group phone">
      <input type="text" name="letters[]" class="letter"
             pattern="[0-9]*" inputmode="numeric" maxlength="1">
      <input type="text" name="letters[]" class="letter"
             pattern="[0-9]*" inputmode="numeric" maxlength="1">
      <input type="text" name="letters[]" class="letter"
             pattern="[0-9]*" inputmode="numeric" maxlength="1">
      <input type="text" name="letters[]" class="letter"
             pattern="[0-9]*" inputmode="numeric" maxlength="1">
    </div>
</div>
2. Insert the Input Lettering plugin's script after jQuery.
<script src="/path/to/cdn/jquery.min.js"></script>
<script src="/path/to/dist/jquery.inputLettering.min.js"></script>
3. Initialize the plugin on the top container and done.
$('#phoneInput').letteringInput({
  inputClass: 'letter'
});
4. The example CSS for the phone input.
#phoneInput .form-group {
  min-width: 300px;
  width: 50%;
  margin: 8em auto;
  display: flex;
  border: 1px solid rgba(96,100,104,0.3);
}

#phoneInput .letter {
  height: 43px;
  border-radius: 0;
  border: none;
  text-align: center;
  max-width: calc((100% / 10) - 1px);
  flex-grow: 1;
  flex-shrink: 1;
  flex-basis: calc(100% / 10);
  outline-style: none;
  padding: 5px 0;
  font-size: 18px;
  font-weight: bold;
}

#phoneInput .letter + .letter {
  border-left: 1px solid rgba(96,100,104,0.3);
}

@media (max-width: 480px) {
  #phoneInput .letter {
      font-size: 16px;
      padding: 2px 0;
      height: 38px;
  }
}
5. Store your user input in a hidden input and display the current value on the page.
<div id="testWrapper">
  <input type="hidden" name="phone" value="">
  <h3>Input value:</h3>
  <p class="hidden-input-value"></p>
</div>
$('#phoneInput').letteringInput({
  inputClass: 'letter',
  hiddenInputWrapperID: 'testWrapper',
  hiddenInputName: 'phone',
  onSet: function ($el, event, value) {
    $('.hidden-input-value').text($('input[name="phone"]', '#testWrapper').val());
  },
});
6. Specify an array of forbidden key codes.
$('#phoneInput').letteringInput({
  inputClass: 'letter',
  forbiddenKeyCodes: [ 9, 16, 17, 18, 20, 27, 32, 33, 34, 38, 40, 45, 144 ]
});
7. Callback functions.
$('#phoneInput').letteringInput({
  inputClass: 'letter',
  onFocusLetter: function() {},
  onBlurLetter: function() {},
  onLetterKeyup: function($item, event) {},
  onSet: function($el, event, value) {}
});
Changelog:
2026-05-06
- Update vulnerable dependencies
This awesome jQuery plugin is developed by Sergmaestro. For more Advanced Usages, please check the demo page or visit the official website.